
Gothichome, the restoration of.
-
Gothichome

- Moderator

- Posts: 4184
- Joined: Sun Aug 16, 2015 8:34 pm
- Location: Chatham Ont
Re: Gothichome, the restoration of.
Short stubby fingers Bonnie, they don’t hurt as much when you stub them in the corners.
Re: Gothichome, the restoration of.
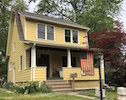
Gothichome wrote:Ok folks, update pics. Still working on the final sand and detailing. But this is what our hallway woodwork looks as of noon today.
I don’t think I can get any further then this to the bare wood. It’ll be a situation of diminishing returns.
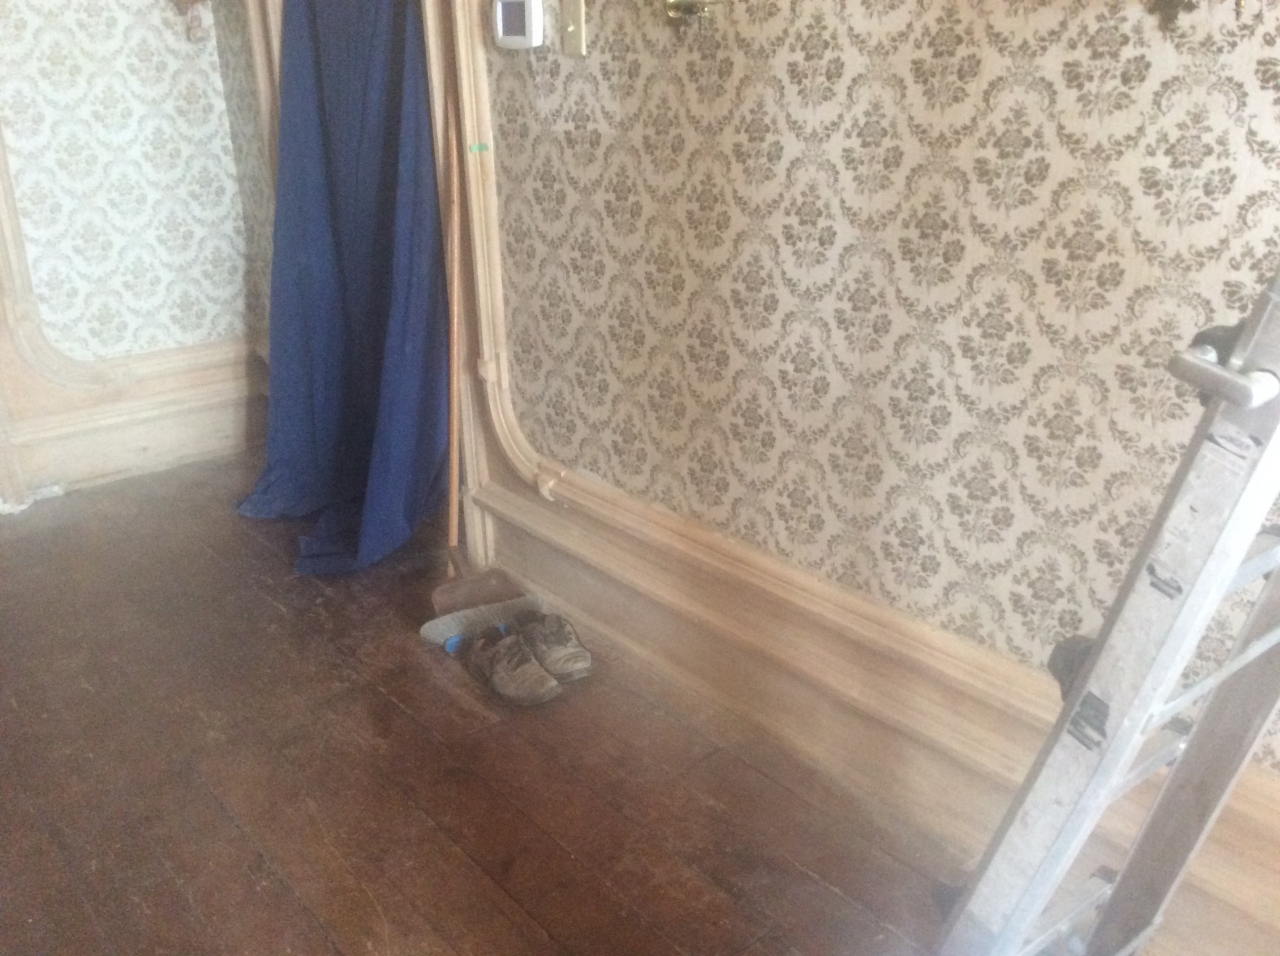
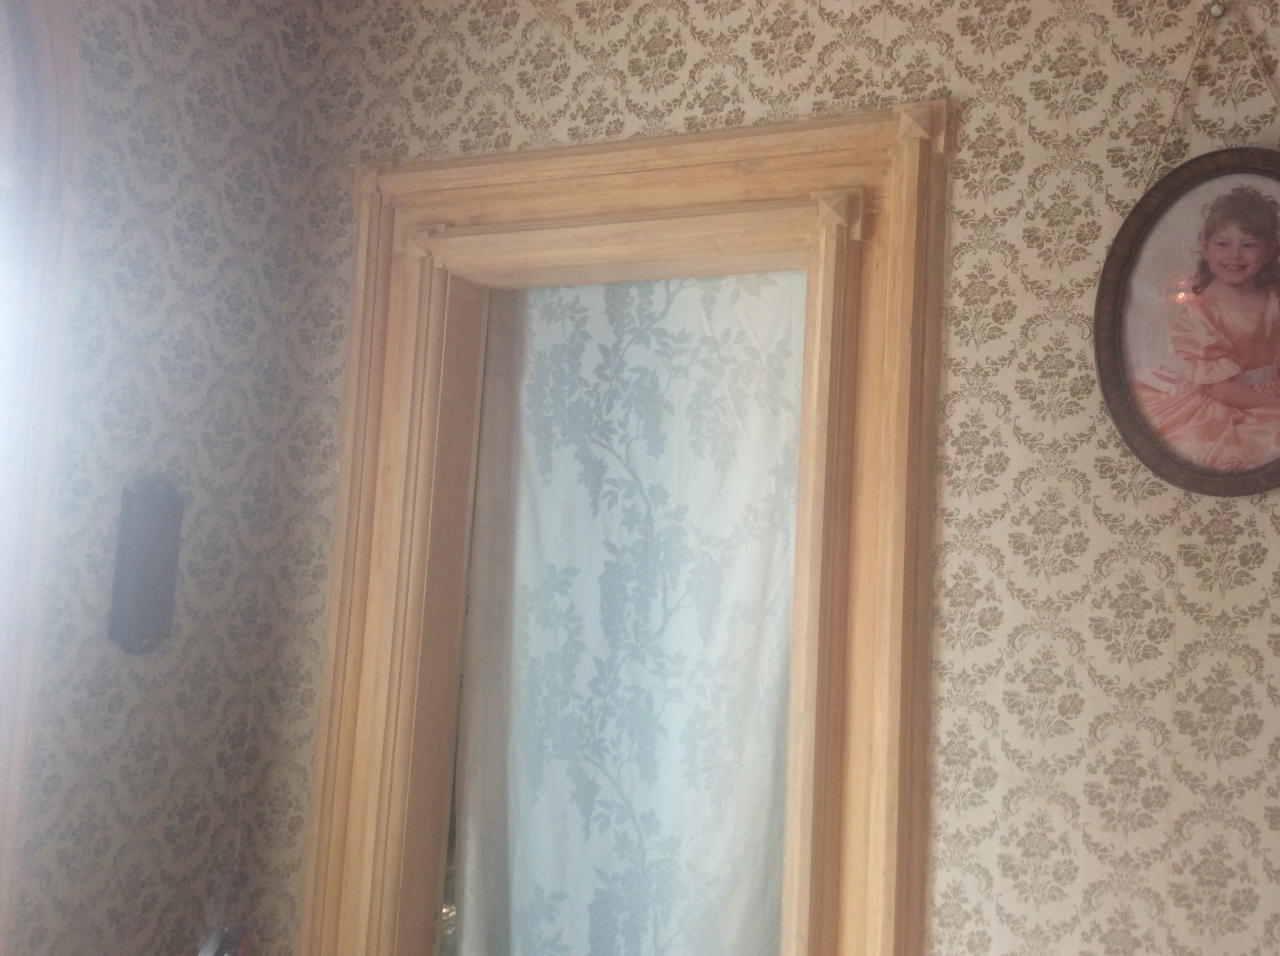
Amazing. Is that all pine? If so, it's even more astonishing. I've done something like five doors in my house and it's brutal. Your woodwork is stunning--I love those little pyramidal details!!!
Matt
I built a chimney for a comrade old;
I did the service not for hope or hire:
And then I travelled on in winter’s cold,
Yet all the day I glowed before the fire.
-Edwin Markham
I built a chimney for a comrade old;
I did the service not for hope or hire:
And then I travelled on in winter’s cold,
Yet all the day I glowed before the fire.
-Edwin Markham
-
Gothichome
- Moderator
- Posts: 4184
- Joined: Sun Aug 16, 2015 8:34 pm
- Location: Chatham Ont
Re: Gothichome, the restoration of.
Matt, I think it may be.if not pine some other clear light coloured deal. It is very hard but old pine gets pretty hard and brittle as you know.
-
Al F. Furnituremaker

- Stalwart
- Posts: 309
- Joined: Mon Aug 17, 2015 3:31 pm
- Location: Binghamton, NY
- Contact:
Re: Gothichome, the restoration of.
Wow! Great detail work. I know what it takes, but mine is on a smaller scale. Are you going to paint go natural?
Al Fortunato Furnituremaker
http://www.alfortunato.com
https://www.facebook.com/alfortunatomastercraftsman
http://www.alfortunato.com
https://www.facebook.com/alfortunatomastercraftsman
-
Gothichome
- Moderator
- Posts: 4184
- Joined: Sun Aug 16, 2015 8:34 pm
- Location: Chatham Ont
Re: Gothichome, the restoration of.
Al, good to see you stopping buy.
No i’m Not painting, going with a heavy stain to recreate what was there when the home was built, Three colours. I worked it out to about five hundred hours into that wood work to get it this way.
I applied by first stain this morning followed the instructions to a tee. When I wiped off the excess, my hart dropped, it all came off and left me with a muddy looking mess, the stain didn’d take. All despondent I made a trip to the Dulux store and ask for some advice, the woman there used to do restoration staining, faux finishes ect. She consented to come over and have a look.
She felt the deal was to hard and dense for the stain to penetrate. She also summised that because the wood had been sealed with shellac that originally it was stained not to bring out the grain but apply a colour with out the use of paint.
Enough of me, what have you been up to, haven’t seen any radio updates lately?
-
Al F. Furnituremaker
- Stalwart
- Posts: 309
- Joined: Mon Aug 17, 2015 3:31 pm
- Location: Binghamton, NY
- Contact:
Re: Gothichome, the restoration of.
Hi Ron,
Things here are busy. Still doing radios and other furniture. The shop is jammed full with things to do along with pieces waiting with the customer. Just haven't been visiting sites much and doing much posting. Once in a while I put something up on my Facebook page. Just finished building 12 small cabinets for a company here that deals in vintage audio equipment. They specialize in McIntosh equipment, the Cadillac of stereo equipment. This area is the home of McIntosh, and they are still here. I wish I had time to work on my own house. Just a small early 60s ranch, but trying to bring it back to its original condition. It's always been in my family. I'm like the shoemaker's kids, no shoes, and I don't have time to work on my stuff.
Glad to hear you are not painting it after all that work. The lady is probably correct about the wood being sealed with the previous finishes. I have found that removing the existing finishes with a stripper containing methylene chloride (I know, dangerous, respirators and gloves required) followed with wiping down with lacquer thinner, then sanding with various grits (course to fine, grit# depending on the wood type) usually breaks the seal and allows the stain to sink in. Stain is really not coloring the wood, the pigments are just getting stuck in the nooks and crannies. Or, dyes sometimes work better. They have much finer pigments. Depending on the solvent, they may dry very fast. The ones I use require spray equipment to get an even coat. The type of wood also determines how the stain will react.
Al Fortunato Furnituremaker
http://www.alfortunato.com
https://www.facebook.com/alfortunatomastercraftsman
http://www.alfortunato.com
https://www.facebook.com/alfortunatomastercraftsman
-
Gothichome
- Moderator
- Posts: 4184
- Joined: Sun Aug 16, 2015 8:34 pm
- Location: Chatham Ont
Re: Gothichome, the restoration of.
Al, I am familiar with the McIntosh equipment. They were the standard every thing was compared to. Far to expensive for my budget way back when.
Thanks for the tips but I have committed myself to Old Masters oil gel stains. Her suggestion is to put it on as even as possible and let it dry as is. I tried a door frame that won’t be seen unless you open the door (a hall closet) it came out looking like my test sample although the grain shows only as a matter shade of the stain colour. I believe I can faux grain it bit to give it some life. The test area is also giving me the chance to modify my colour mix slightly to match the reality of the panelling. But being oil it’ll take a couple days to dry up so progress will be slow.
Life is always full of learning.
-
phil
- Has many leather bound books
- Posts: 4616
- Joined: Tue Aug 18, 2015 6:11 pm
- Location: Near Vancouver BC
Re: Gothichome, the restoration of.
if you like you could just mask the areas separately and use toner.
do very light coats, You don't want runs with this product, but otherwise it's very easy to use and if you don't like it you can wash it off with lacquer thinners.
instead of a stain , a toner is lacquer with the pigment in it. I like to use a small spray gun and just add some of the pigment to lacquer , then do multiple coats like that. when done you can seal it in with clear if you want and it'll stand up just as well as shellac. you might use the clear spray, then knock down the shine with burlap and talk or fine steel wool and wool soap. too high of gloss wont' look right.
in this way you are laying transparent pigments over the wood, you should still see the grain. go very light on the toner and multiple coats to creep up on the look you want since going lighter isn't really an option unless you start over. I'd do a coat of clear or use some shellac first to seal the wood. in this way you are not depending on absorbency of the wood.
you may find you can scuff some of the high spots with the steel wool to imitate natural finish wear to the most pronounced surfaces.
don't try to load too much on the surface all at once, because this is a vertical surface, runs are something to be very careful of. Lacquer combines with itself so even if the clear runs you'll see issues. Just go very light, wait a few minutes between and do many coats.
I'd practice on something else first.
wiping stains can be fickle their absorbency does rely on the absorbent properties of the wood, with some woods you can wipe stuff on and it takes them evenly, other woods absorb differently. some woods have more open grain, others have closed grain. endgrain is usually more open and reacts like a sponge.
here's a good article on the subject.
http://www.hardwoodinfo.com/specifying- ... finishing/
basicly wiping stains depend on your ability to leave a film of even thickness behind and depend on absorbency. this is why gel stains often create a streaky mess unless your wood is one that reacts well with that sort of finishing. it'll get sucked into cracks and enhance them because you pad it on with a cloth wiping it into the imperfections, enhancing them. Its near impossible to pad evenly upon an irregular surface like the moldings.
dies , if sprayed can be put on the surface so the pigment is distributed more evenly, since the spray is delivering the pigment, not wiping, but what may work good for a pro with lots of experience spraying may be difficult and frustrating for someone not practiced.
one advantage of dyes is that they may enhance the grain more because they can be put right on the wood and left to react with the wood itself. If you create a barrier and then use toners you are then applying your colorant over top, as a separate layer.
if you start with clear lacquer then do your toners then if you don't like whats happening it is reversible, you can say oops! wash it off and go again, if you screw up with stains and dyes then it is embedded in your wood.
here's a chart with the Mohawk toners
https://woodrepairproducts.com/product/ ... ish-toner/
one method you could use, this is how I'd approach it.. put clear danish oil on it now, do a couple of coats, fill the cracks and imperfections, you'll see the grain pop and then be able to see the finished wood colors better. at this stage you can go back and sand more or work with your fillers or anything that you don't like about it. for example uneven sanding patterns could appear and be fixed. let it dry a day.
then combine just a little of your stain with the oil and proceed doing localized areas. mask areas if you like.
begin the darkening where it's wanted. then spray clear lacquer build a clear base.
next build your toners on top of that , finalizing your colors. In this way the toners aren't quite as thick and heavy because you did some of the darkening prior.
You'll see the grain through them better since you won't need heavy toner to achieve the colors you want. finish with clear lacquer, then a rub down to leave the surface smooth to the touch but not super glossy. part of the reason for the final clear is to prevent you rubbing into the thin layer of toner. you can use very fine paper but try not to rub through into the toner layer.
what I've done, just load my gun with clear, then grab the spray toner and spray some into the pot. mix it well so you then have mostly clear but a tiny bit of toner in the gun, it will look like coffee not like honey. then you can put the toner on along with the clear lacquer in a few coats. in this way the toner is weakened and easier to control and you can creep up on the shade you want rather than trying to get there all in one go.
don't get too hasty, runs are your enemy with tinted toner. they really show if you allow them to happen, but they can be avoided with very light coats.
you'd have to do a bit of masking and use some drop cloths. If you aren't using a gun you can use the spray bombs, just alternate with the clear and very fine mists of your toner. allow it to amalgamate in this way.
ifyou do use the spray toners. wipe the tip with rag after each use, shake them really well, even pause to shake during spraying. after using a can turn it upside down and spray to clear the nozzle. You dont want drips and splatter from the tip. otherwise the spray pattern is fine. You can build clear and polish it as much as you like. a furniture finisher who has a booth and good quality spray equipment can lay the stuff on nice and flat but you can also work the surface clear coats after they harden up if your spray techniques show a less than perfect finish.. if it's a bit pebbly you can work that out with elbow grease.
Al is an expert in this area. Its good he could chime in and he may agree or disagree or may offer other ideas. old radios use a lot of effects like this with areas of heavy toner. often light woods were toned to mimic walnut. sometimes the toner so so dark it almost completely hides grain but it still isn't like paint. even in heavy toned areas you can still see the grain patterns at least a little. a lot of edging and detail was done like this.
I think the effects you are looking for are quite similar, you want the areas defined by differences in color to enhance the panels.
I know you are working more with shellac than lacquer but I would use lacquer and I dont think you'll see a noticeable difference in the end.
you don't need spray equipment if you use the spray bombs. You'll have some smell from the lacquer, par for course. It'll dry fast. pick a day when you can open windows for sure. you might create a little tent to contain any overspray but I don't think you'll have wet lacquer mist at the other end of the house or anything it dries so fast you can avoid misting other parts of your house with a little care taken.
while you can use shellac and there are different colors of flakes and cookies, it is a bit harder to apply evenly I do not think you'll find spray bombs of colored shellac. The reason lacquer was used in the 30's on radios and most mass production furniture of the era was because it lent itself to production due to it's very fast dry times.
-
Gothichome
- Moderator
- Posts: 4184
- Joined: Sun Aug 16, 2015 8:34 pm
- Location: Chatham Ont
Re: Gothichome, the restoration of.
Time for an update on the hall project. Finally got the first stain colour down. Finished it up today.
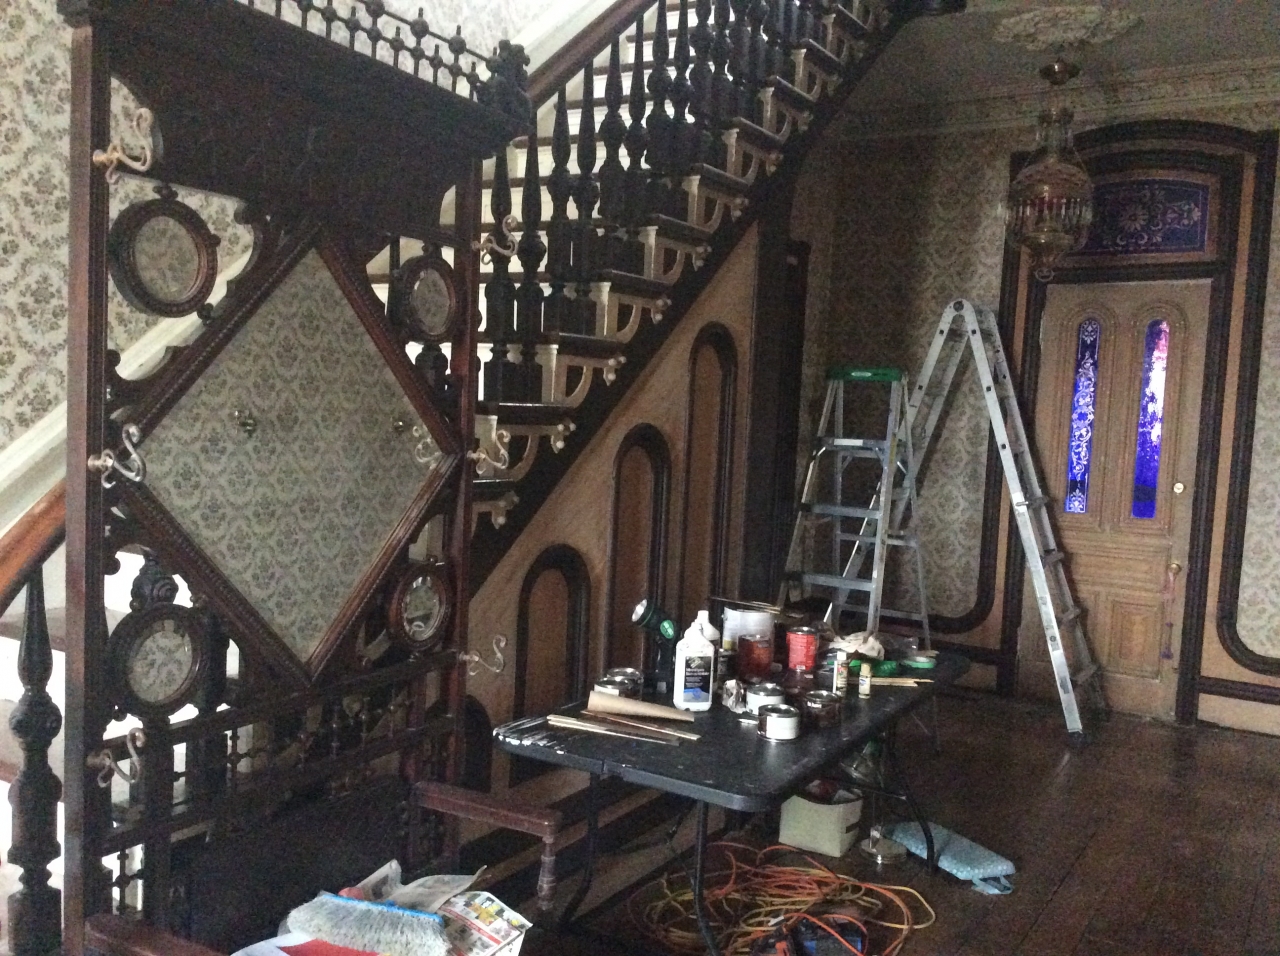
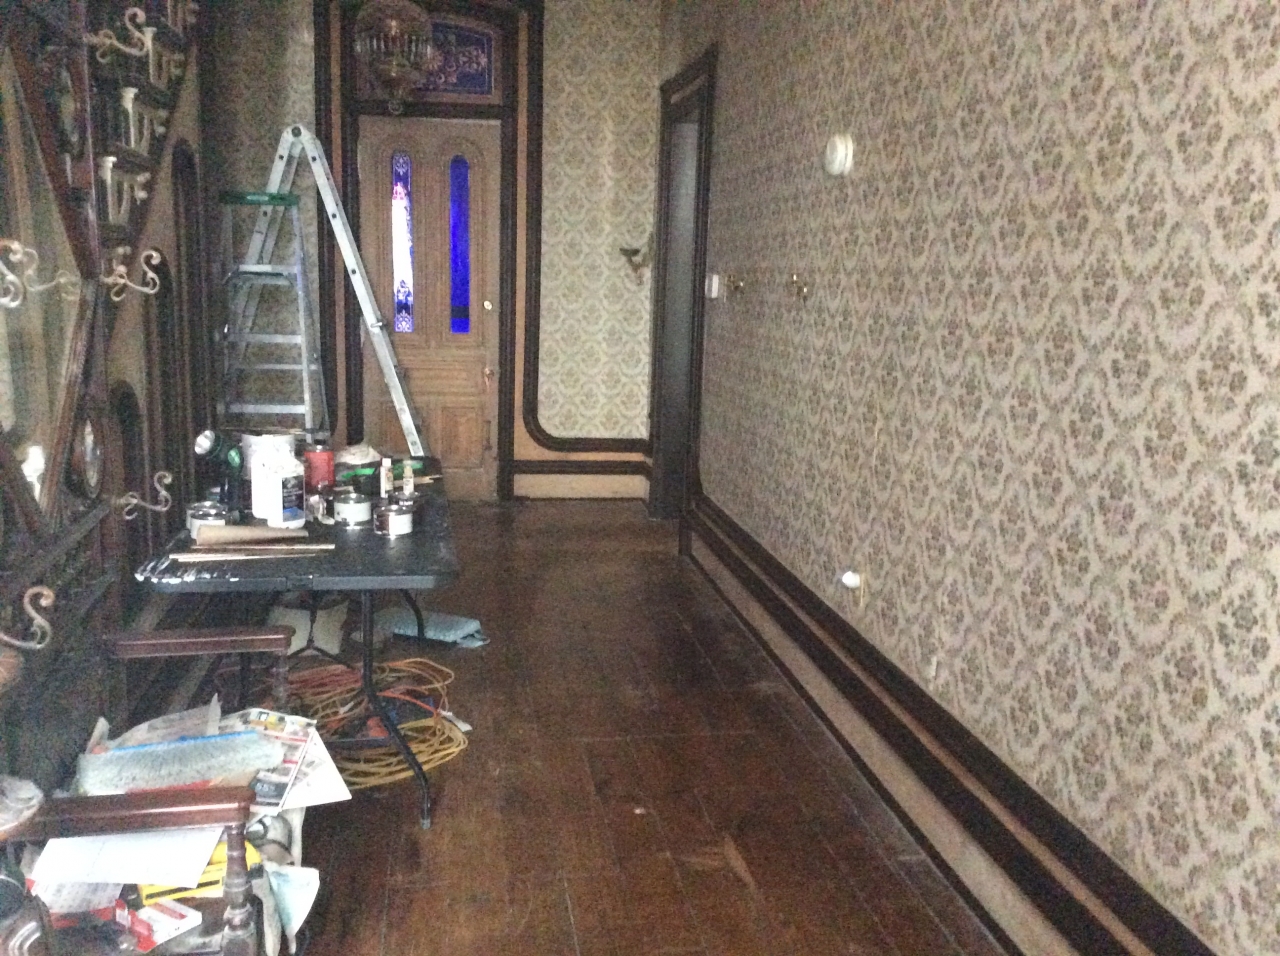
This is the efforts of three weekends of work and lots and lots of masking tape. It’s now on to the second colour.
This is the efforts of three weekends of work and lots and lots of masking tape. It’s now on to the second colour.

Re: Gothichome, the restoration of.
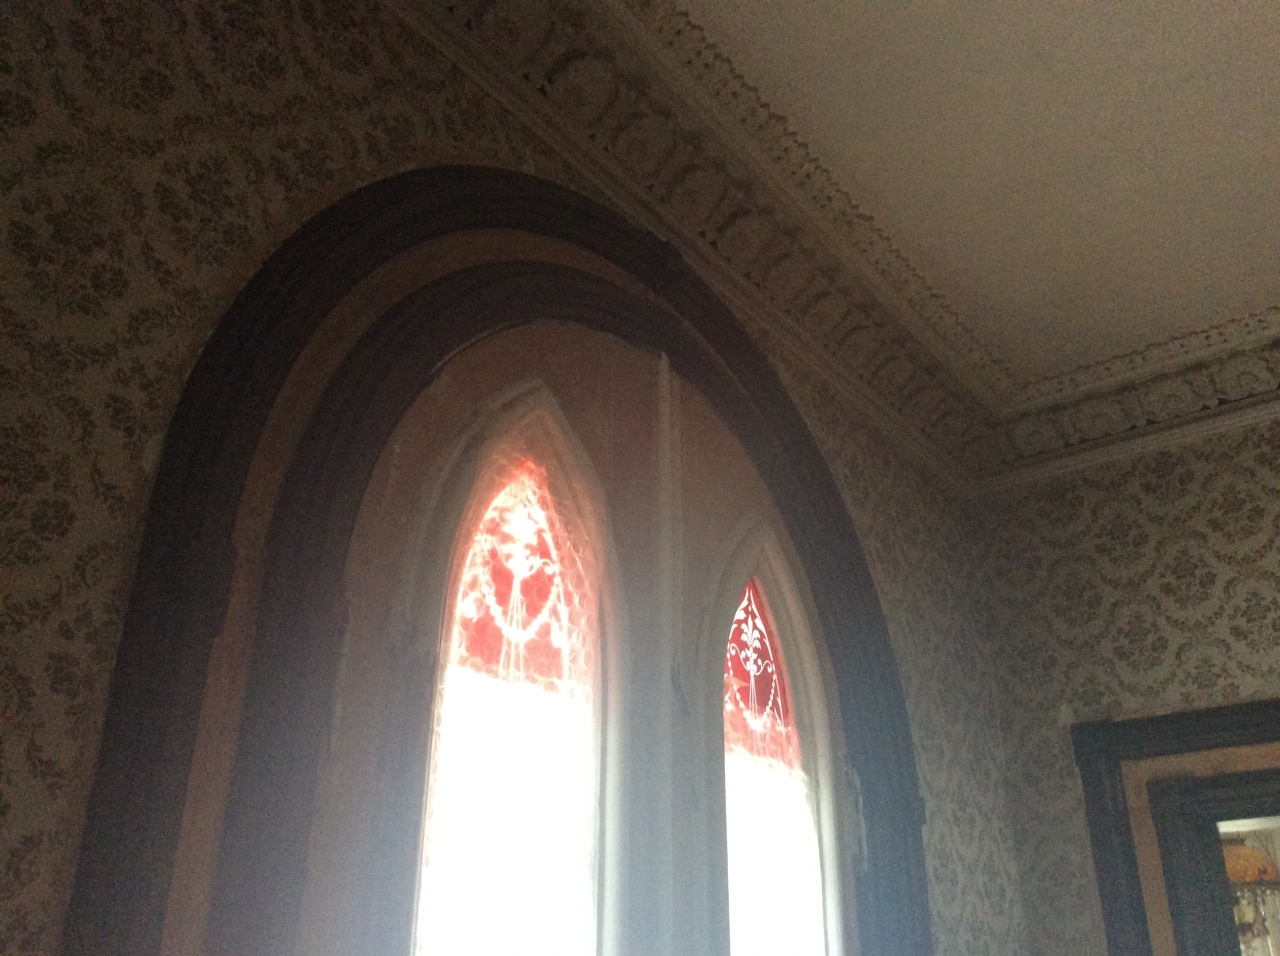
That's looking good ! It really highlights all the amazing details . Every time I see your house I am just filled with an angry sort of envy. Your house is just so great. That transom and the door with the etched cobalt glass...??!!? Plus all the extra thick and fancy mouldings and details ? Frown but swoon.