I'm going to start by copying those post over here to catch up to where we are now with our progress.
My Fiancee and I just bought our first house. With any luck it will be the only one due to where we are located,
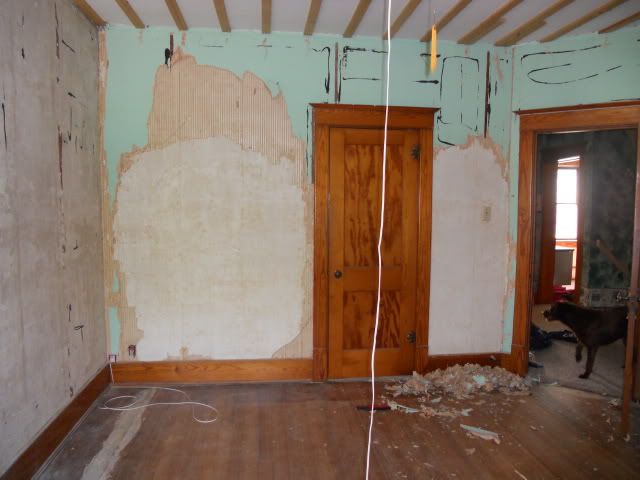
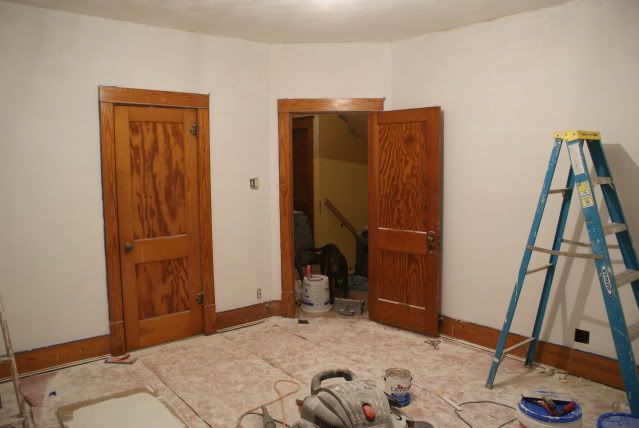
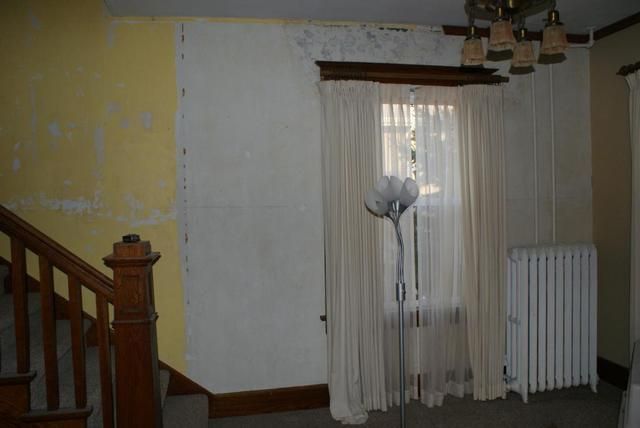
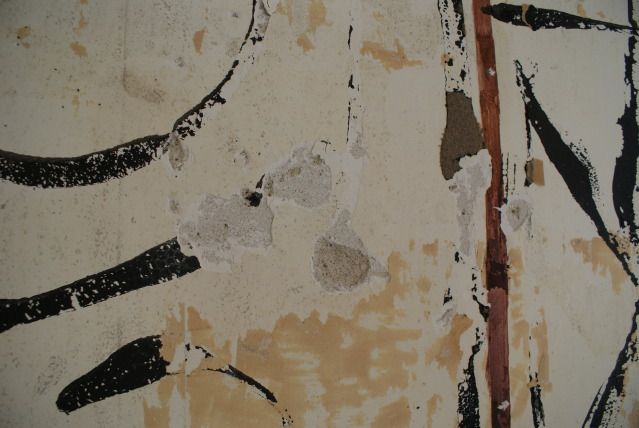
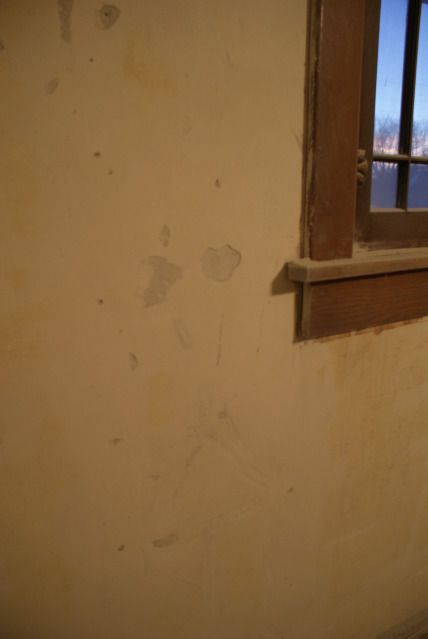
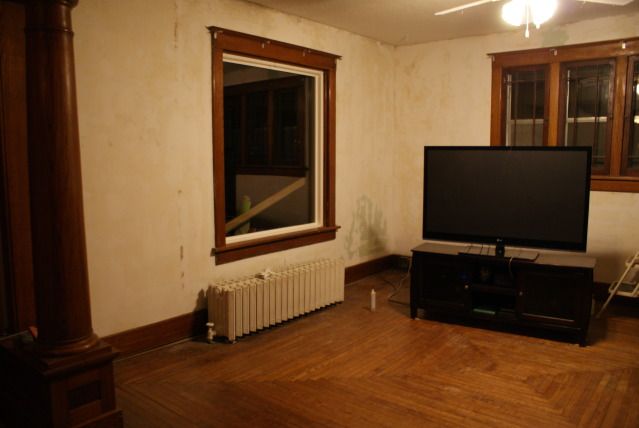
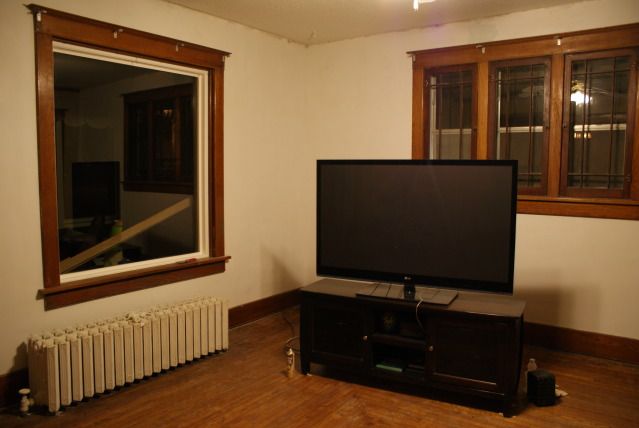
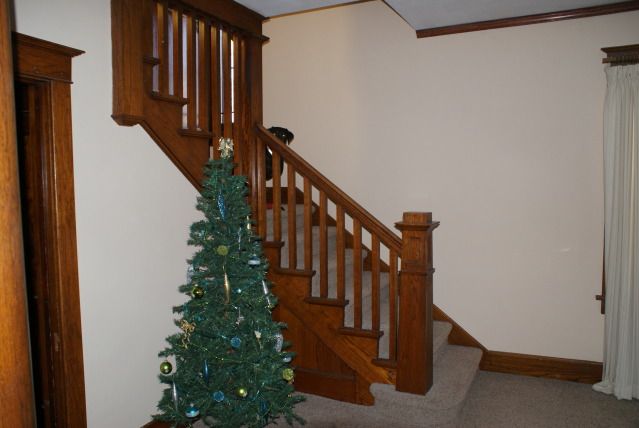
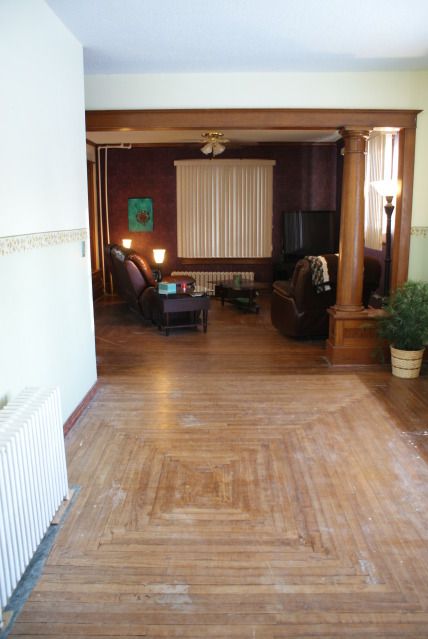
Here are a couple pictures of it when we bought it.
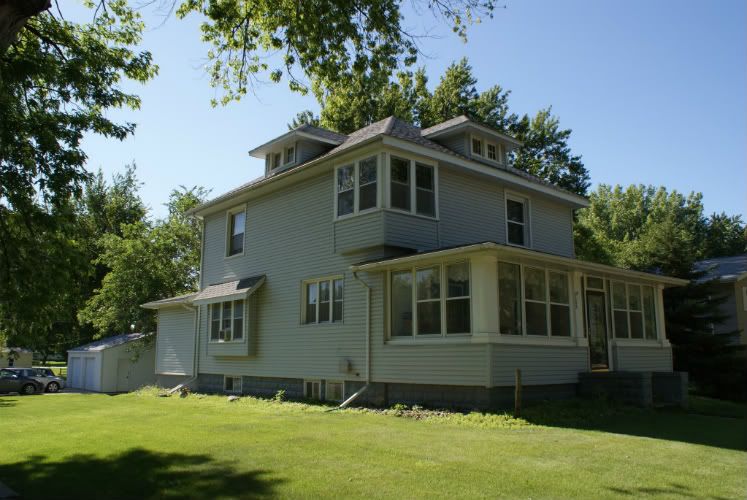
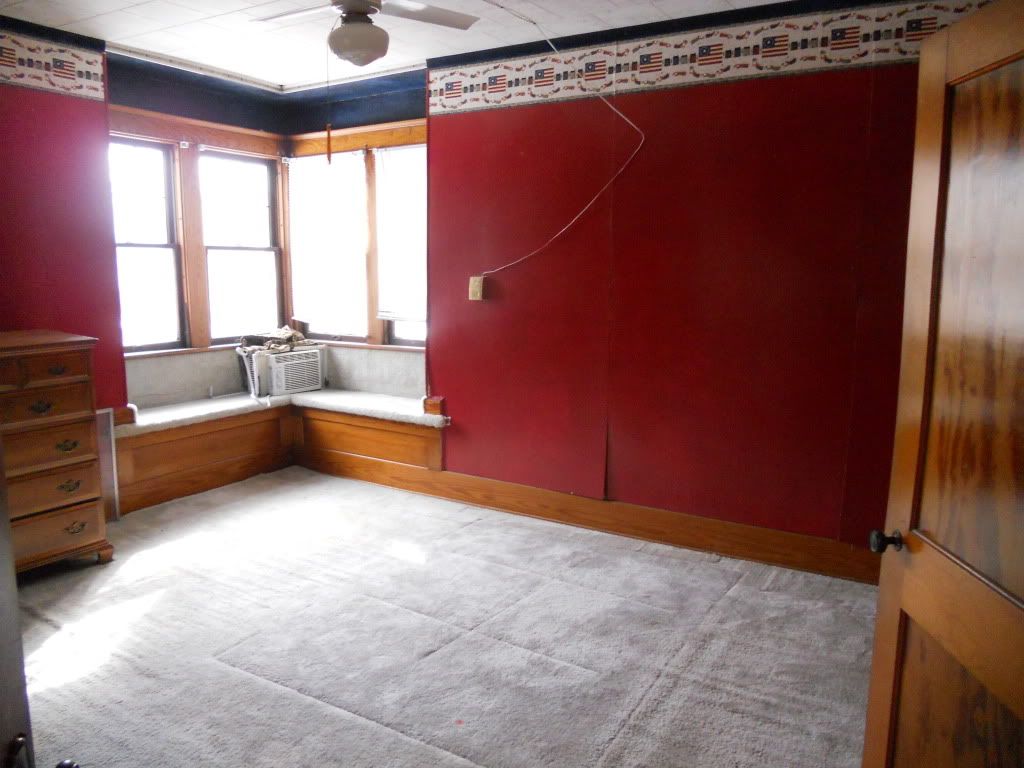
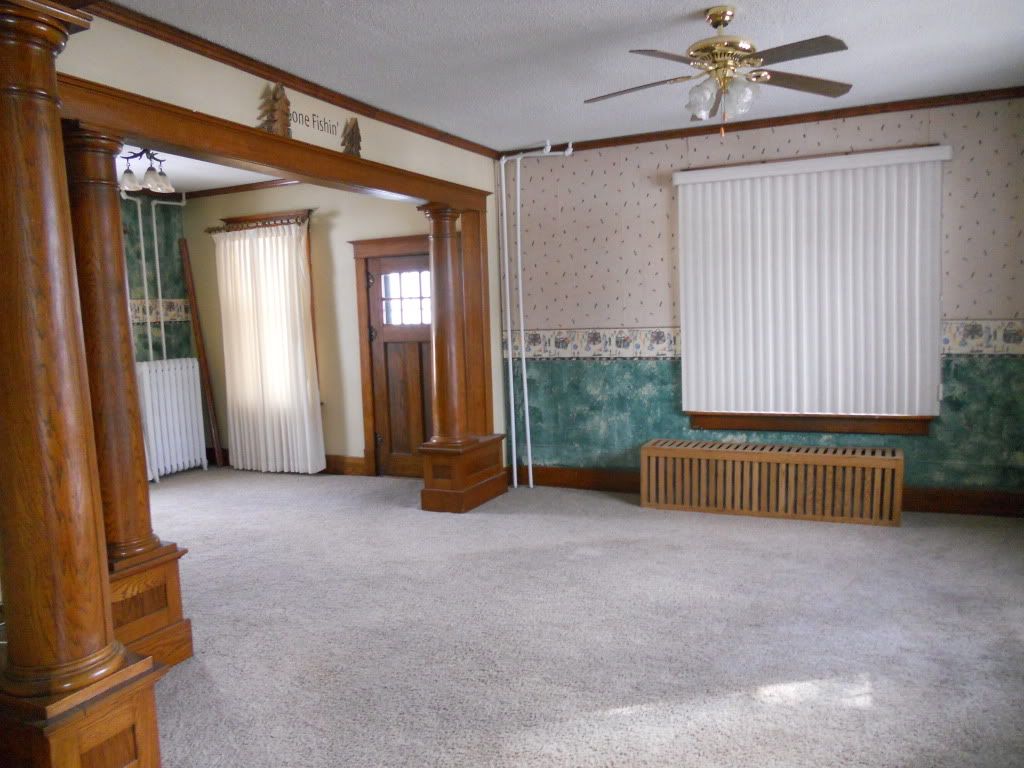
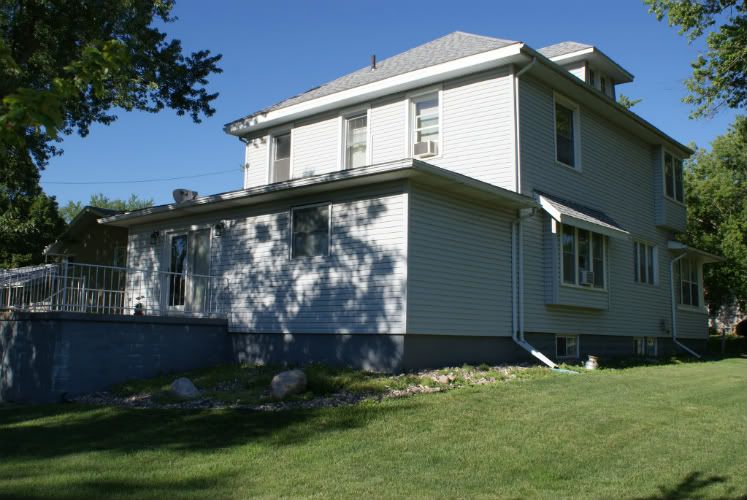
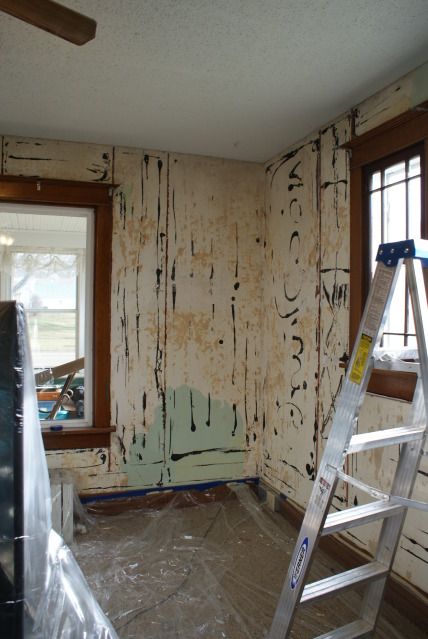
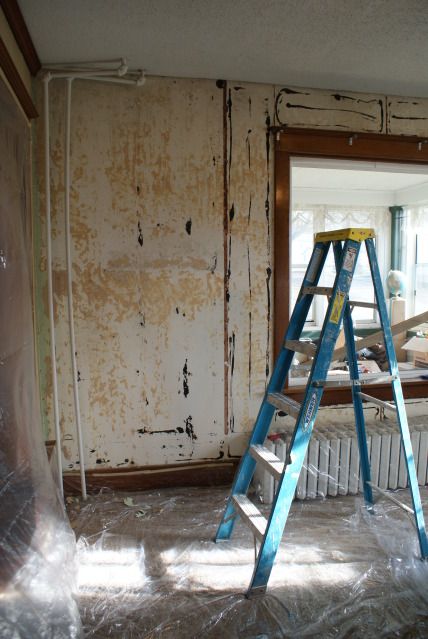
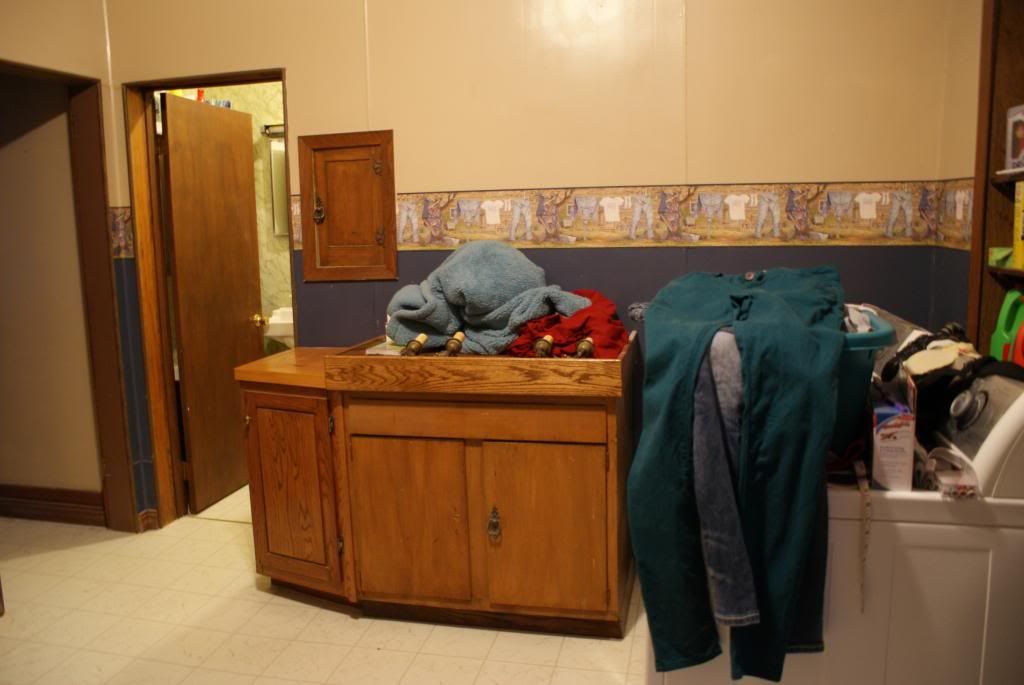
The house is almost completly original besides a few things. Lots of paneling and wallpaper. A new kitchen was added on the back and the old kitchen was turned into a laundry room. They then added a bathroom in part of the dining room area. My plan is to take that bathroom out returning the dining room to original and then making a bathroom in the old kitchen. Besides changing the kitchen a little we plan on "restoring" the bathrooms and keeping the rest of the house pretty much original. There are 4 bedrooms upstairs with the two on either side of the stairs being joined through the closets. You can then walk up to the attic from there. We also have a full basement with 3 finish-able rooms. They are partially done, but that was a few years ago. The house is a block house so we don't have any electrical on any of the outer walls. It is 2060 sqft with 910 sqft to finish in the basement.
Well I think I've rambled on enough for now. I will post up our slow progress pictures and keep this as a running journal of what we do.
[hr]
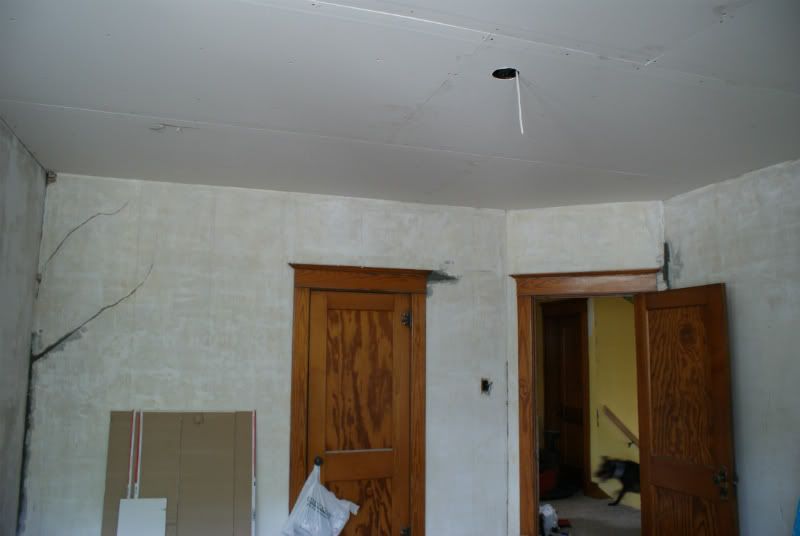
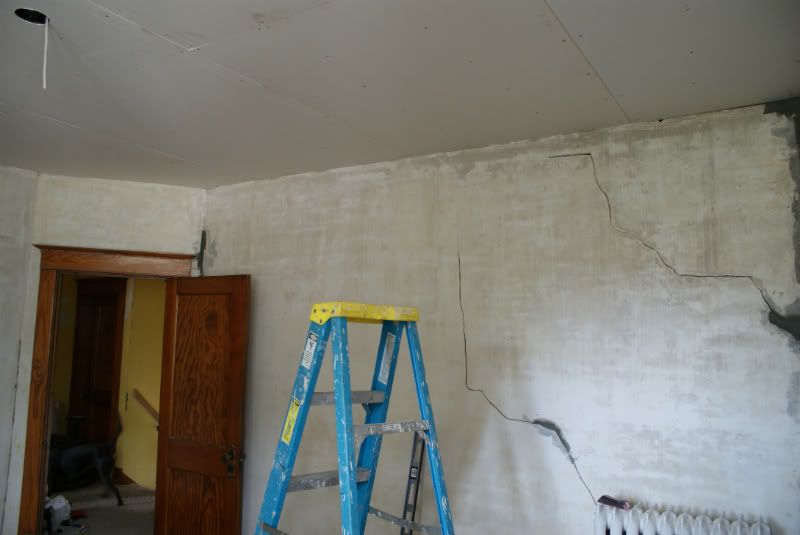
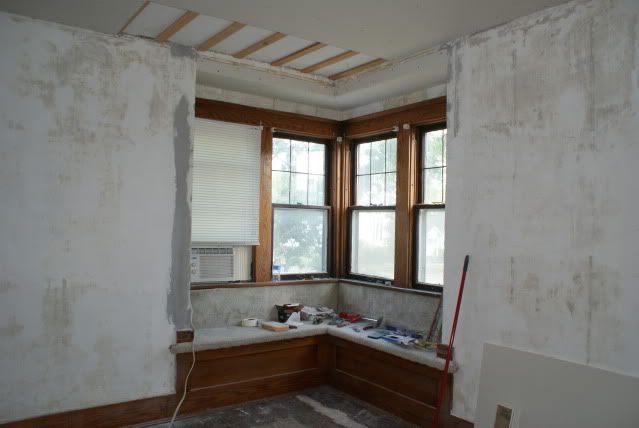
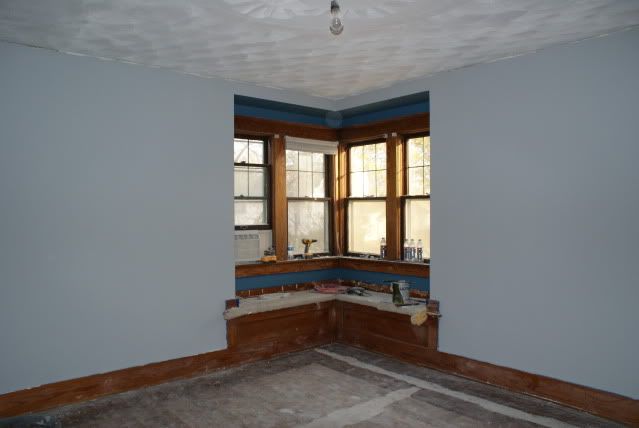
Thanks guys. All of the carpets upstairs have been torn up and there is great hardwood floors there. We have torn off the wallpaper, paneling, and more wallpaper in the master. They decided to try to nail the paneling onto the outside block walls which left a lot of divots.
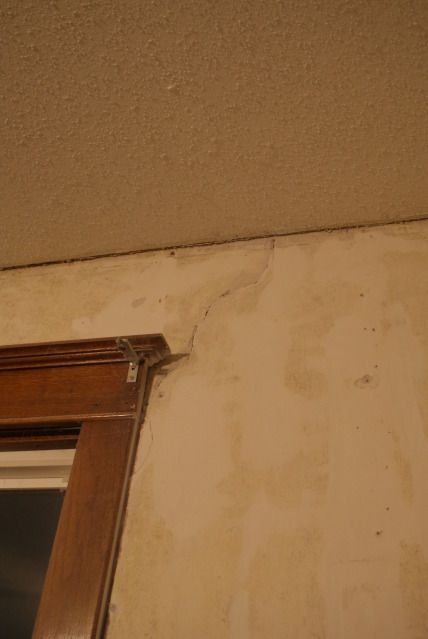
I don't have up to date pictures, just the in progress pictures. I'm in the process of researching plaster patching so that I can get started on that.
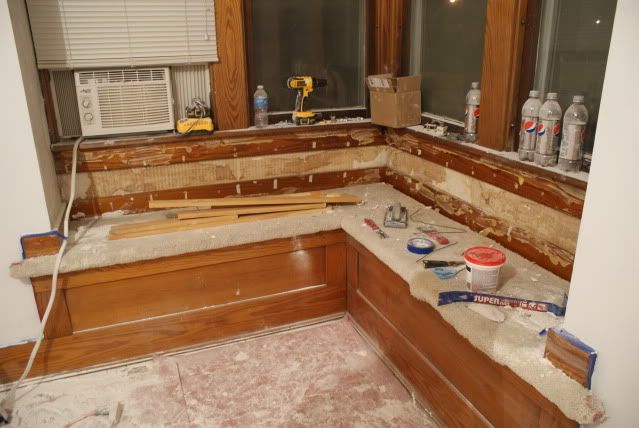
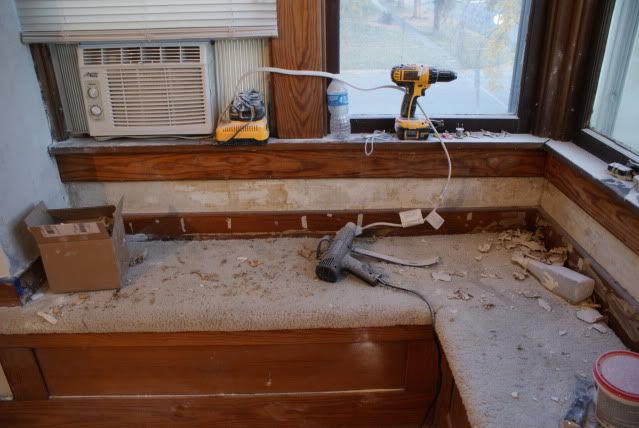
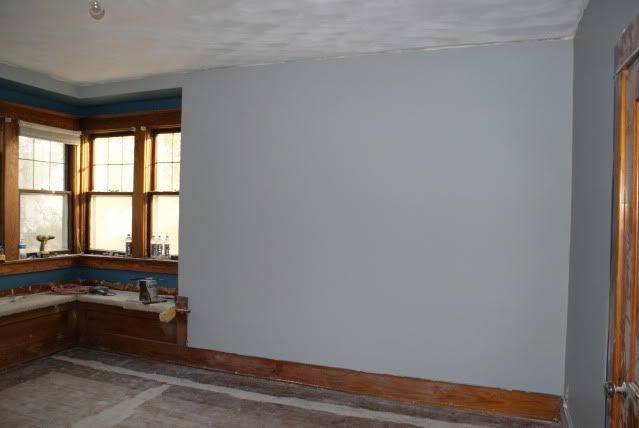
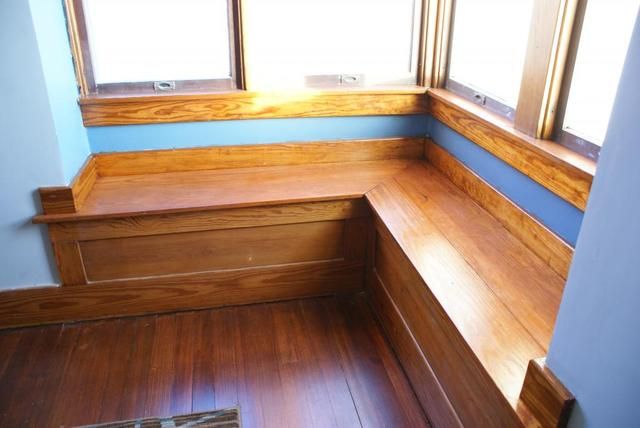
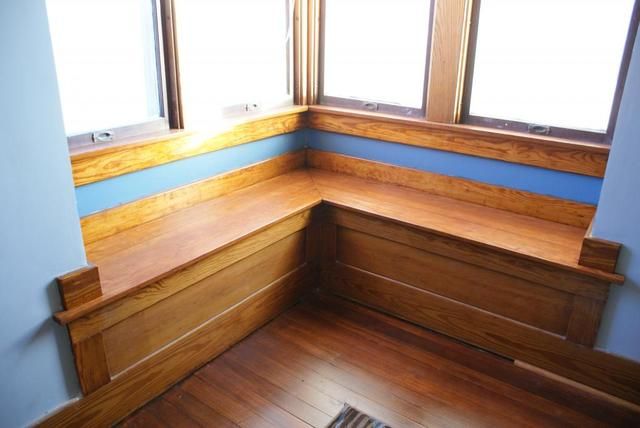
We will be removing the carpet from the window seat, but i figured it will protect it for now while we work.
[hr]
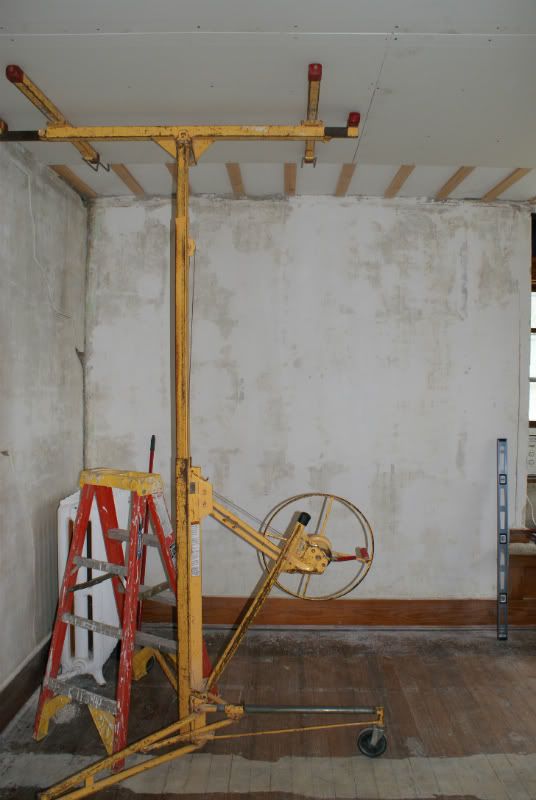
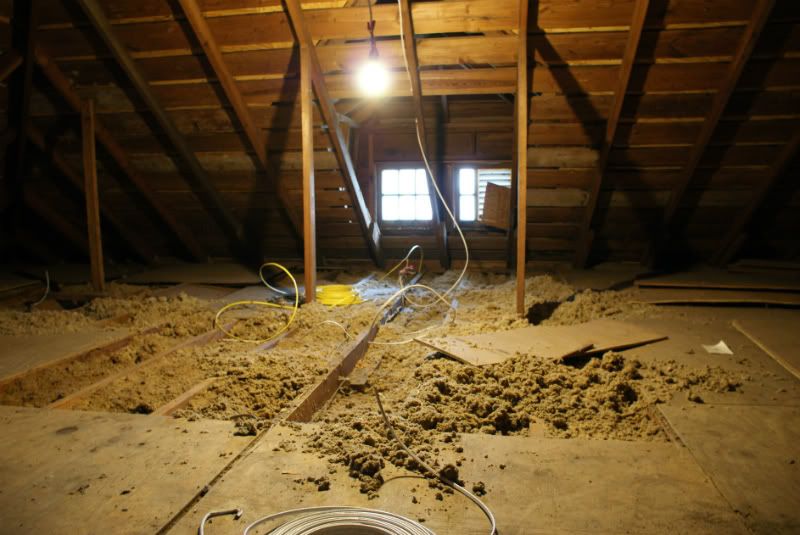
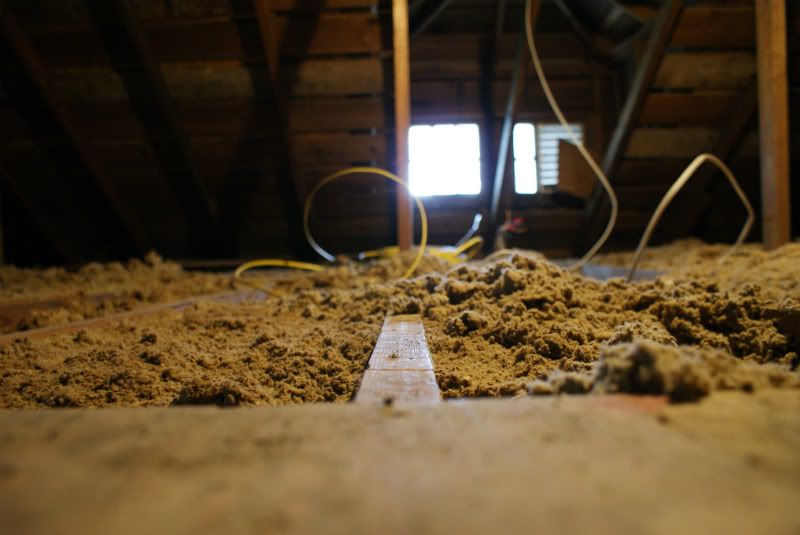
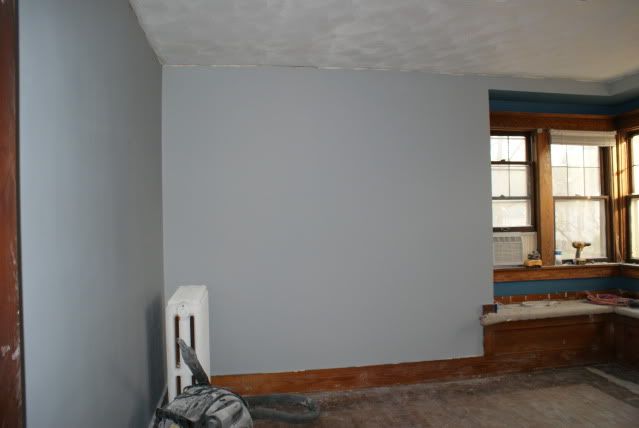
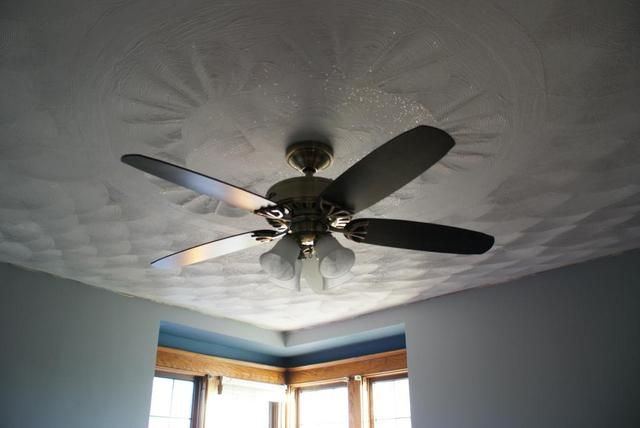
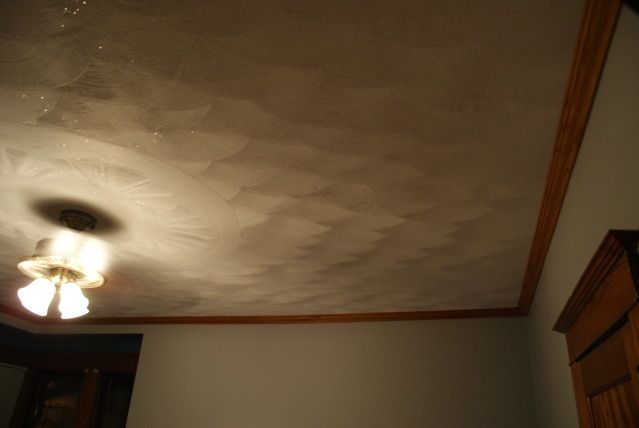
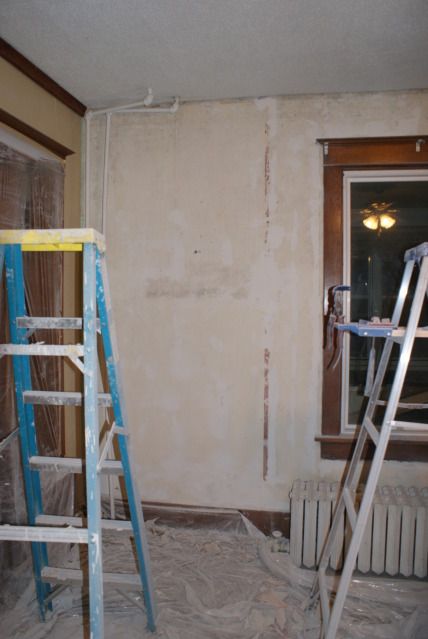
On to the most updated pictures. Hung sheetrock on the ceiling today. I know some wont like it, but it was the best thing to do. We are also rewiring everything. I want grounds on my outlets and I am also into technology so I would like to do some home automation, therefore I need neutrals at my switches. We are adding a light in the closet and a outlet in the window corner for the AC since there are no outlets in the outside block walls.
[hr]
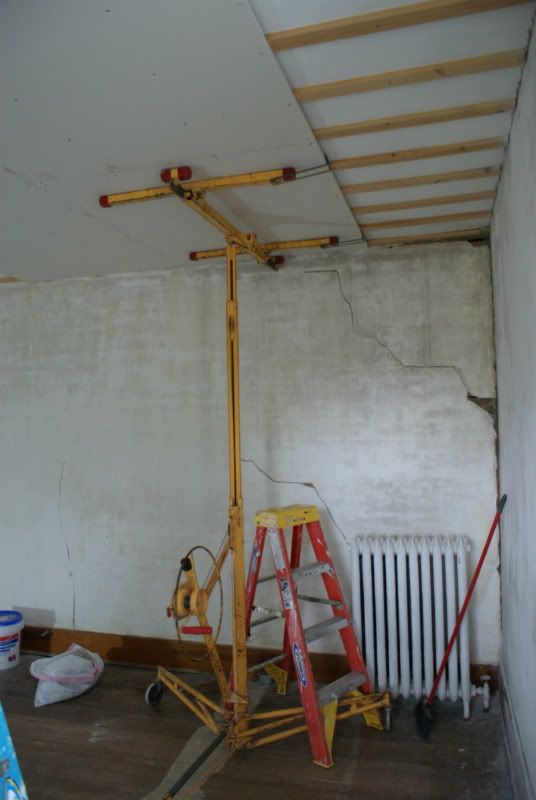
I was able to get the top of the window area framed out and sheet rocked today while my SO worked on some patching. She is hoping to get that all done this week along with mudding and taping the ceiling this week. That means I need to get the last sheet up in the corner and put in the outlet for the AC unit.
[hr]
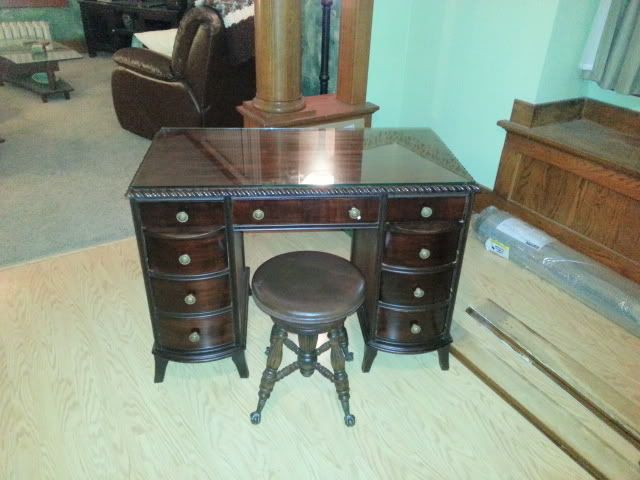
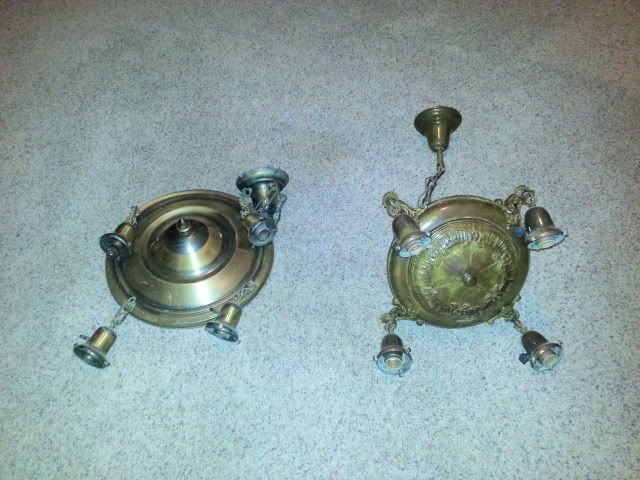
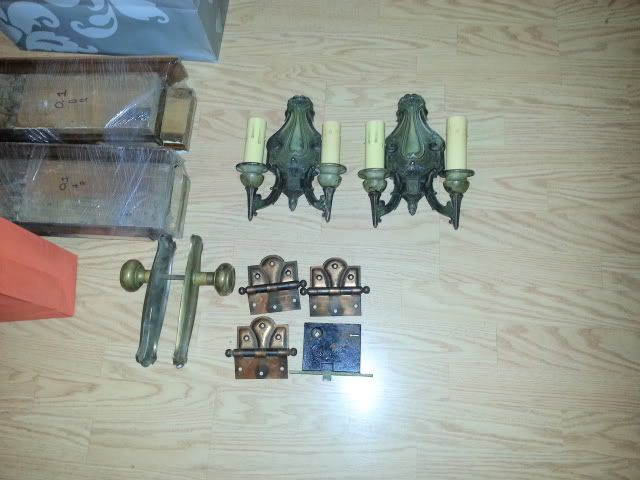
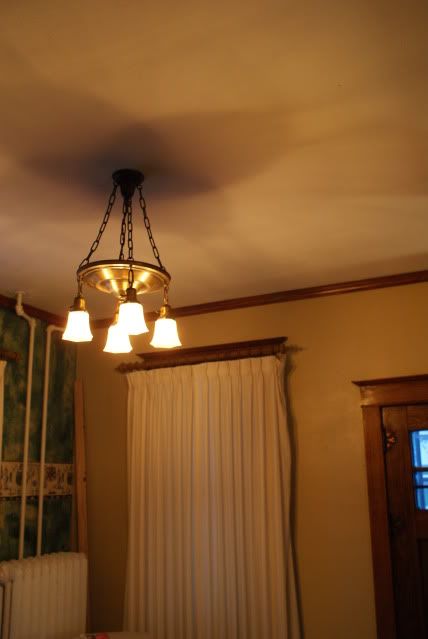
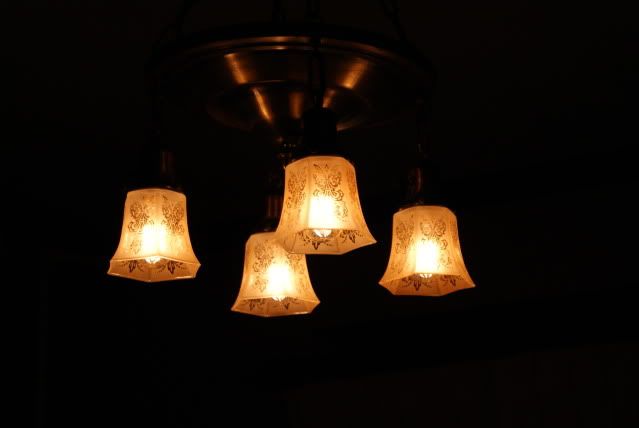
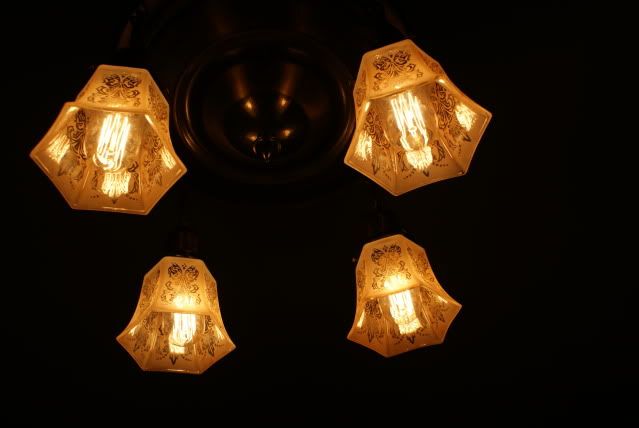
We haven't made much progress with the Master due to getting married last Saturday and being gone on our honeymoon this week. We went to Stillwater, MN and bought some things for her bathroom on the main level. It was the original kitchen so there will be a little room to work with. She found the desk and wants to use it as a vanity. She also found the fancier light for the bath, but still is looking for shades. The sconces and that light are rewired already. We found the door and frame since there isn't an original frame and door from the kitchen to dining room.
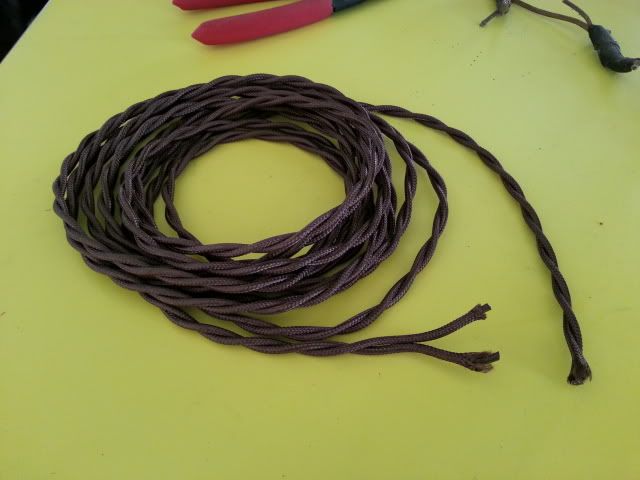
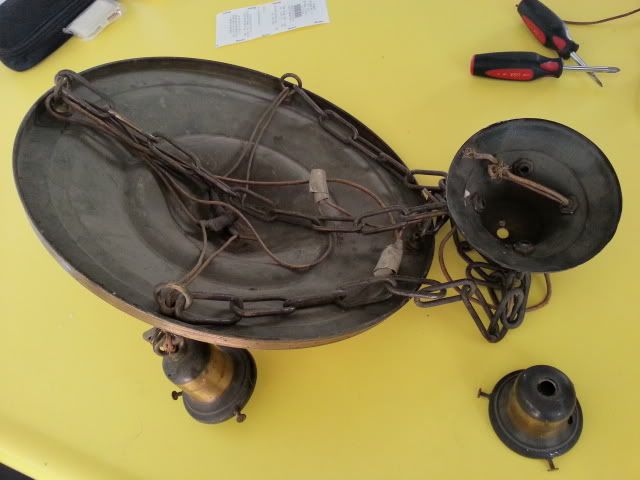
I bought the other light and shades for the entryway. I will be needing to order some cloth wire and rewire it.

[hr]
Got my new wiring today
Last Photo of Antlers
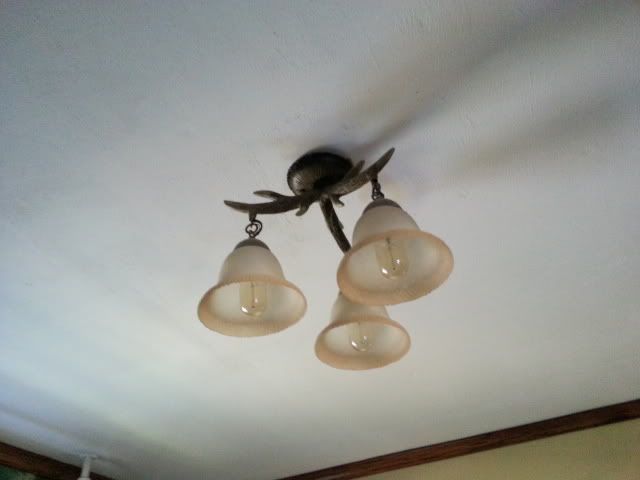
Mounted up
We also found a salvage place this weekend that has all the woodwork you could ever need. We picked up some hardware from there also.
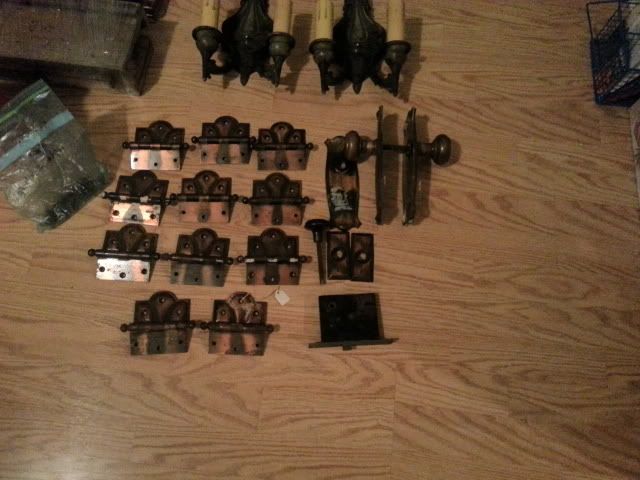
There is a bag of what she called "specialty screws" in that photo for my "New" old door frame to match my existing ones.
[hr]
Wanted to post some pictures to show we're making progress, slow, but progress.
Pulled the carpet off the back and took off the boards between the woodwork. Just a little bit of what looks to be construction adhesive.
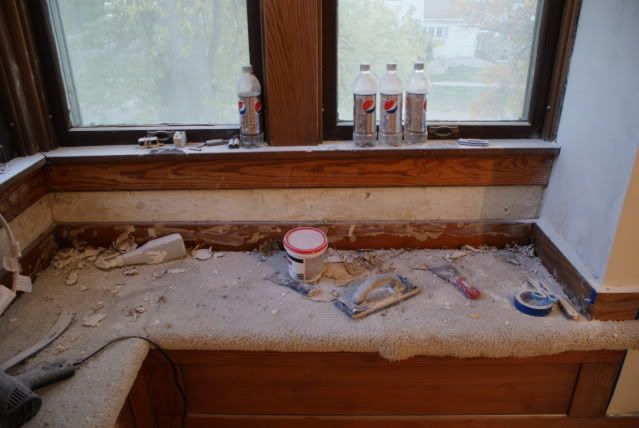
We took a heat gun and putty knife and cleaned up the woodwork below the windows.
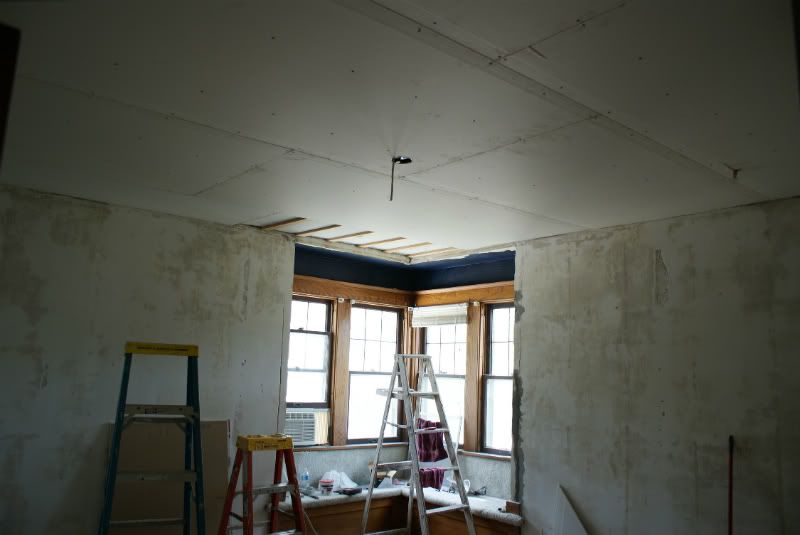
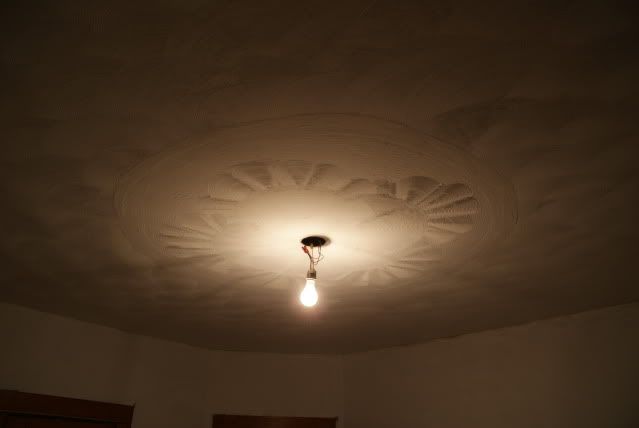
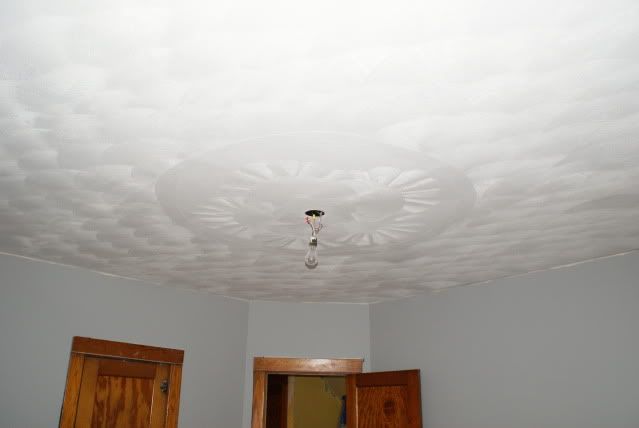
Ceiling is textured

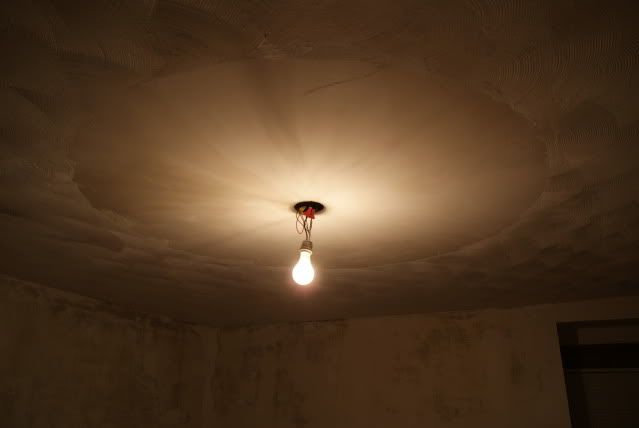
She is working on finishing the outermost circle. (This picture doesn't show all the detail, I'll get a better one)
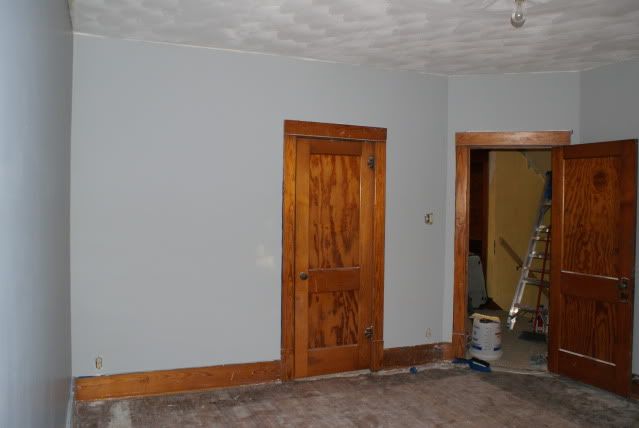
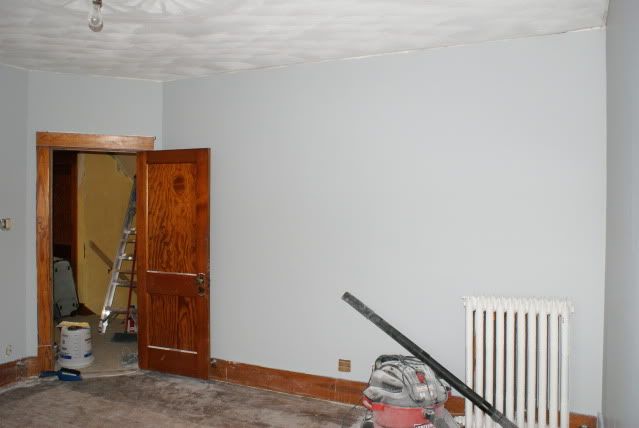
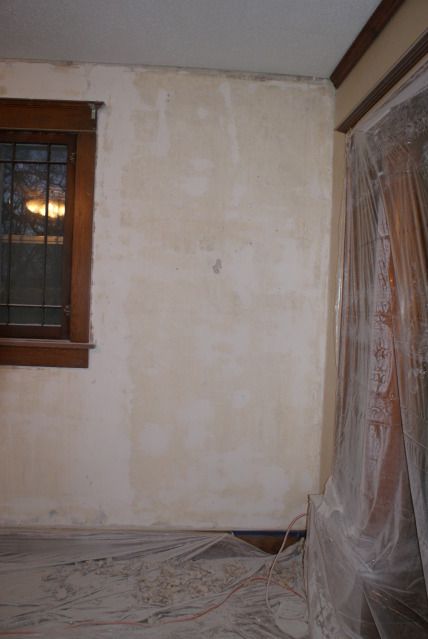
Walls are primed

Next up is to finish cleaning up the woodwork in the corner and prime the window walls. We will then paint and move on to refinishing the floors and corner woodwork.
[hr]
We got the room painted this weekend.
[hr]
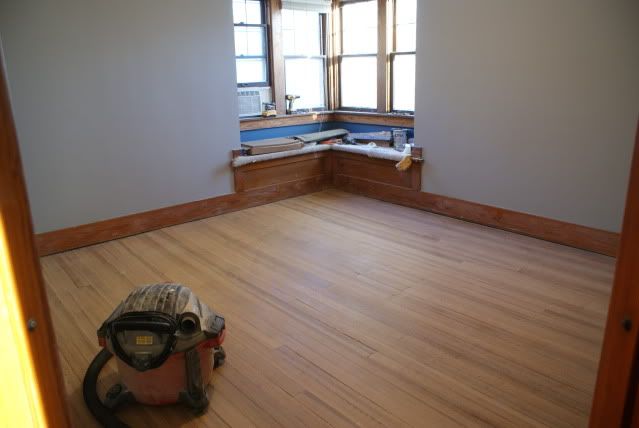
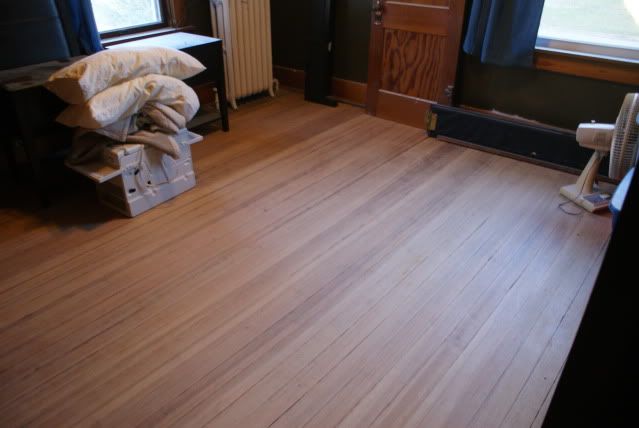
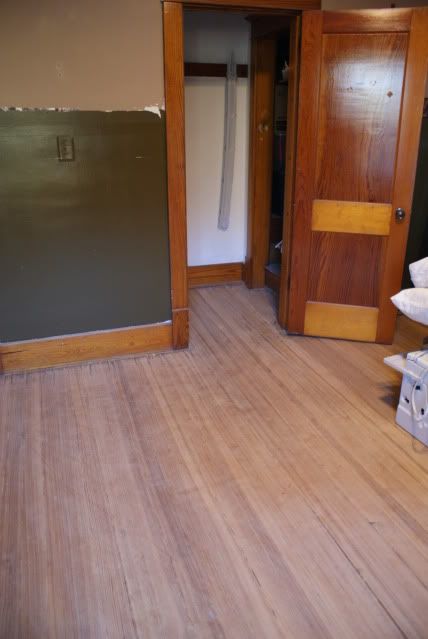
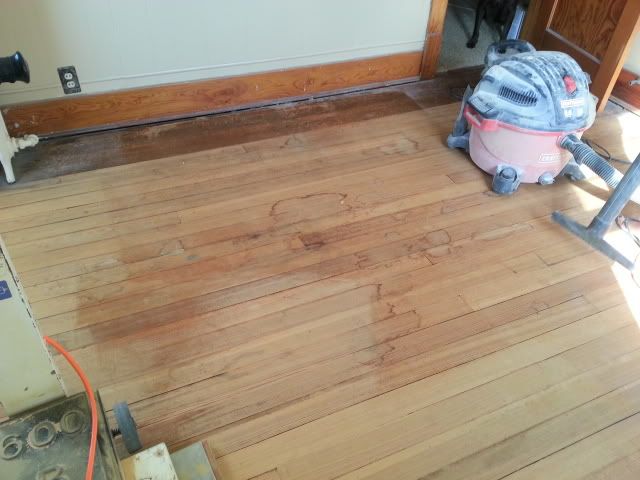
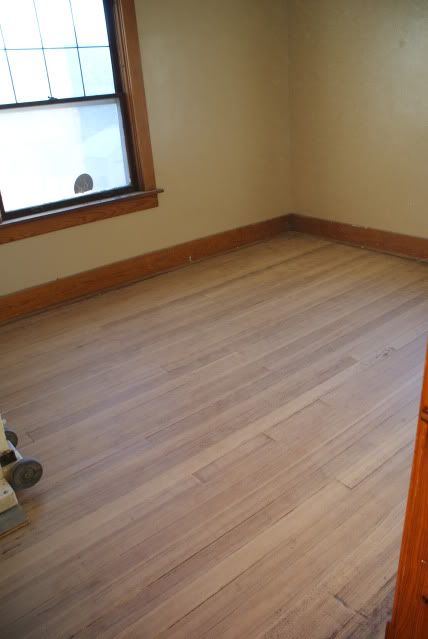
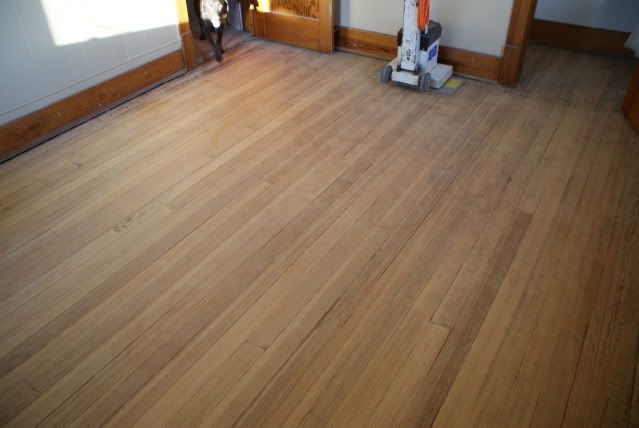
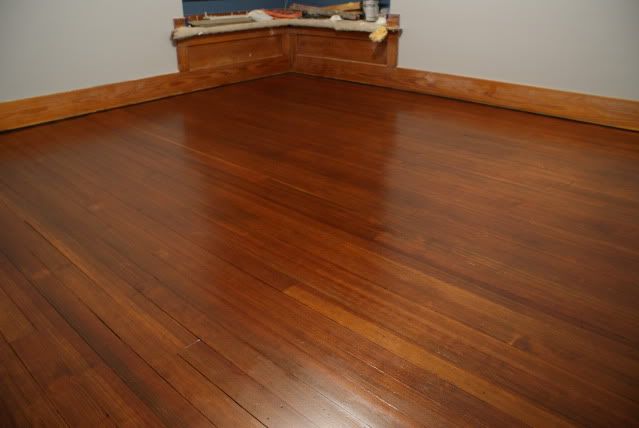
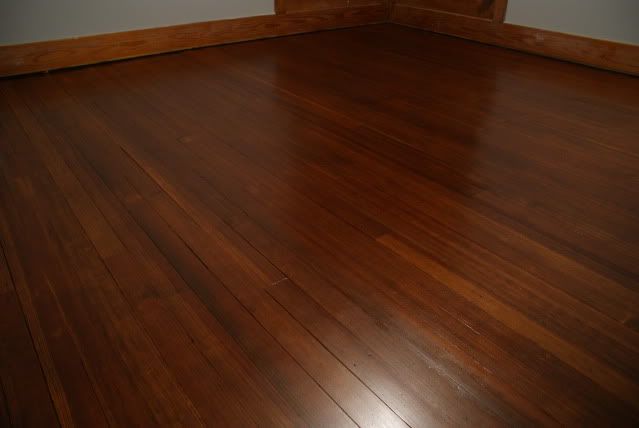
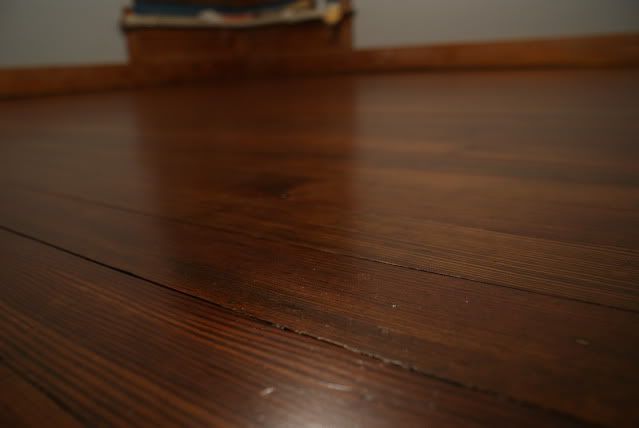
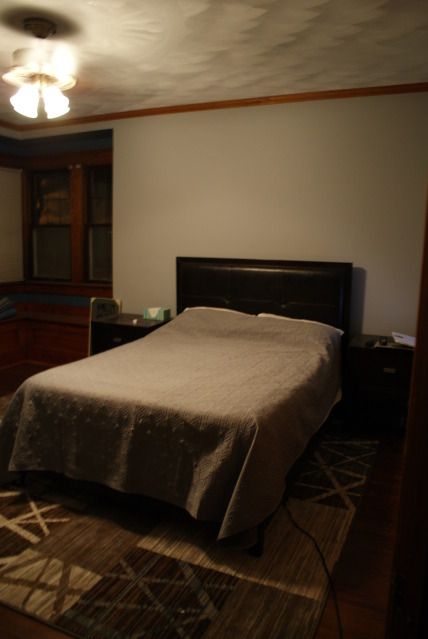
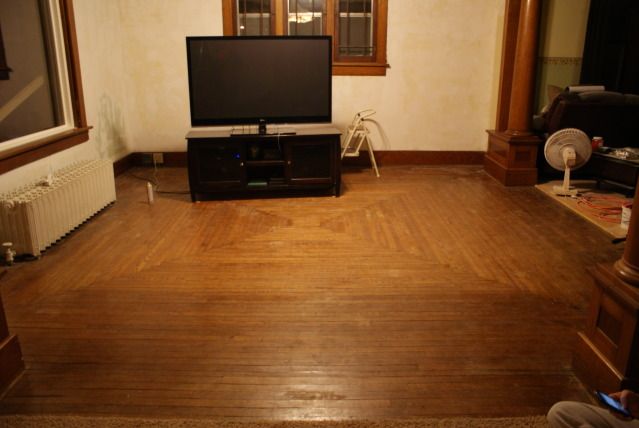
Saturday morning we rented a sander and then threw a Iowa football get together. It was the first time we have had more then a couple people over at a time and this large home works perfect. We didn't get to the floors until late that afternoon and then went out to dinner with her family, so needless to say it was a little late when I stopped sanding that night. Today we put another 6 hours into the floors and were able to finish up all 4 bedrooms. All that is left is to sand the edges.
Here is the master
Here is the second largest bedroom
Second Smallest
Almost forgot to take a before of this horrible floor
I didn't take a picture of the smallest room as it is stuffed full of furniture at the moment.
[hr]
We stained the master bedroom floor tonight and will continue with the polyurethane tomorrow.
[hr]
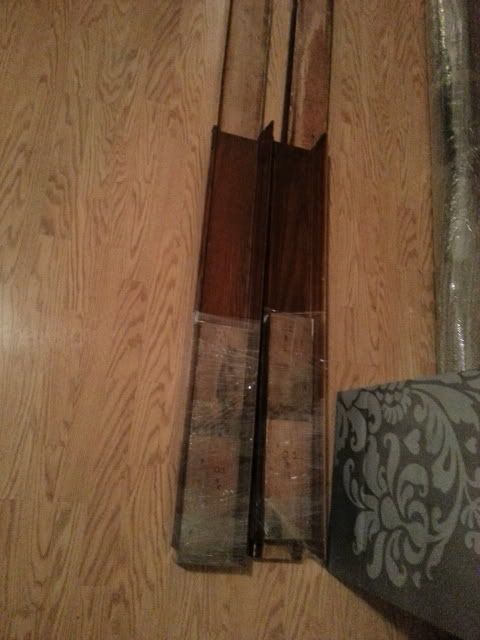
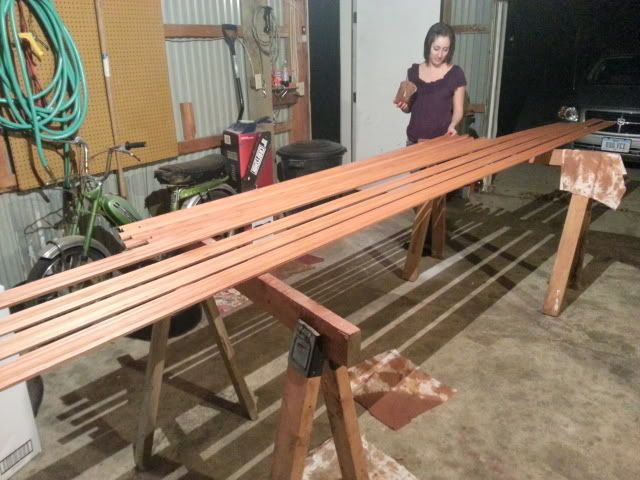
Picked up the crown molding and quarter round yesterday that we need. This was the only way that I could think of to transport 16' pieces.

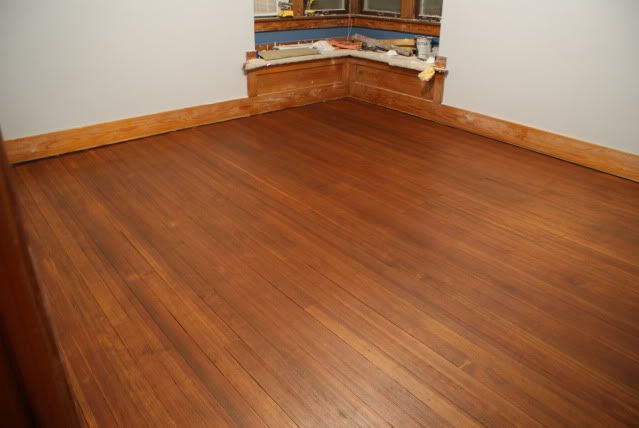
Here is everything stained. We mixed a few colors to get one that matches out woodwork. Tomorrow we will shellac over it.
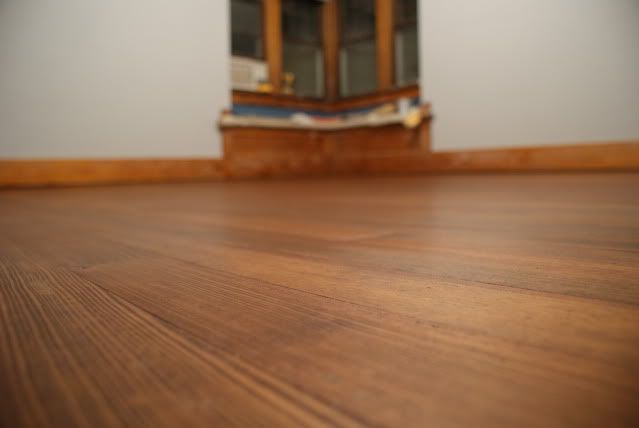
The last coat of poly went on last night. Here are some pictures, I messed with the exposure and these colors are just about spot on
[hr]
Thanks guys, I can't believe how nice they came out. She did a great job finishing them.
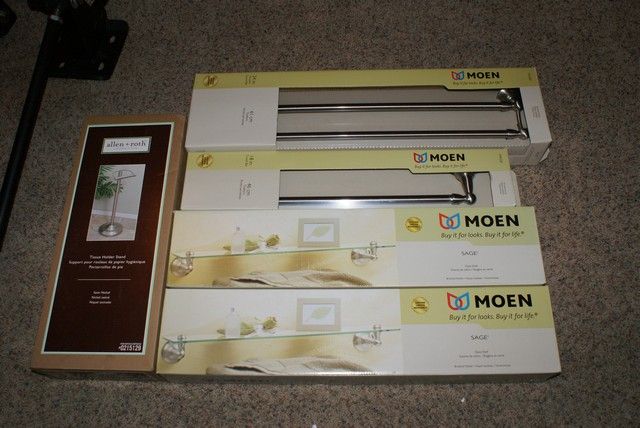
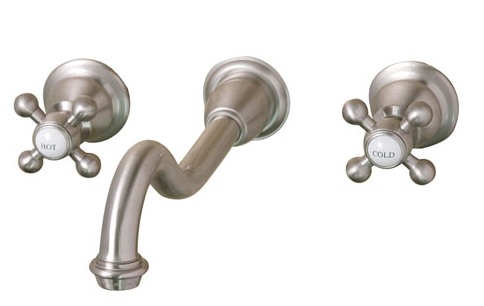
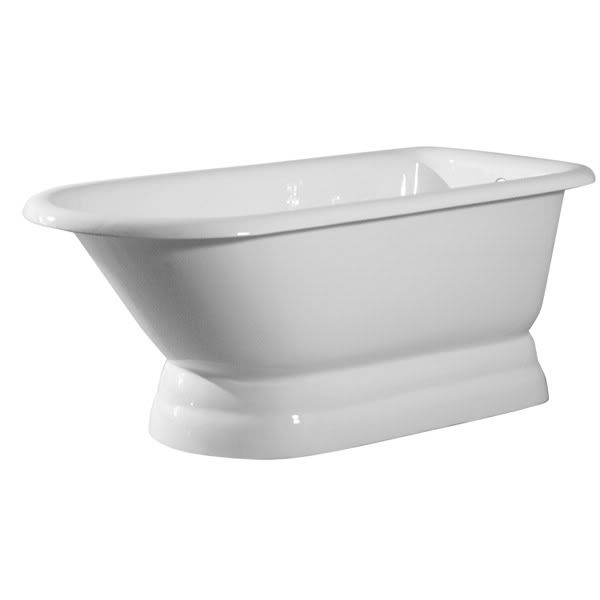
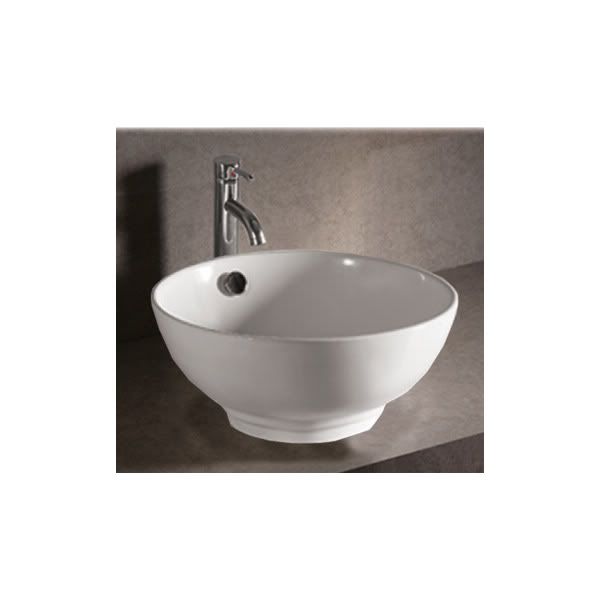
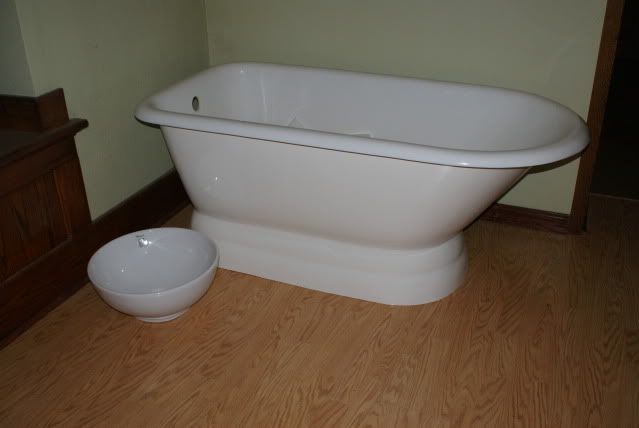
We made a small order last night for some bathroom pieces.
Cast Iron tub
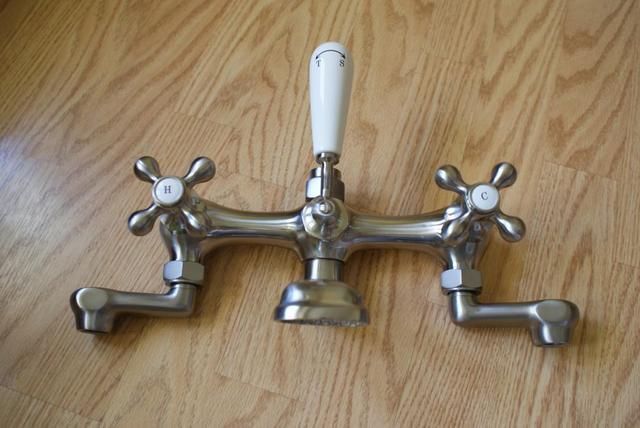
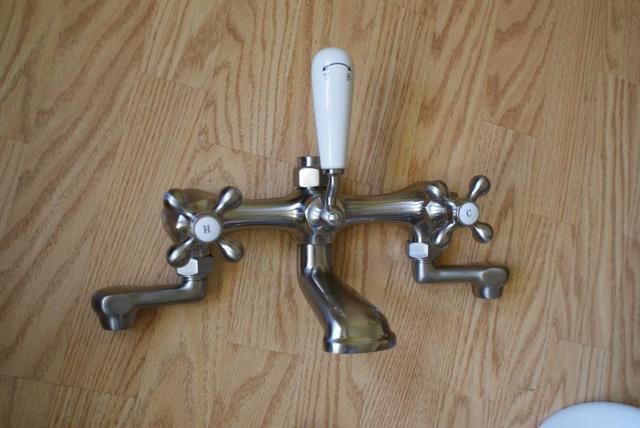
Brushed Nickel faucet and surround.
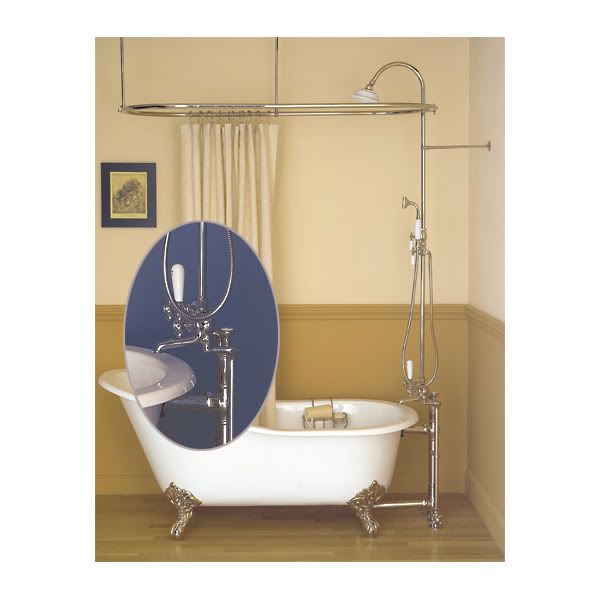
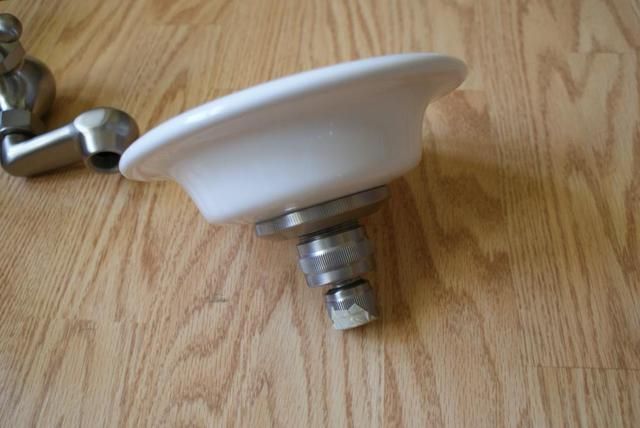
Sink, just the vessel. We still need to find a faucet we like for the sink.
[hr]
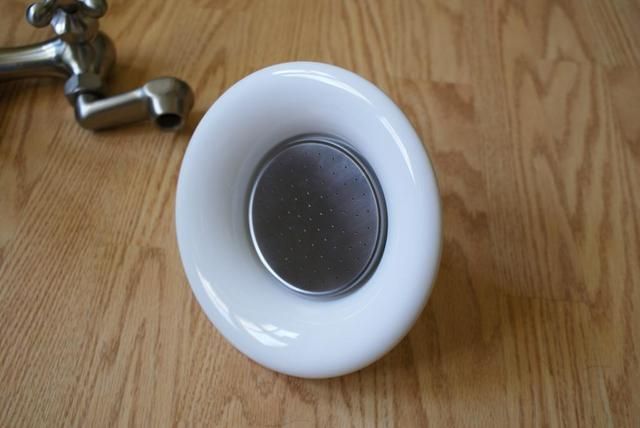
These showed up today.
[hr]
We've made slow progress, been busy.
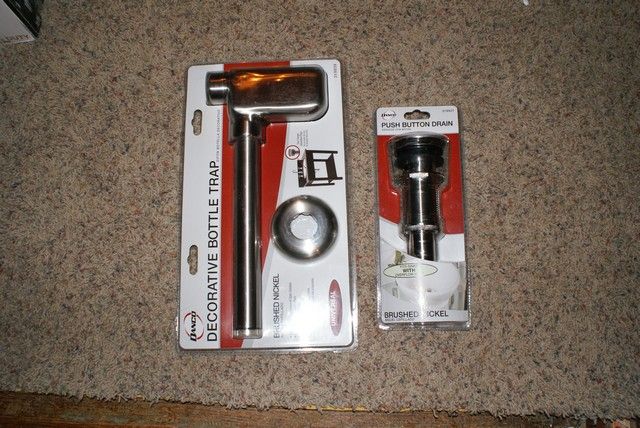
Our plumbing showed up a couple weeks ago. Here are are a few pieces. All of the valves are ball valves. Everything seems to be top notch quality.

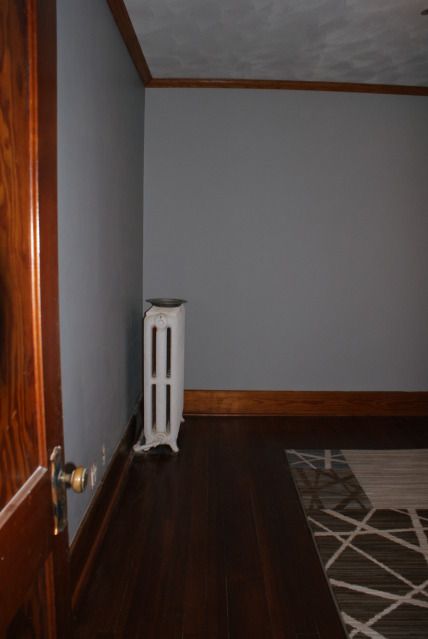
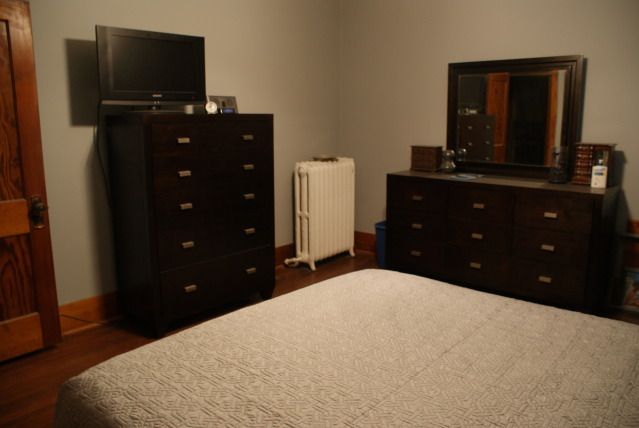
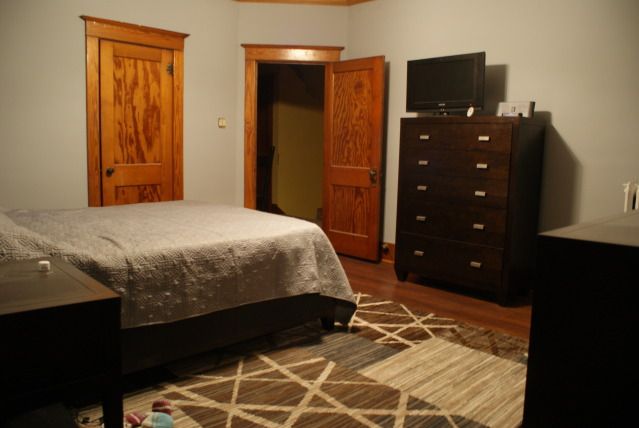
Master is almost finished. Just waiting on quarter round and crown molding

Seat and sill all refinished. Need to touch up the paint and clean the window trim of old paint.
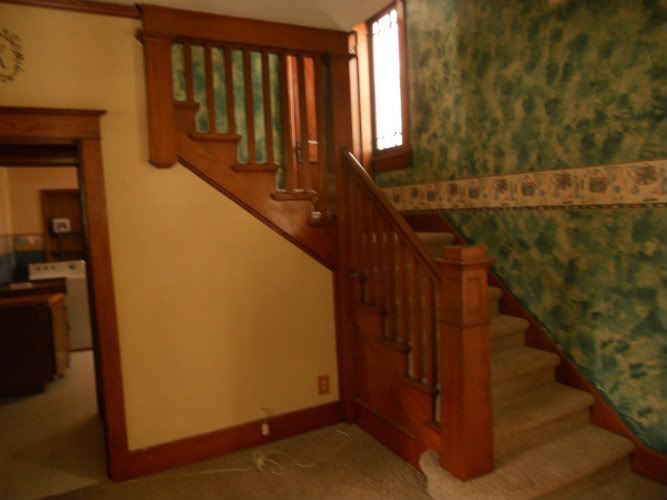
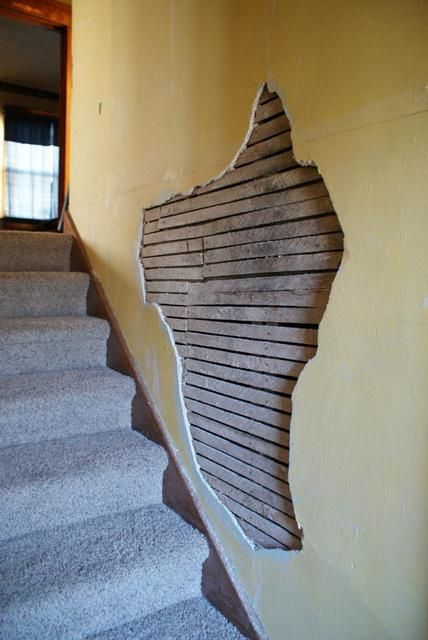
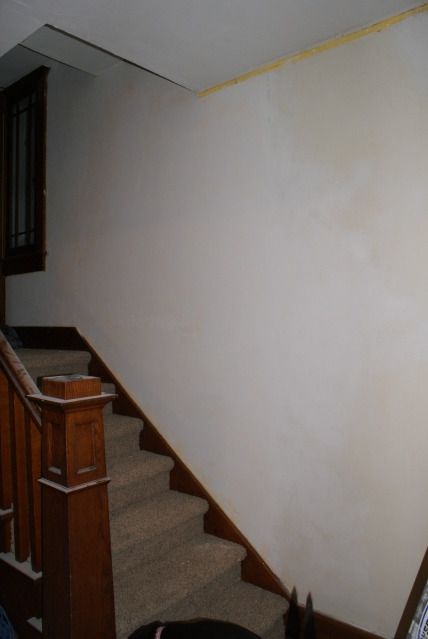
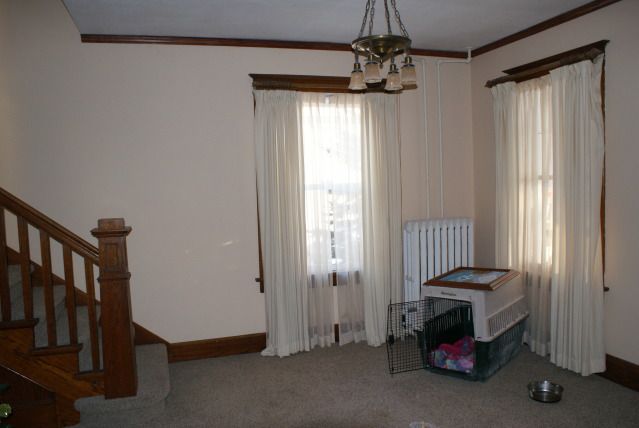
Removed a horrible drywall mud patch job from the stairway
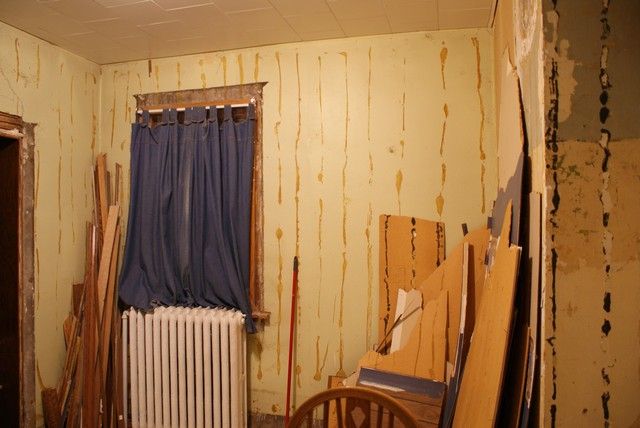
My mother stopped by earlier this week and asked to have Christmas here this year so we removed the wallpaper in the entry and will be removing the paneling in the living room within the next month.
[hr]
We finished up the bedroom with the exception of window coverings and wiring for the tv. I haven't ran all of my cabling yet, but needed to use the tv in there temporally as you'll see why further down.

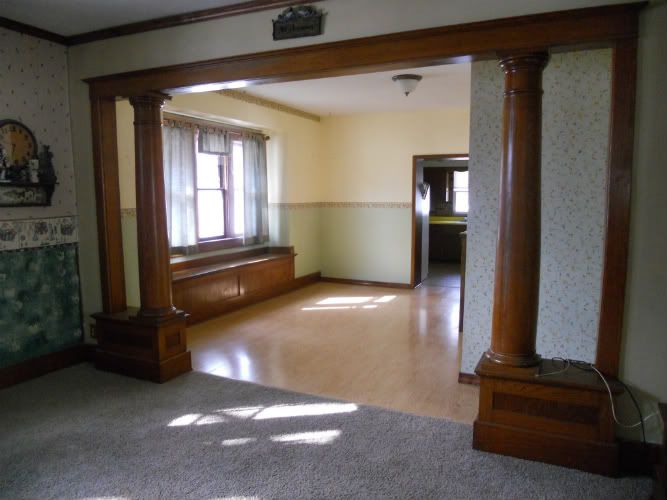
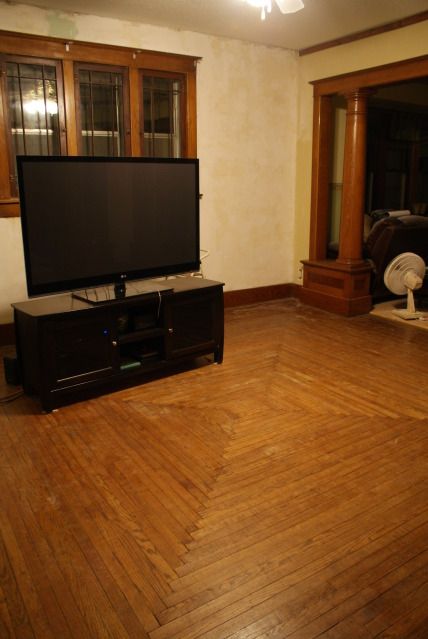
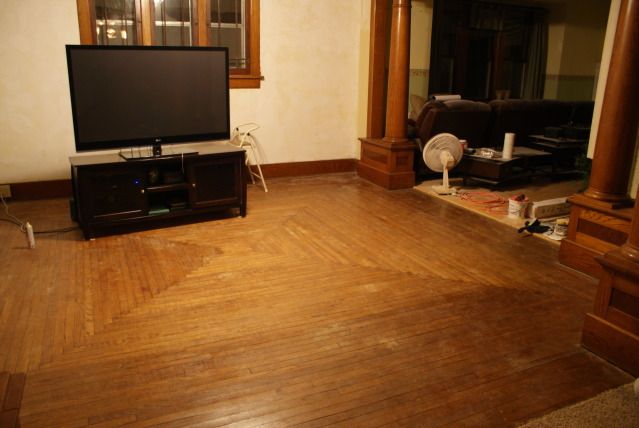
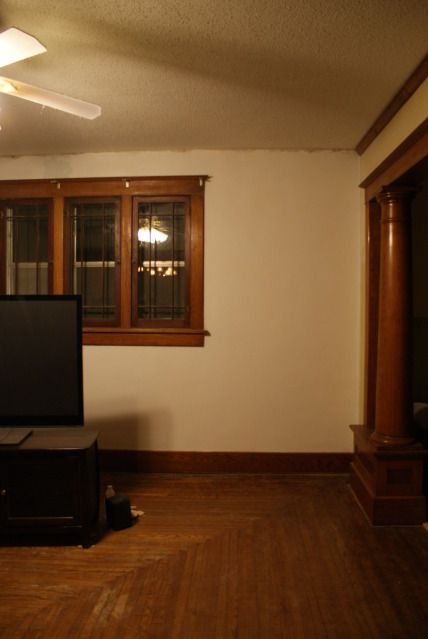
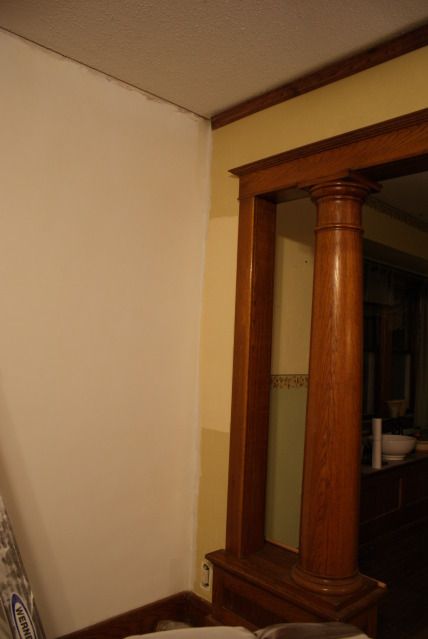
After doing that we decided to start on the living room since it needs "done" by christmas. We started with taking down the paneling.

The whole room was closed off, looked like a scene from Dexter.

I then sanded all of the black glue off.
After that it was just a matter of patch, sand, and patch some more. Then clean up.
We also got the stairway cleaned up and some texture on the walls to match what was already in the entryway. We will be painting it this week.
[hr]
We've been hard at work this past week. Here is an update.
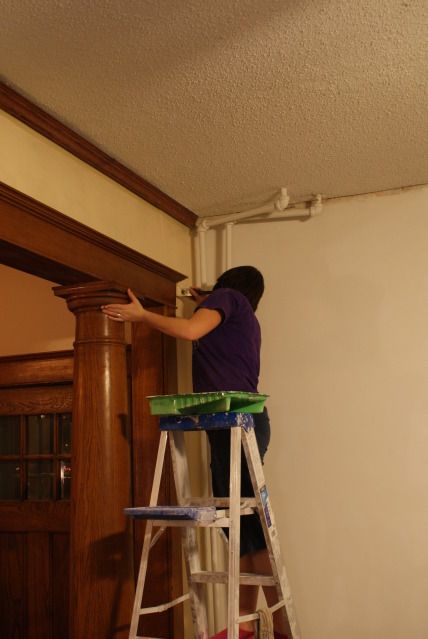
Primed the living room

We then painted the entry and living room inside walls

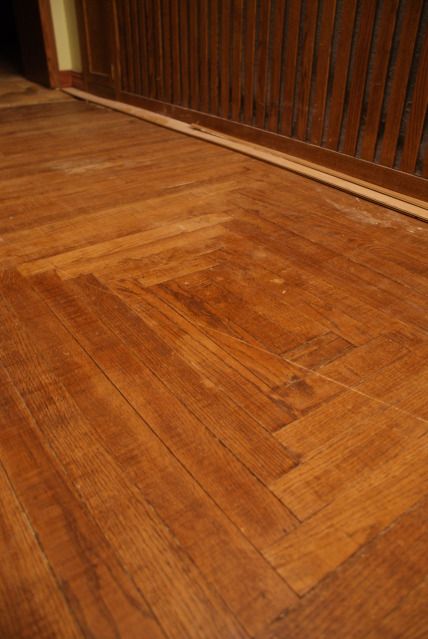
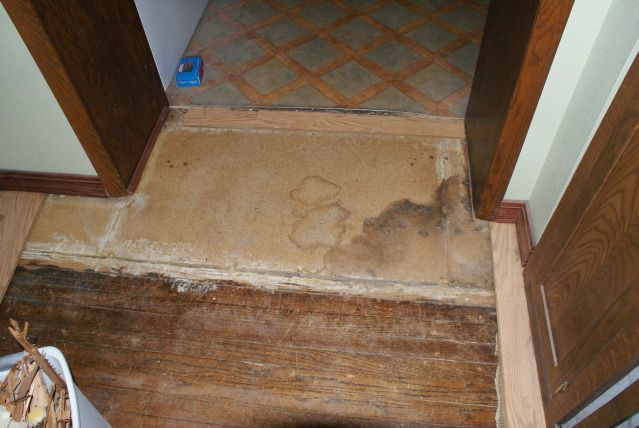
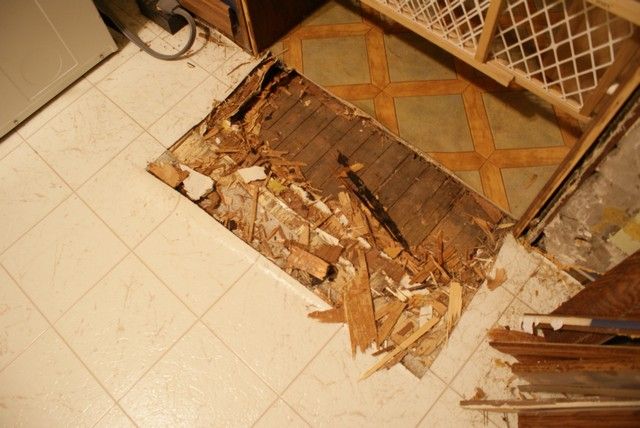
After we finished painting that night I decided to tear up the dining room "floor". This wasn't in the plans, but after seeing the living room floor I wanted to see it. You can see the damage they made when they added the kitchen. I will have to fix that when we tear out the current bathroom and fix the floor under it since the bathroom caused a lot of holes in the dining room floor.

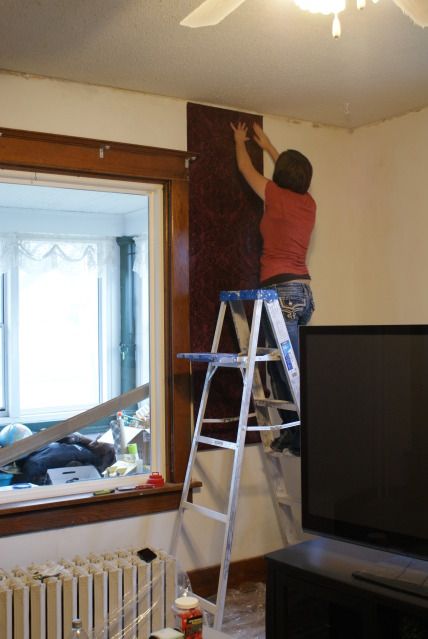
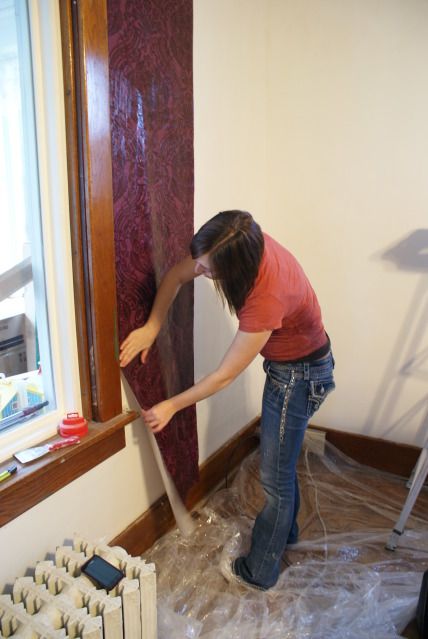
Today my mom stopped by and helped Brenna put up our wallpaper for the living room.
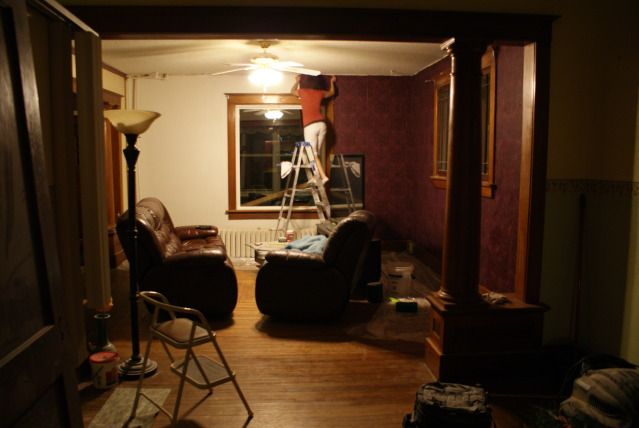


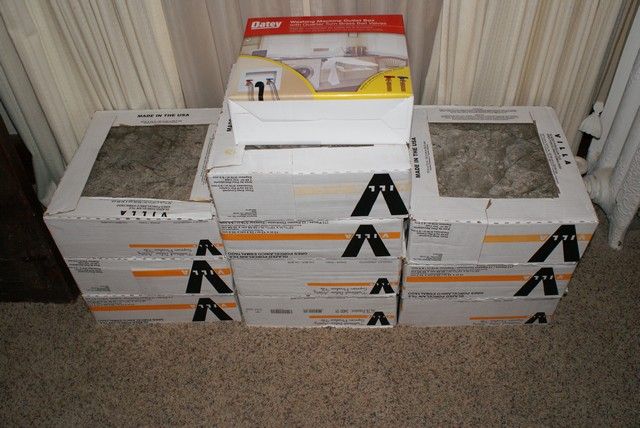
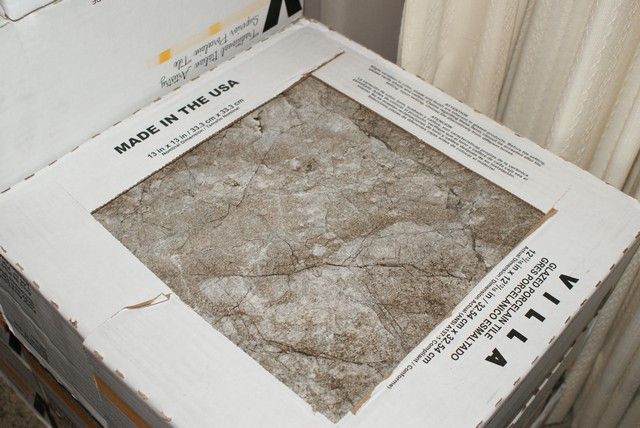
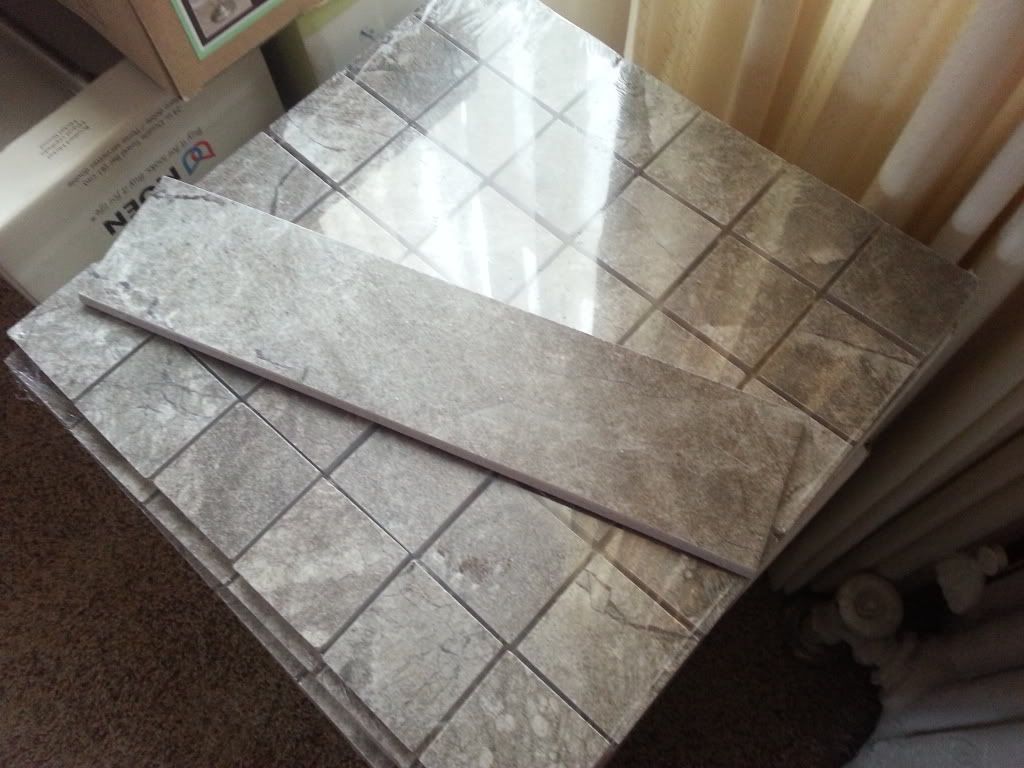
Tomorrow we hope to get the crown molding put up and go look for tile for the bathroom. We found one we like last night, but want to look at a few more.
[hr]
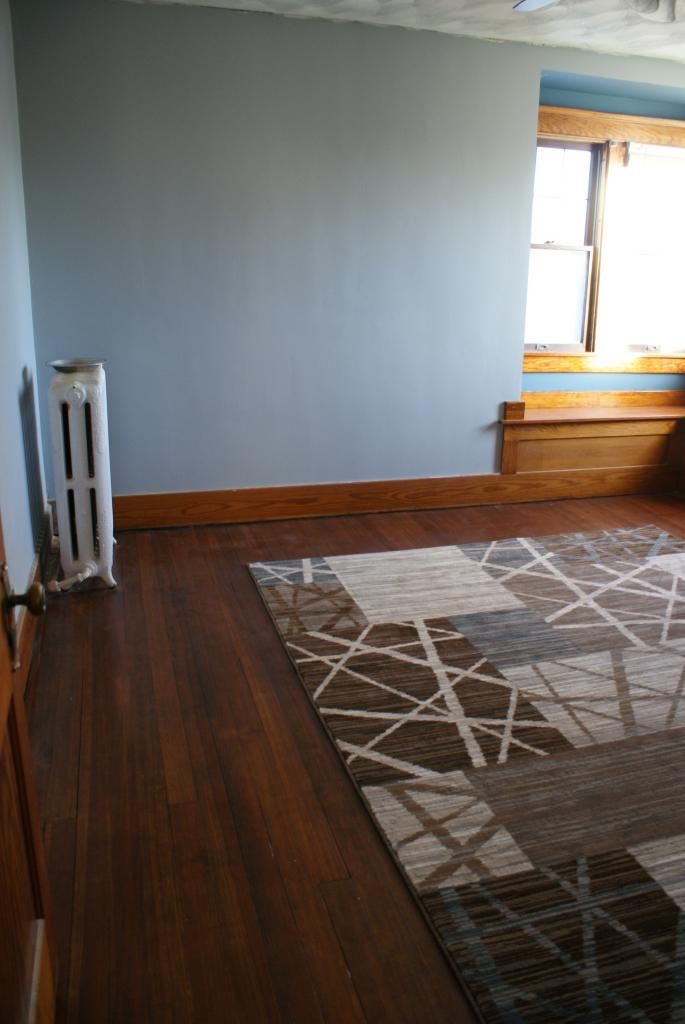
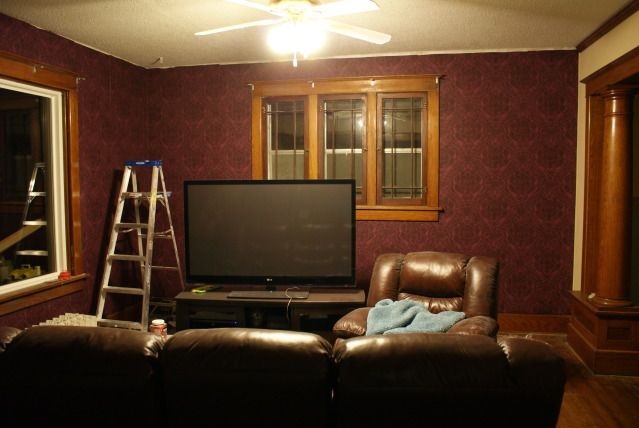
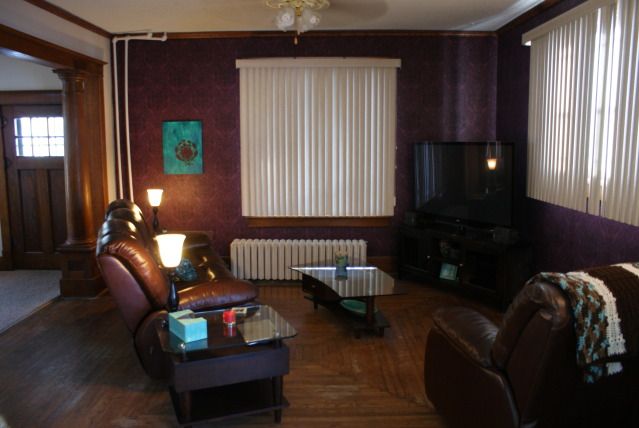
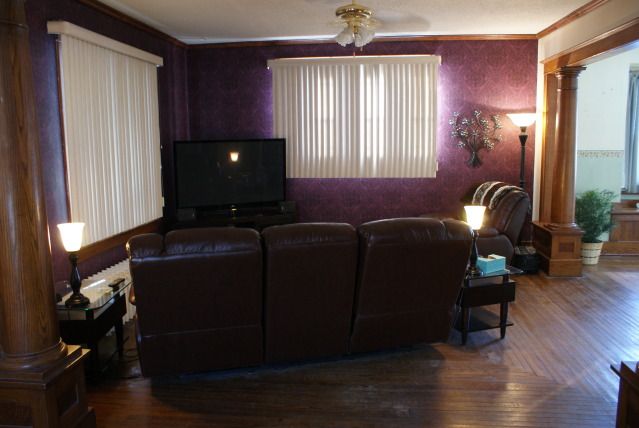
We were able to finish everything in time for Christmas. Here is how everything sits now.
[hr]
We were able to finish everything in time for Christmas. Here is how everything sits now.
[hr]
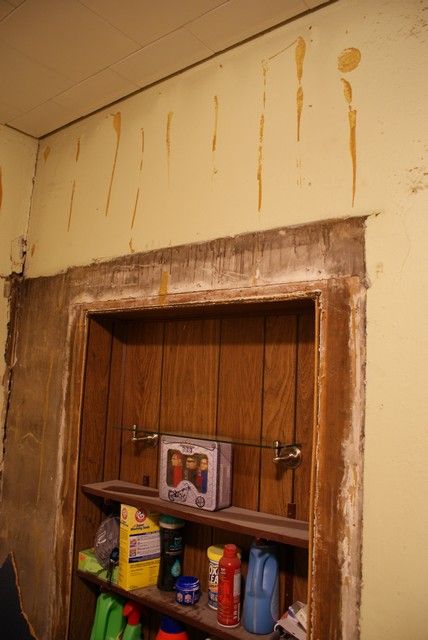
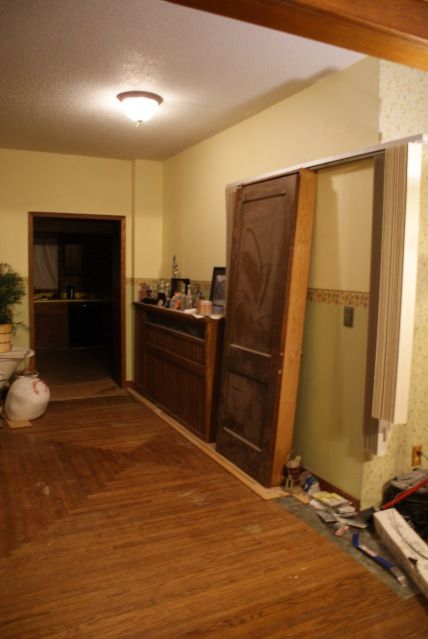
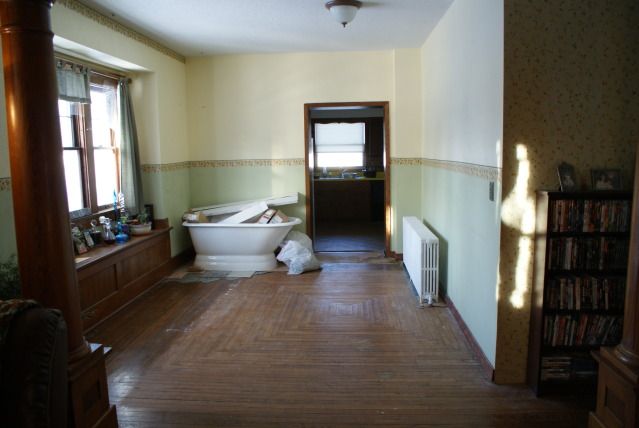
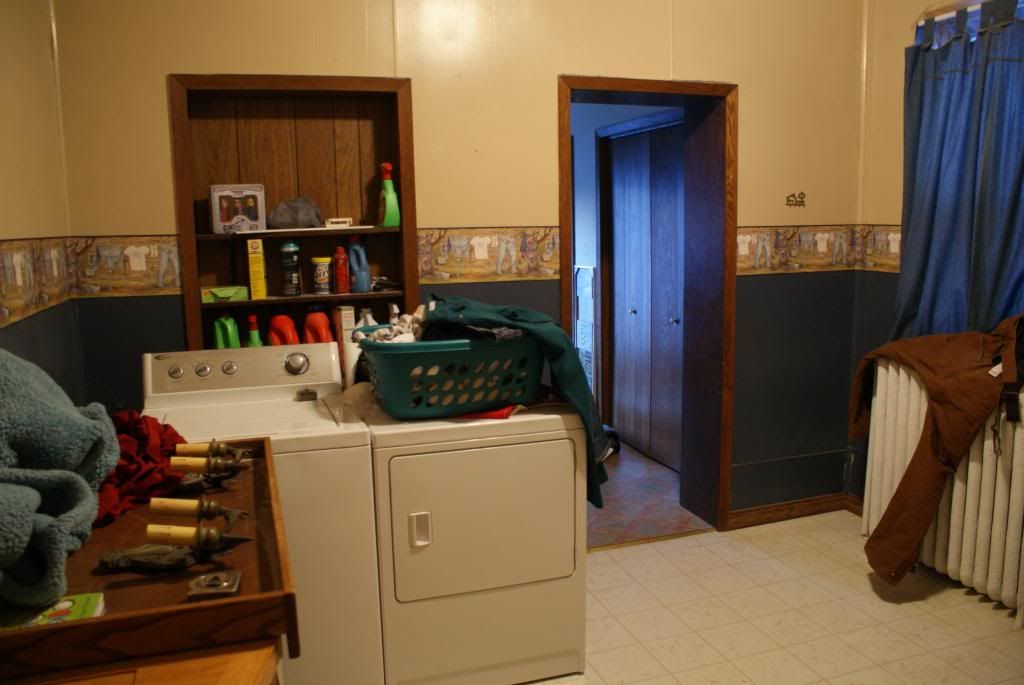
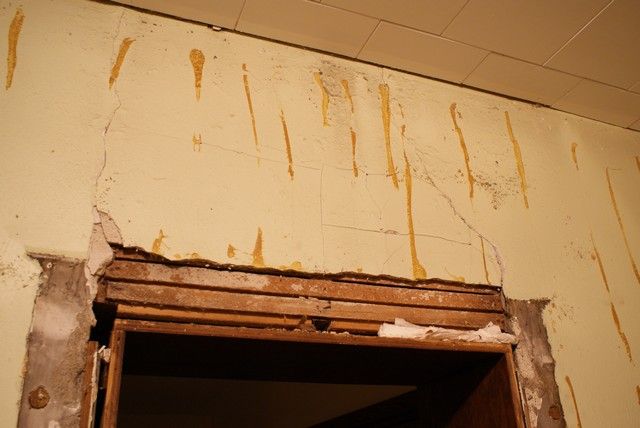
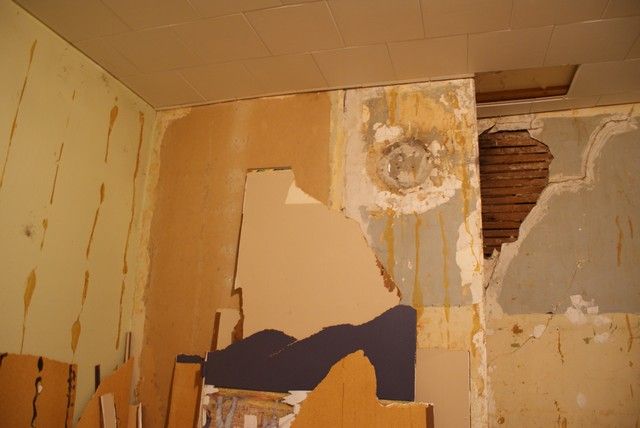
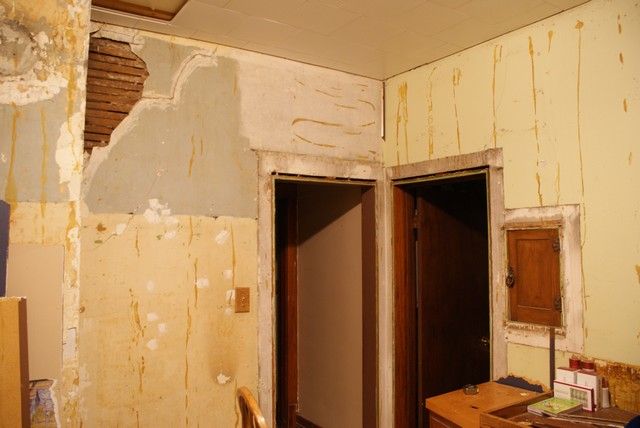
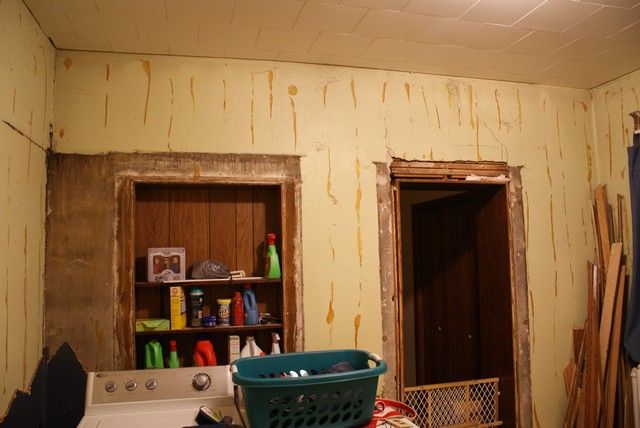
The doorway with the light on is that current bathroom. That door will be moved over to be closer to the center of the wall and we will use out new old door and woodwork for it. The doorway to the left of it will be closed off the the laundry closet will be there. In the second picture you can see where the vanity will be and how the closet will extend over to where the chimney is currently.
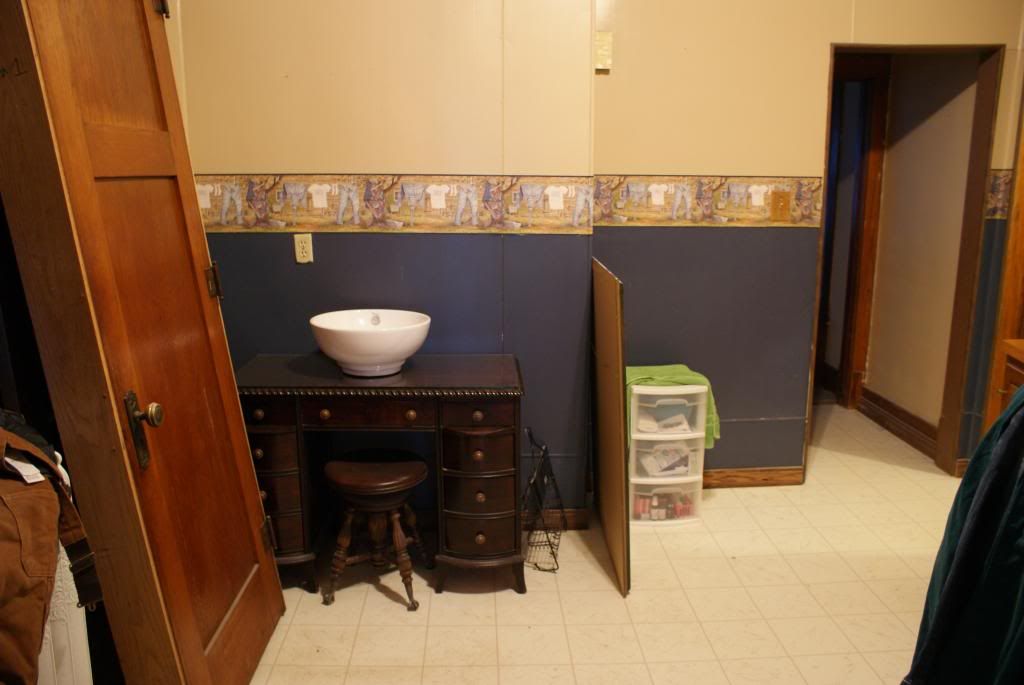
This picture is taken standing in the corner where those two doorways are. We will be putting the tub where the washer and dryer are now and the toilet where the doorway is. We plan to make built in above the toilet to make use of the deep old doorway space.
[hr]
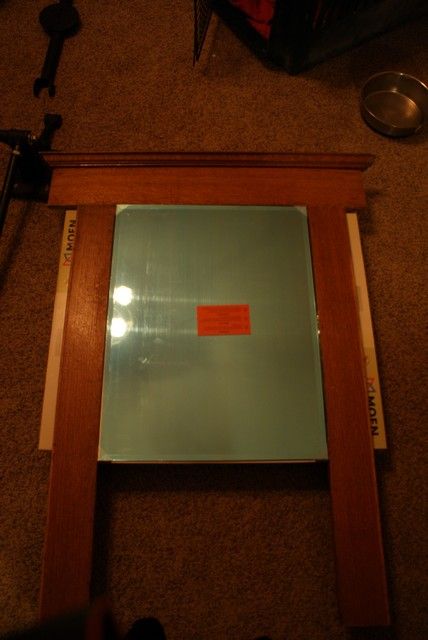
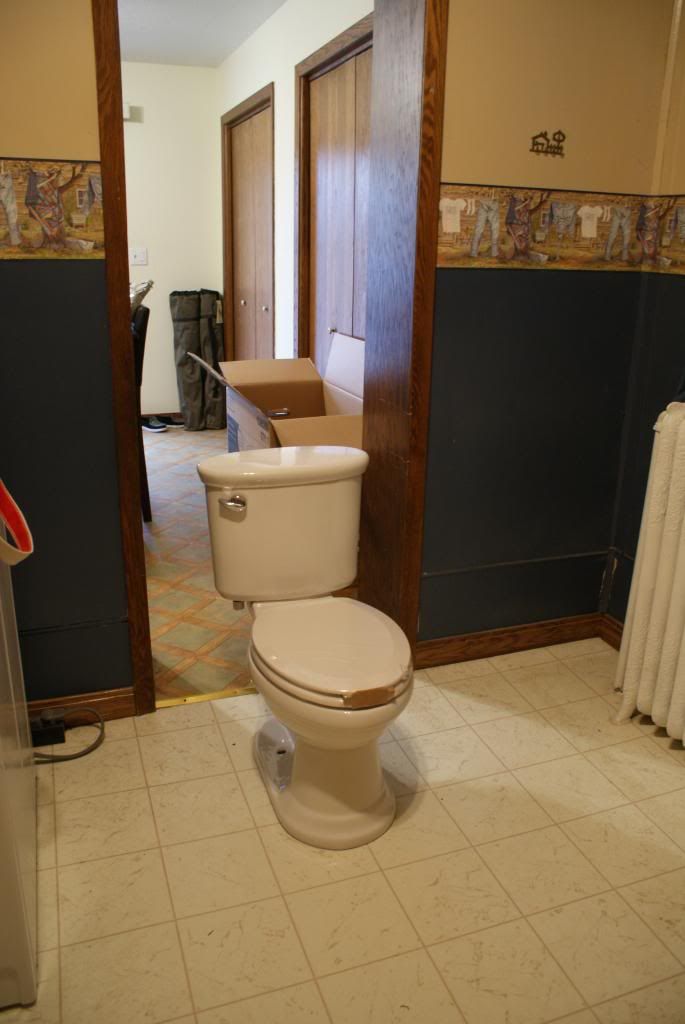
We picked up our toilet last night, here is where it will sit.
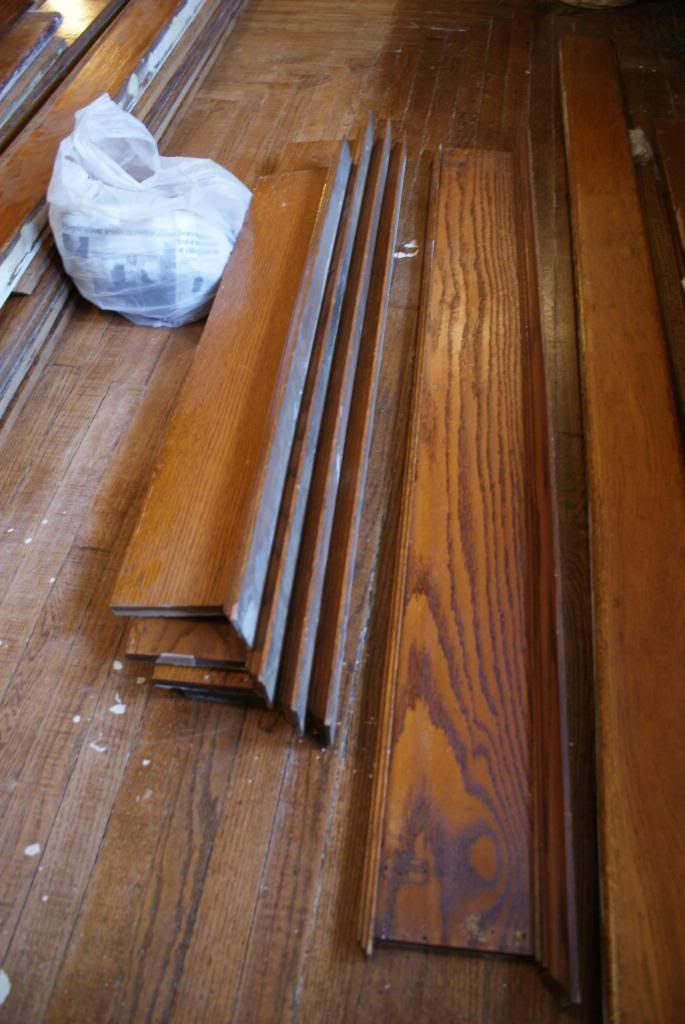
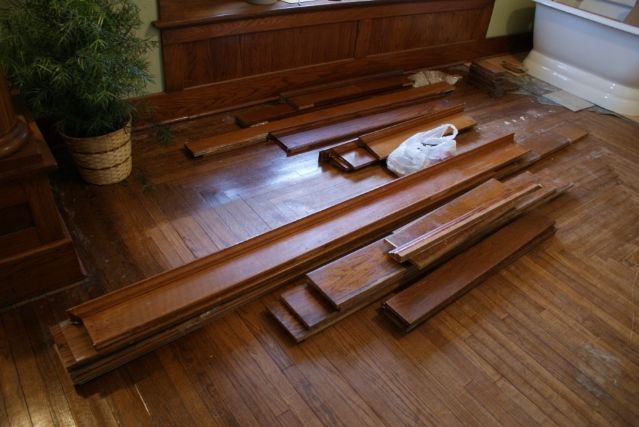
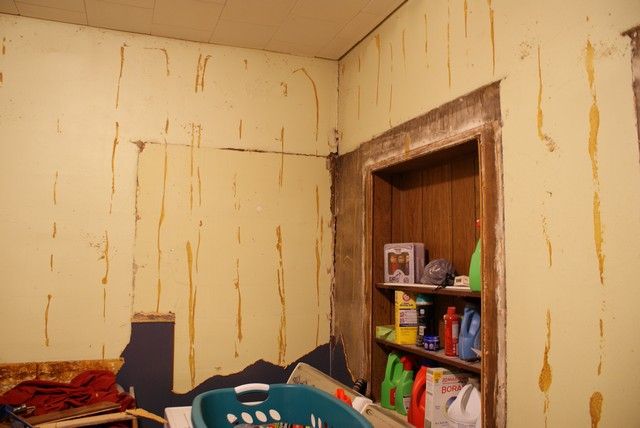
We also went to my favorite woodwork salvage place and picked up all of our woodwork we need to fix the dining room and do the bathroom. Which includes The dining room to kitchen doorway (we will be removing the boxed in part on the right that has the radiator piping.)
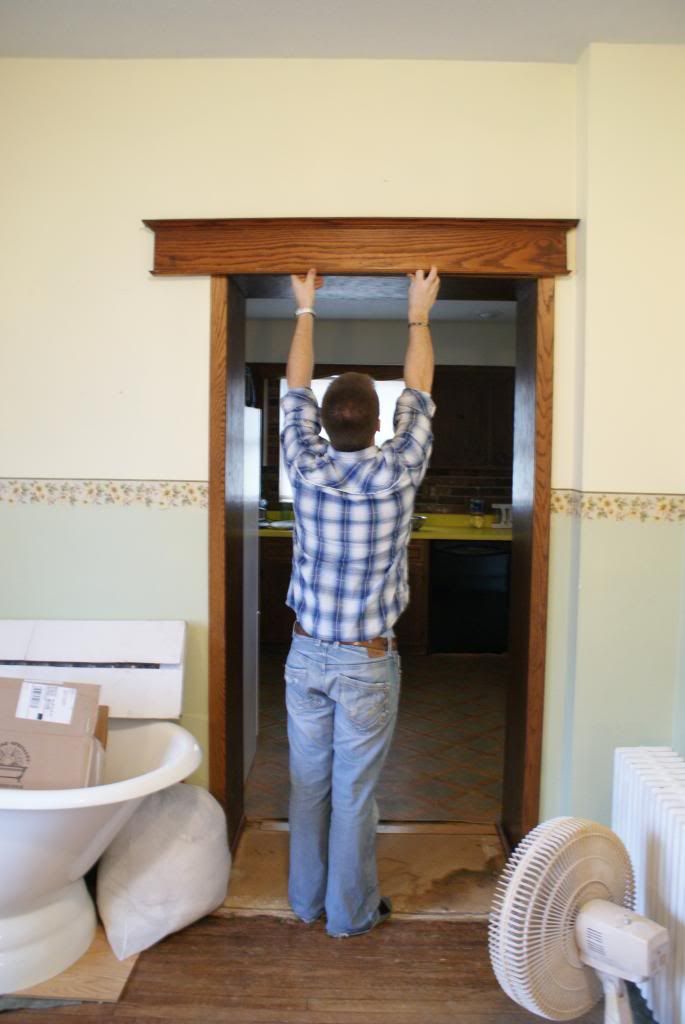
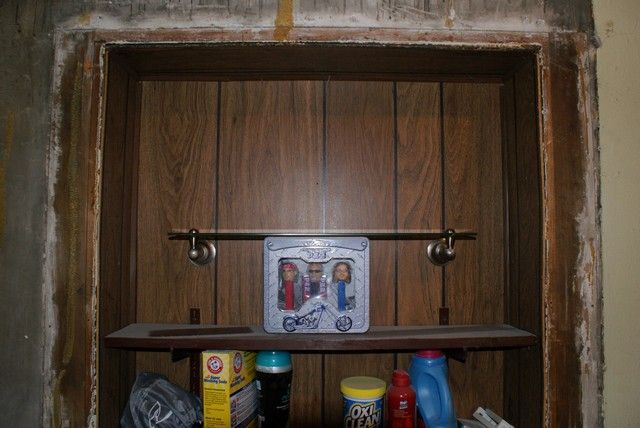
We were also able to find caps that will fit our window, doorway (inside bathroom), Closet door (72" doorway for laundry), shelf behind toilet, and she also wants to make a medicine cabinet that matches.
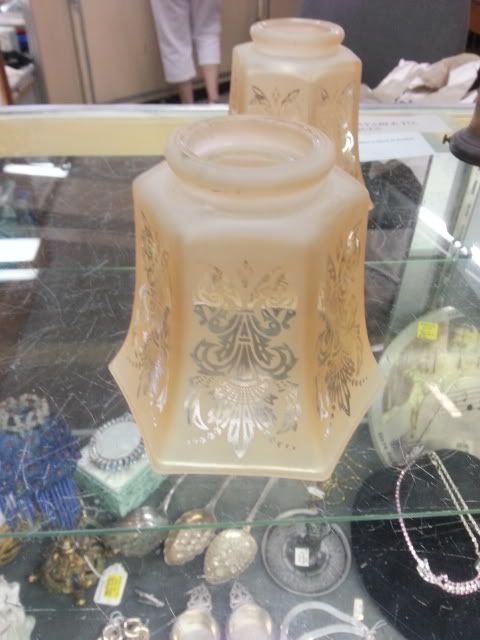
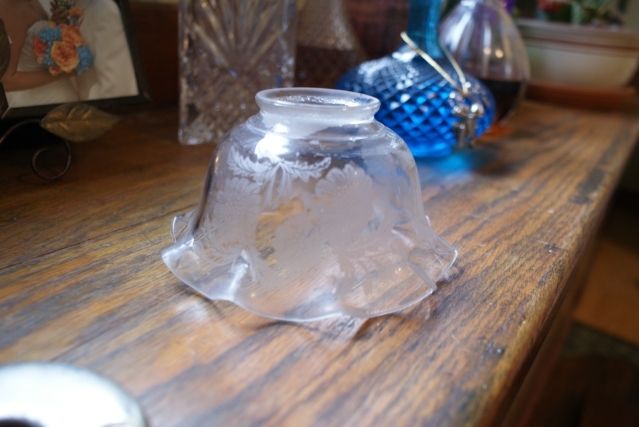
She was able to find her shades for her her light
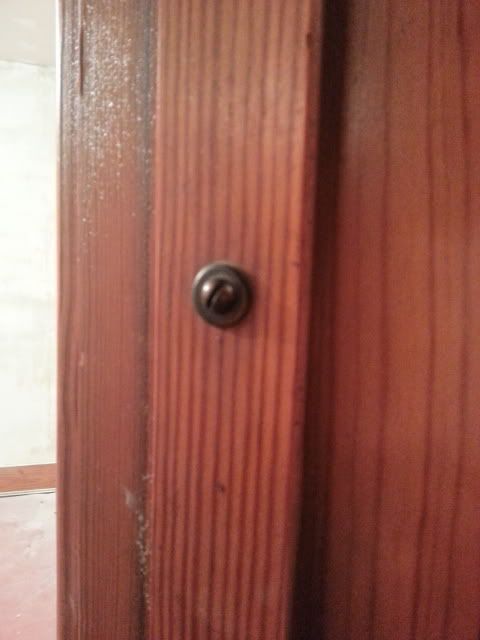
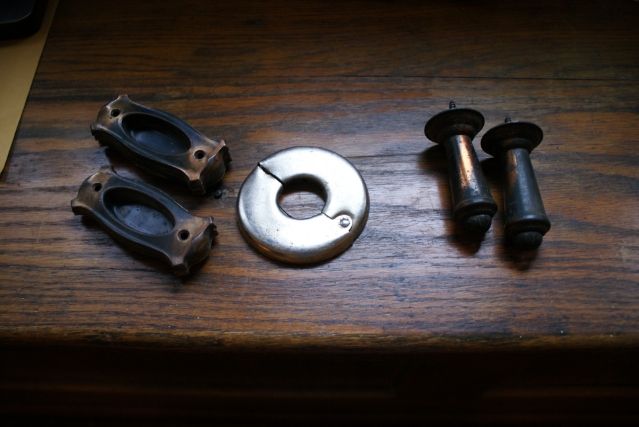
Lastly we found some doorstops that match ours and some window pulls
[hr]
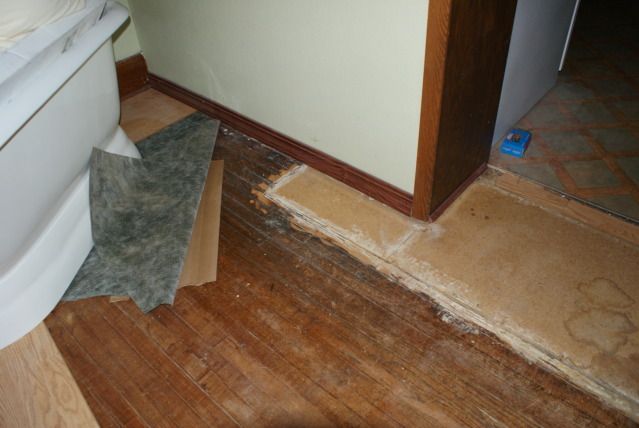
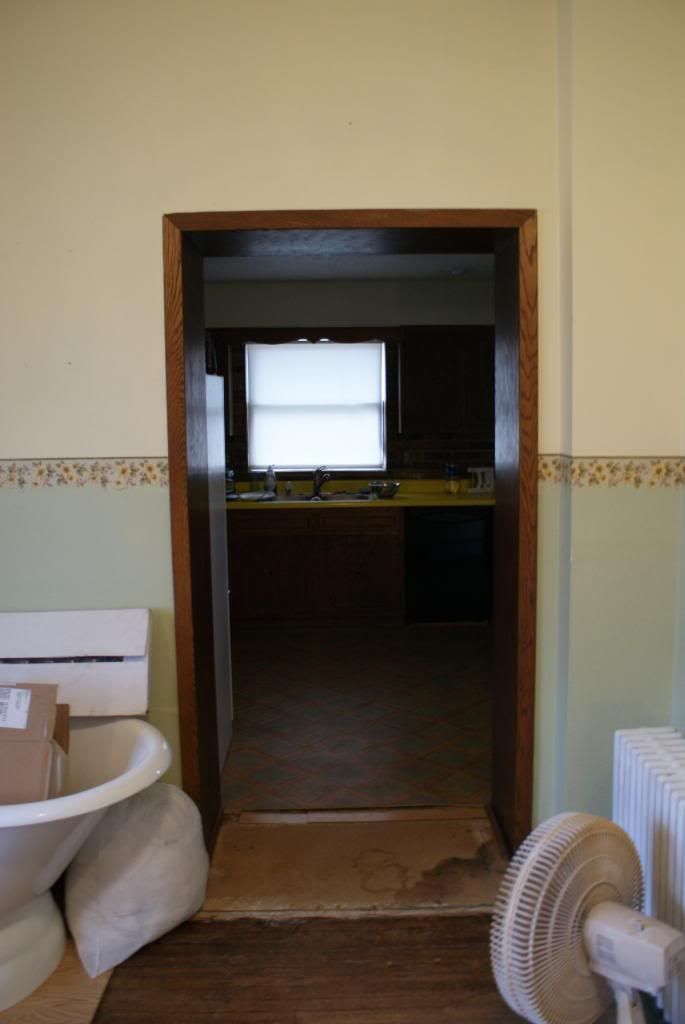
She decided to start tearing down the paneling in the bathroom. We found that we have hardwood under 3 layers of old flooring and subflooring. This will be pulled up and used to fix our dining room floors where they ran electrical and plumbing down to the basement.
The doorway that we will be closing off and putting the toilet in front of looks to have been framed out above the door. This was a surprise since that wall is block, but will allow us to make her shelves taller. I think we will make it even with the window.
And that takes us up to this weeks progress.

 and long, long ago: