During the whole fire/water damage remedial process I've been less than thrilled with the contractors, so pretty much in the last second I decided to reinstall the floors myself rather than have sombody else butcher it.
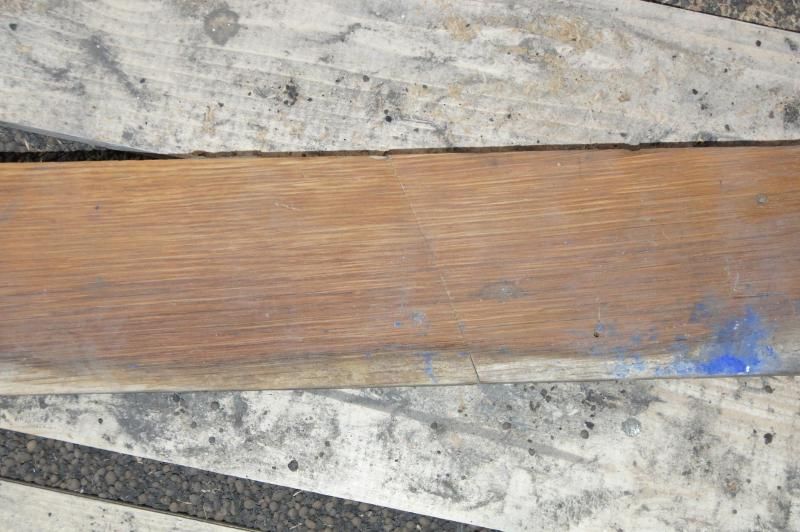
The original floors here are solid 1" thick oak strips in varying widths and lengths. There are at least 5 different widths in the various rooms and 4-5 different lengths, sometimes mixed in one room. Since all boards are stamped in exactly the same style (and quite an odd one, giving the length in centimetres and the width in millimetres) I'm sure this hodgepodge is original.
Modern contractors usually want to glue down the wood on a chipboard subfloor. I don't like that for several reasons - it's much harder to open and repair the floor then, the chipboard contains formaldehyde and other nasty chemicals and only the manufacturer knows what nasty stuff the glue is. Therefore I requested a solid wood subfloor and want to nail down the hardwood.
Now to the interesting part. All traditional Austrian parquet floors are surrounded by a frieze, long straight boards (some are around 15 feet long!) that run around the perimeter of the room. If you glue the floors, you can just use a circular saw to cut the sides of the parquet straight and drop the frieze in. If you nail, things aren't that easy. Since the whole floor is somewhat flexible, you want to somehow join the two parts. Modern carpenters use glue there - again, impossible to carefully remove boards and patch reusing the old boards. This is where trouble with the carpenters really started and I decided to do the whole job myself.
As I said, the frieze pieces are long. Very long. In order to get them into the van, the carpenters who removed the floor cut them in half. Boy, was I angry when I saw that!
So I glued them back together. First I routed a groove into each end (which is a bear to do with my equipment) and used a strip of wood as a tongue. Since I couldn't clamp the long sticks, I screwed two blocks of 1x4 to the bottom of each half and clamped them.
Now that I had this done, I could start with the real work.
Tools you need or that are handy:
- hand saw (not strictly necessary if you have a mitre saw, but you might have to cut angles exceeding 45 degrees)
- chisels (for cleaning the tongues and grooves get dull ones, for tweaking the tongues a sharp one)
- a nail set
- hammer
- table saw
- router with appropriate groove bit (Austrian parquet mostly has 5 mm grooves)
- pliers (to pull out bent nails)
- crowbar (in case you screw up, which isn't that unlikely)
- wedges (my dad cut up broken floor boards into wedges of various sizes)
- clamping table
- belt sander (for tweaking boards that were cut just a smidge too long or wide)
- handheld planer (if you combine parts from different floors and some are much thicker)
- square (absolutely necessary!)
- sliding T bevel (very helpful! http://en.wikipedia.org/wiki/Sliding_T_bevel)
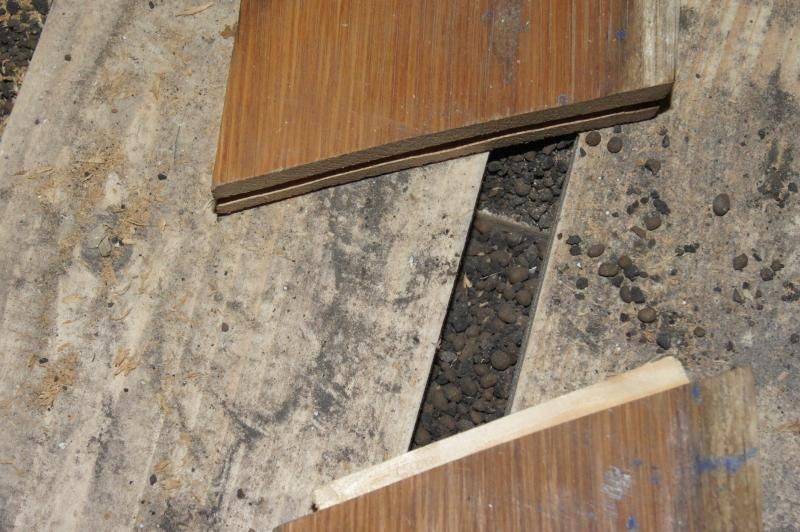
Especially if you reinstall an existing floor, you want to start in the exact same place where the original installers started. In the days before handheld skil saws, this was a corner, and they usually chose a square one if they could find any. Starting at this corner, two frieze runs are put down. You lay down the boards square and straight, then you put in wedges between the wall and frieze. All pieces of frieze are joined with t&g!
The wedges are necessary as long boards are surprisingly flexible and you definitely want your frieze to remain straight! I recommend one wedge every 20" (roughly), or one per nail. The boards have grooves on each long side and are blind nailed. Blind nailing against the wall requires some creative contortions but it's possible!
Once you have these two runs down, the fun part starts. The actual parquet goes down!
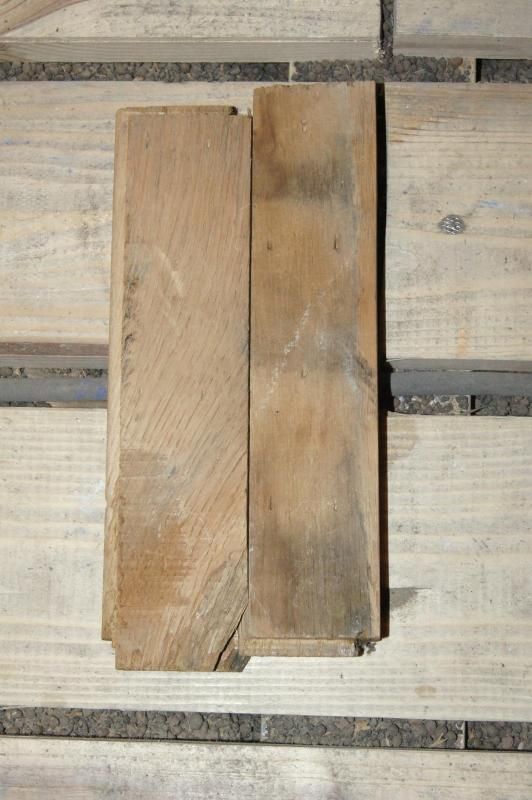
Please note that there are two kinds of boards, lefties and righties!
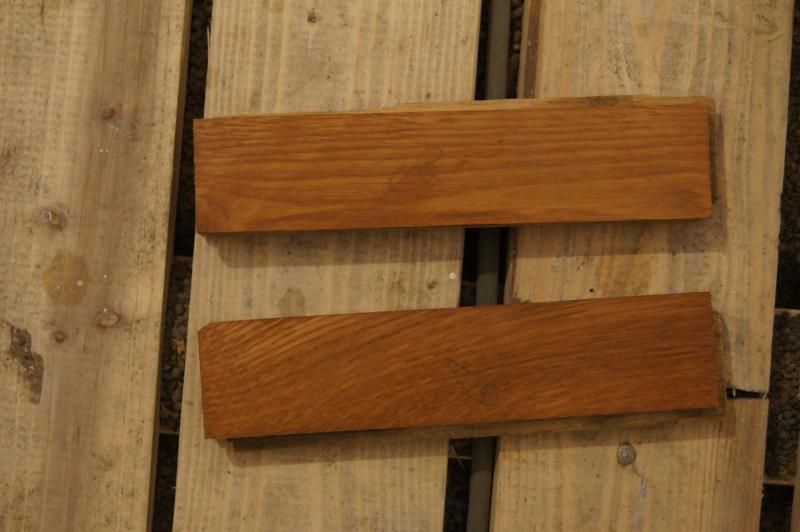
Each board has a clearly distinct top and bottom. The bottom is often damaged during the manufacturing process and it's smaller to allow some movement. Besides unless the floor has been sanded quite far down there is more wood above the tongue than below.
For your starter course, which is a double course, grab a few of both kinds and practice putting them together in an arrow shape. Looking against the point of the arrow, the half of the course which sits against the wall should show you the long tongue and the other the long groove. If your corner is square, all the boards next to the frieze can be cut at a 45-degree angle. For the starter triangle, you only need one. Tape the triangle together using packing tape and mark a 90-degree angle across your arrow shape. This is the straight line the will go against the other wall.
In my case, the left-hand half of the run consists of lefties and the other half of righties. First I cut one board to go against the frieze on the left, then the entire triangle to go against the frieze at the top of the picture.
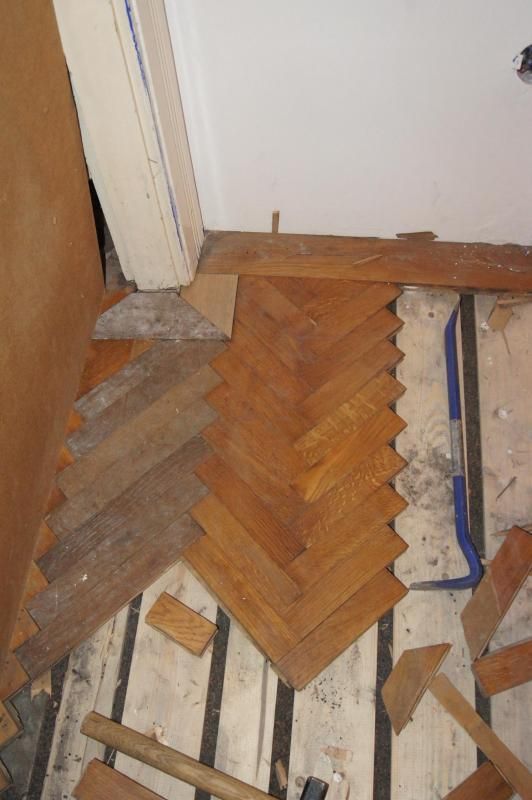
Actually in this case I didn't cut anything as the boards have been taken from this exact floor and are numbered. Normally you wouldn't cut the board on the far left twice as done here.
If the two friezes don't meet at a right angle, you still cut the first course at 45 degrees, but the second cut across the starter triangle is made according to the actual angle.
If you've managed to get this far, congratulations!
You can now grab a new rightie, add it to the second half of the course and nail it down. Make sure that your course is square and you don't have any gaps! You can correct the angle with a few gentle hammer taps, but always use a block of scrap wood between the hammer and the floor!
Then just alternatingly add cut lefties and full righties (or vice versa) until you're nearing the opposite wall. If you want a really solid floor, run a continuous tongue between the first course and the frieze, the oldtimers only cut a tongue on every fifth board or so. They didn't nail this course down as the tongue splits easily.
Once you're running out of room you need to nail down the third frieze. Once it's down you'll notice that you can't get the last few pieces of the first course in the normal way. That's not a problem, dry fit everything and install the last 3 or 4 pieces backwards.
Now you need another starter triangle. Once you have it, you can run a single course all the way back to where you started and so on.
SInce this text is nowhere near over I'll stop at this point and continue another day. Hope my explanations weren't too complex, it's a fairly complex task and my knowledge is almost exclusively from taking apart old floors and experimenting.