
http://www.bing.com/images/search?q=gre ... ORM=IQFRBA
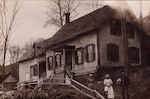
it's a shaker museum in enfield, nh not far from white river junction, Vermont...a 3 and a half year project...
...jade
Replacing Sash Cord
Re: Replacing Sash Cord
heartwood wrote:http://www.bing.com/images/search?q=great+stone+dwelling&id=5344A240BD1F72448D7DEAEFE41AE2055ED08CC2&FORM=IQFRBA
it's a shaker museum in enfield, nh not far from white river junction, Vermont...a 3 and a half year project...
...jade
I drive right by there just about every week!
Mick...
Re: Replacing Sash Cord
well, i'll be there pretty much every six weeks through til june...maybe we can meet up!
-
Gothichome

- Moderator

- Posts: 4192
- Joined: Sun Aug 16, 2015 8:34 pm
- Location: Chatham Ont
Re: Replacing Sash Cord
Jamie, maybe you can apprentice for a day, I'll bet Jade has more than one scraper. 

Re: Replacing Sash Cord
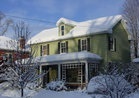
Been a stranger here this past week. I've done enough window work to last me my lifetime! This is my second total house renovation. When I moved south in 1996 I swore I was through stripping woodwork, outside clapboard, and those involved projects. Never say never.. all the inside trim has been stripped and redone. Dreams of doing a faux graining to save me the stripping aggravation were shattered when I realized there was just too much paint build up to ever have a decent smooth surface. The outside of house had such a paint build up the paint was "alligatoring". It worked out to where I burned off the outside house paint to the tune of "a side a year". ... The room these windows are in is the last room to be gone over. It still has the dingy off white paint on the walls that was present 20 years ago.. I have enough pictures and am far enough along to start a thread on that project....hope to get back to the windows as I wait for the wall primer to dry this afternoon....
-
Casey
- Wizened and wise in the old ways
- Posts: 722
- Joined: Thu Aug 20, 2015 5:34 pm
- Location: Eastern WV
- Contact:
Re: Replacing Sash Cord
Sashguy wrote:That's Nylon rope, not sash cord. Nylon breaks down under ultra violet light. It will eventually stretch, come completely apart and drop the weights.
There are definitely some old cotton sash cords that had red or green spots, I have seen them. I think there were/are some in my house. It was probably for marketing "look for the green dots, it's our guarantee of quality you can trust!" etc.
Casey
The artist formerly known as Sombreuil
Re: Replacing Sash Cord
Finally I got the dreaded sash cord project finished up. I just documented it for my journal: Here is the excerpt covering cutting in the access panels:
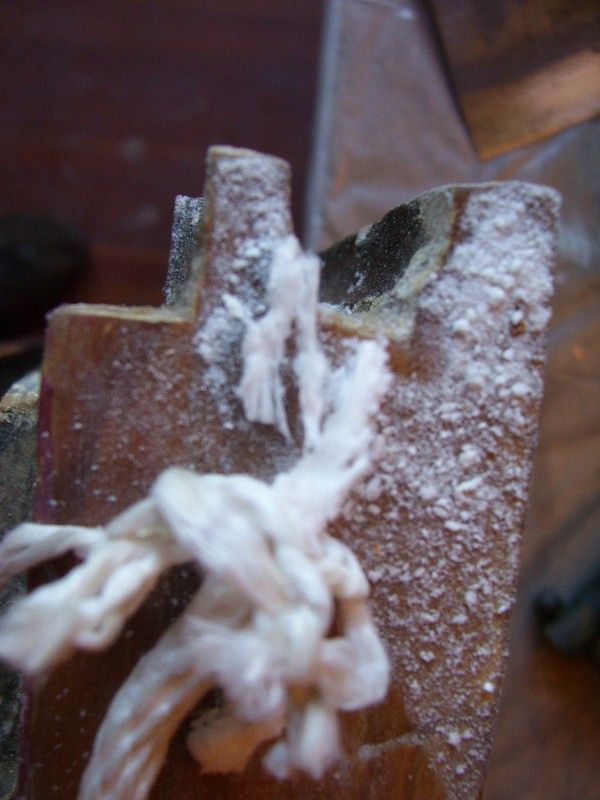
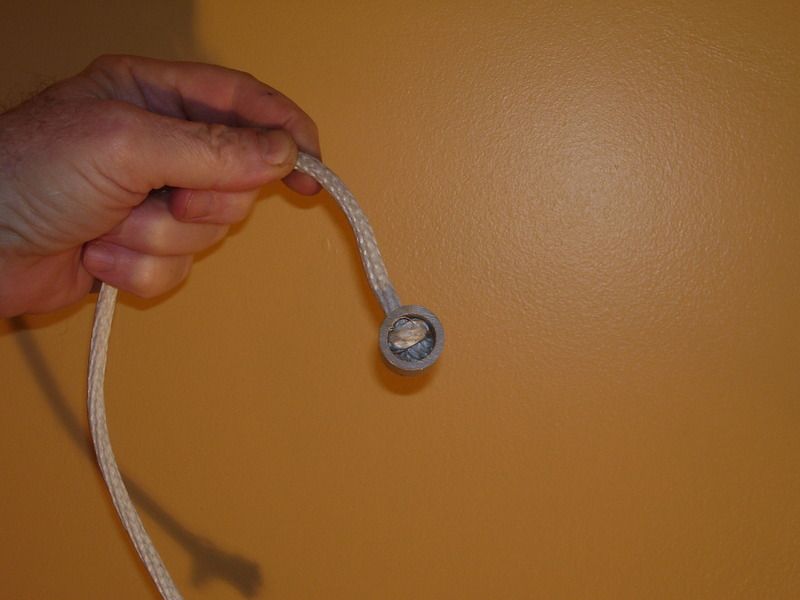
I noticed how there was “white dust” appearing on the window sashes. It turned out the core of this cheap rope was breaking down. I researched replacement cord online and found a supplier for Samson sash cord made in the USA that has been a standard for 100 years.
This picture shows how the interior of this sash cord has broken-down over the years over just minimal use. The replacement cord I’m now using looks to have a stranded nylon center surrounded by a heavy braided cotton:
Rather than pull off the casings I just installed window pockets to access the weights. I’ve got this chore down to a science now.
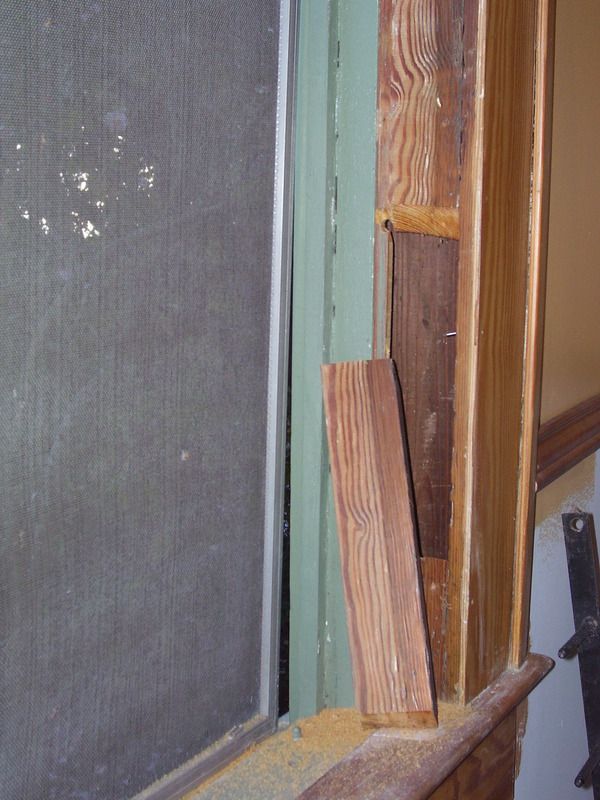
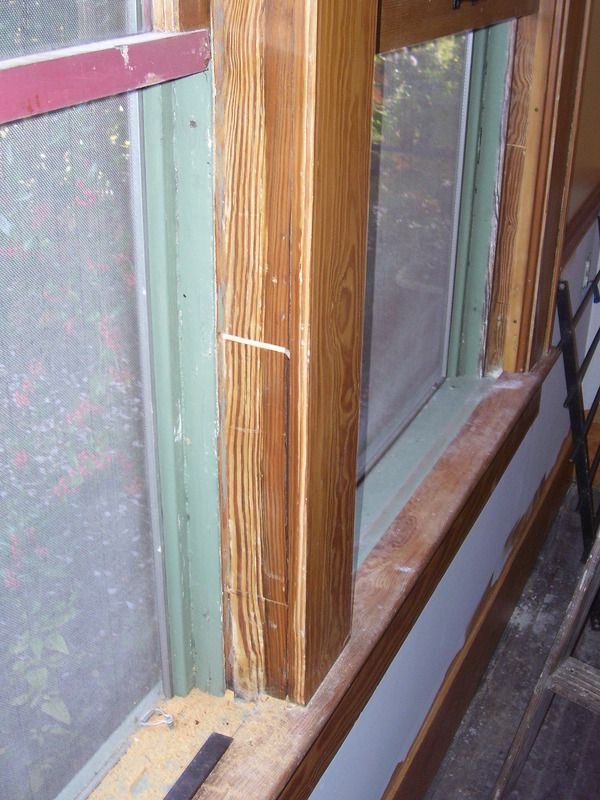
First I removed the windows and check moldings. In my case I can drill the 3/8 holes directly into the groove for the check molding. The holes are drilled at a 45° angle. Using a saber saw, the top and bottom cuts are made at this 45° angle. Then the side was sawn out at the regular 90° angle.
Showing the holes and angles sawn:
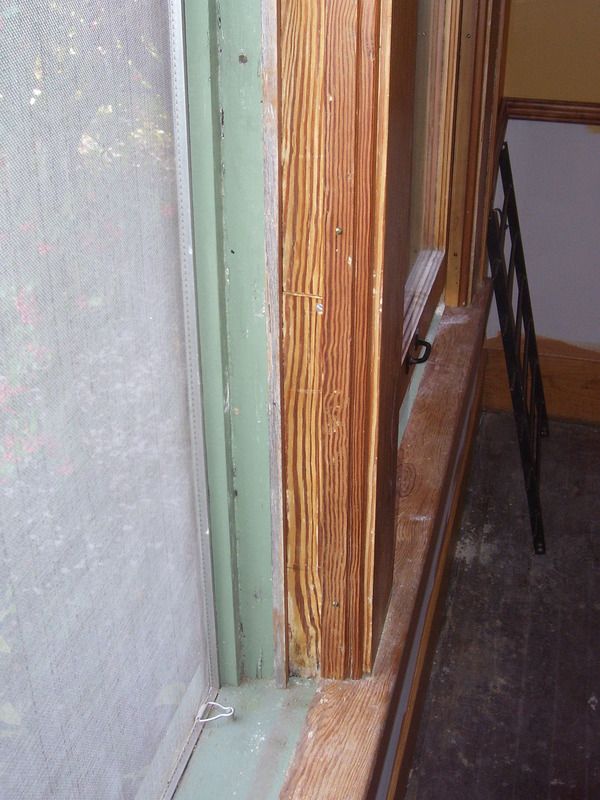
A paint stick was cut to size and glued to the back of the bottom opening. A piece to this stick was glued top the top of the “plug” to compensate for the loss of wood from sawing. Using a belt sander to this plug, wood is removed to make a smooth tight fit. A bit of stain and color blends in this new wood. A countersunk screw holds this in good and tight.
Plug before trimming:
Installed:
All in all it is a simple process. I did not want to cover installing the sash cord as that is whole "nother" ball of wax.
However... I read in the thread of problems with the sash cord knot loosening up. I kick myself for not taking a picture of the process I use. This tip was found in The Old House Journal decades ago. Take 1/2" plastic electric conduit. Drill a hole in the side casing for the rope to thread through. Cut that piece of conduit to the fit the 3/4 hole in the side of the window. Fish the sash cord through that hole, knot the rope, and squeeze that knot into the conduit. I guarantee there is no way that knot will come undone. It is a simple task to install and remove the sash cord now.
I noticed how there was “white dust” appearing on the window sashes. It turned out the core of this cheap rope was breaking down. I researched replacement cord online and found a supplier for Samson sash cord made in the USA that has been a standard for 100 years.
This picture shows how the interior of this sash cord has broken-down over the years over just minimal use. The replacement cord I’m now using looks to have a stranded nylon center surrounded by a heavy braided cotton:
Rather than pull off the casings I just installed window pockets to access the weights. I’ve got this chore down to a science now.
First I removed the windows and check moldings. In my case I can drill the 3/8 holes directly into the groove for the check molding. The holes are drilled at a 45° angle. Using a saber saw, the top and bottom cuts are made at this 45° angle. Then the side was sawn out at the regular 90° angle.
Showing the holes and angles sawn:
A paint stick was cut to size and glued to the back of the bottom opening. A piece to this stick was glued top the top of the “plug” to compensate for the loss of wood from sawing. Using a belt sander to this plug, wood is removed to make a smooth tight fit. A bit of stain and color blends in this new wood. A countersunk screw holds this in good and tight.
Plug before trimming:
Installed:
All in all it is a simple process. I did not want to cover installing the sash cord as that is whole "nother" ball of wax.
However... I read in the thread of problems with the sash cord knot loosening up. I kick myself for not taking a picture of the process I use. This tip was found in The Old House Journal decades ago. Take 1/2" plastic electric conduit. Drill a hole in the side casing for the rope to thread through. Cut that piece of conduit to the fit the 3/4 hole in the side of the window. Fish the sash cord through that hole, knot the rope, and squeeze that knot into the conduit. I guarantee there is no way that knot will come undone. It is a simple task to install and remove the sash cord now.
Re: Replacing Sash Cord
great job!!
I can't wrap my mind around the plastic conduit and drilled hole and why it would be used...
...jade
I can't wrap my mind around the plastic conduit and drilled hole and why it would be used...
...jade
Re: Replacing Sash Cord
I did a quick "mock up". The conduit fits into the hole drilled at the bottom of the channel for the sash cord.
Re: Replacing Sash Cord
ah, yes I see what you mean...ingenious!
I have a number of old metal knot holders but can't find an example online...
...jade
I have a number of old metal knot holders but can't find an example online...
...jade