So I am calling the tool chest 95% done, attention is turning to other things while I look for a replacement for the one missing drawer lock. That may even remain missing as I have no particular desire to lock the chest when I use it.
As a summary of the work... I did the following:
1. Stripped the (probably mid 20th century) gray paint
2. Replaced the two broken cast wheels with identical ones sourced from ebay
3. Minor repairs to all seven drawers, major repair and refinish to a split drawer compartment lid
4. Repaired lid banding, removed late, poorly made, lid handle, replaced with a late 19th century cast one
5. Undid old (poorly executed, an nailed) repairs, glued, clamped and made good
6. Made two "duchman" repairs to replace missing material on the interior
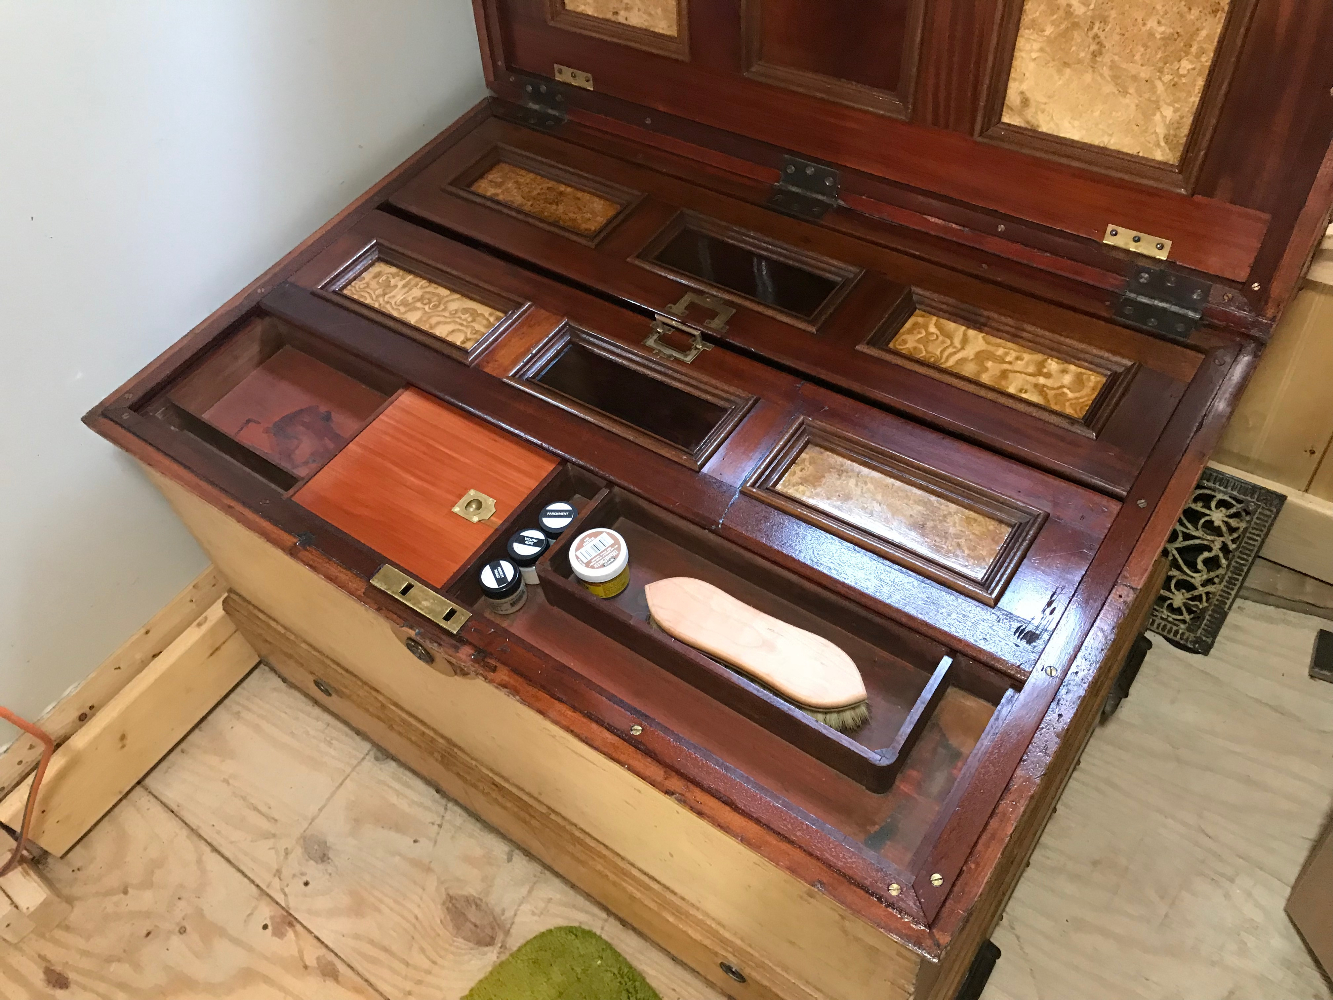
7. Replaced inner lid latches with reproductions of a similar type, but larger size. Fashioned a new ring to replace the missing one from one of the internal drawers
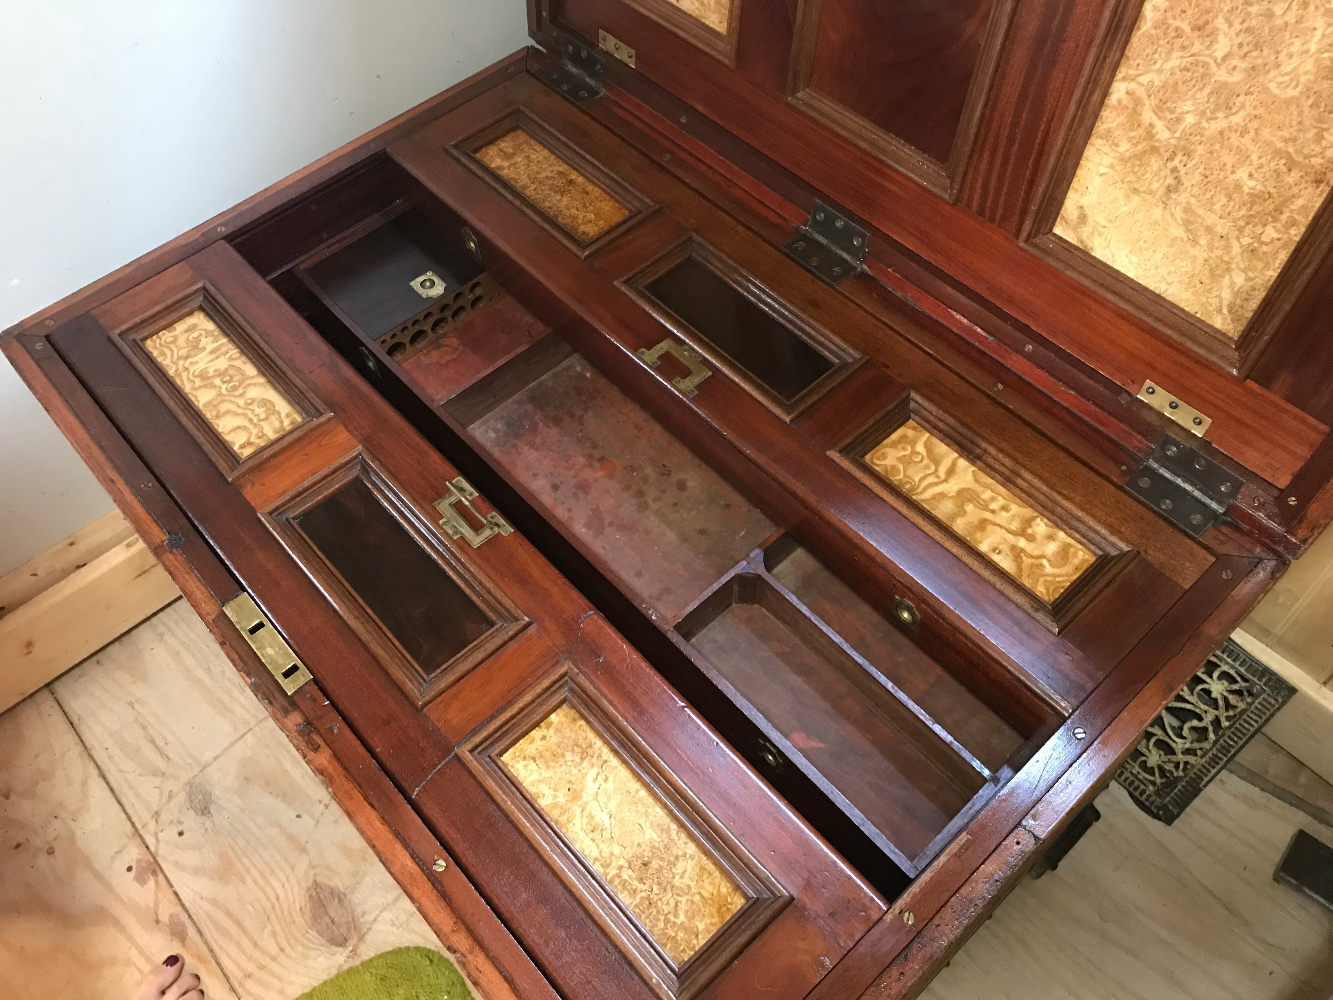
8. Repaired birds eye veneer, re gluing and filling where necessary, cabinet scraped free of all old (yellowed finish) and applied several layers of fresh shelllac to the same
9. Re glued loose moldings on the interior.
10. Cleaned interior and refreshed shellac with new clear shellac and waxed.
11. Fettled and waxed drawers etc. to make the side smoothly
12. Rebuilt bottom drawer, fixing several large cracks and separation of bottom
13. Re-made missing lock area, recreating a best guess of the original
14. Cosmetic restoration of main lid lock, including refinishing and "antiquing" / "distressing" new material tpo match
15. Wax all over to protect old milk paint finish
16. Added vintage (though much newer) desk lid stays to interior lid to stop the hinges straining when the lid was down, and to make using the inner lid a one handed affair (previously it took two, so was very awkward).
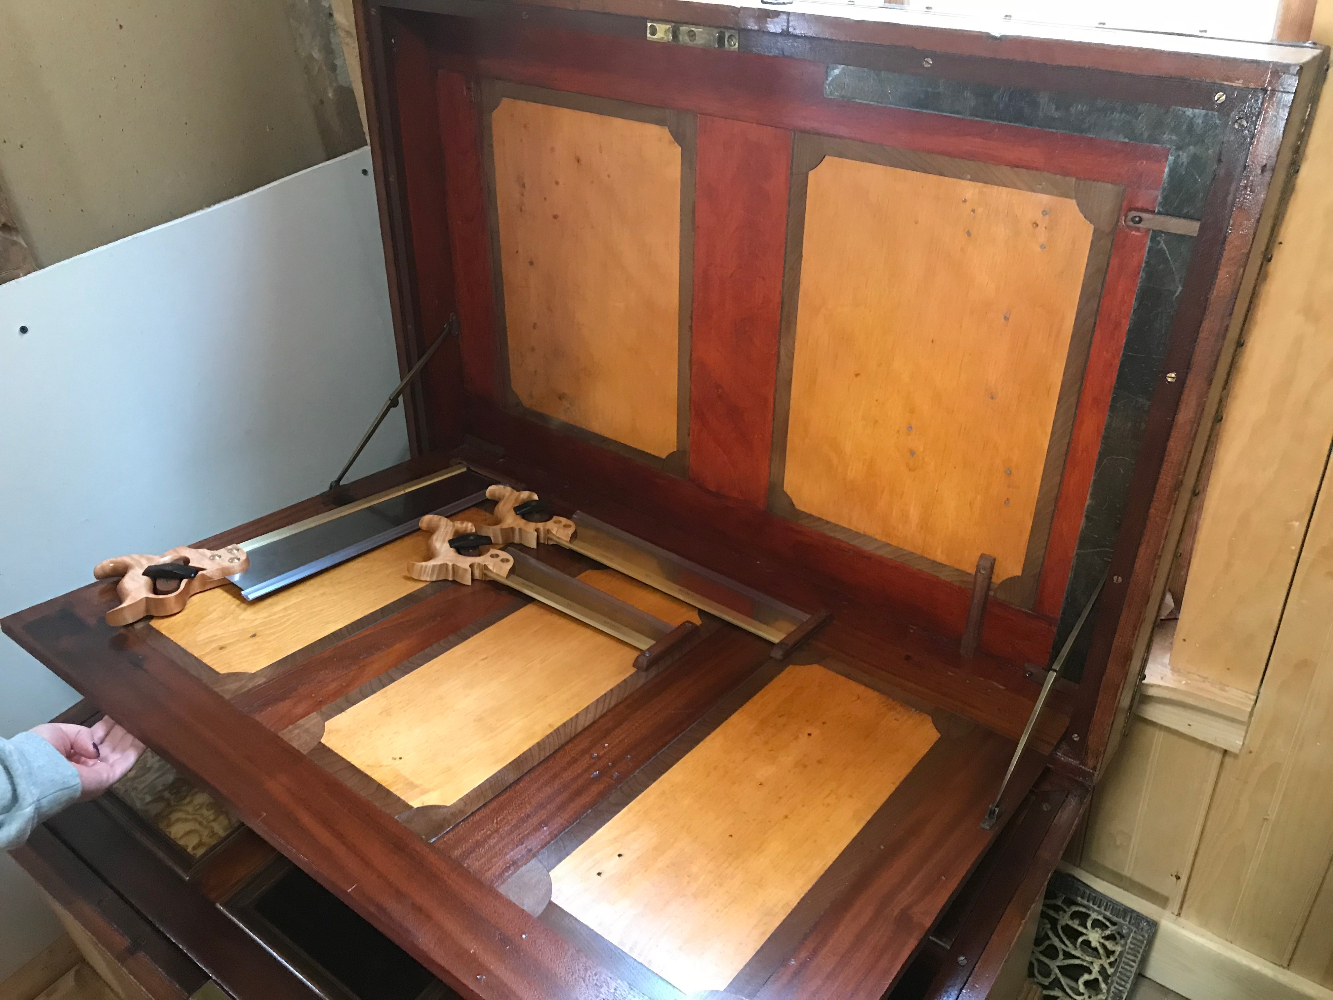
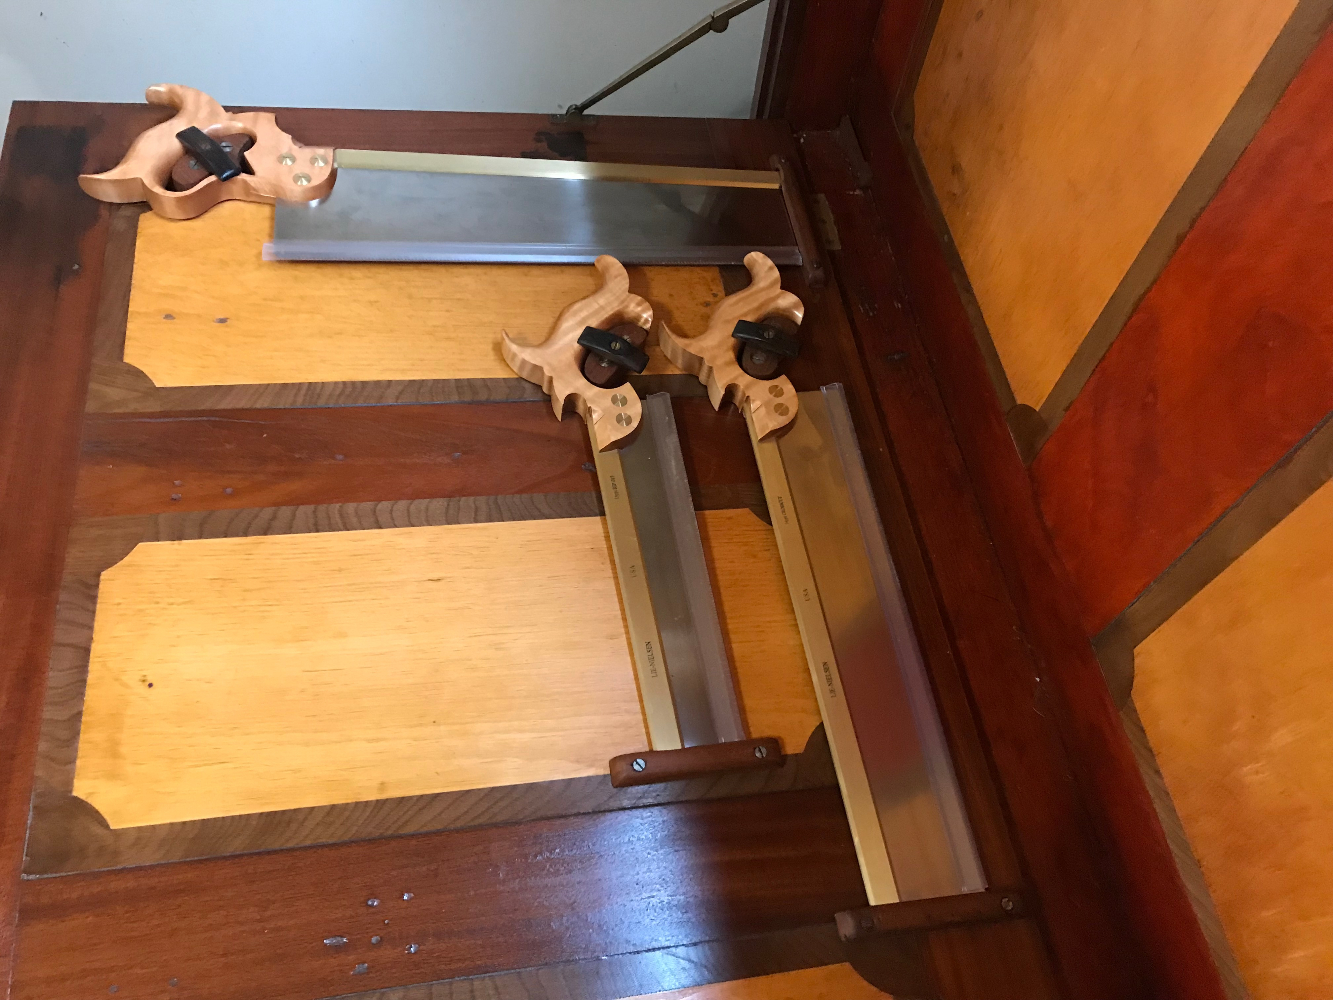
17. Started adding a few saws inside the lid. I removed the various fittings for these before refinishing as I knew I would be re-configuring for my own tools (as had plainly happened over the years before. I recorded all original positions and am reusing the period fittings as much as possible. Others will be made to match
I decided to leave the stained but otherwise unfinished drawer interiors as is. My belief is that they are unfinished deliberately so as to allow the wood to absorb moisture from the air, so protecting the stored tools
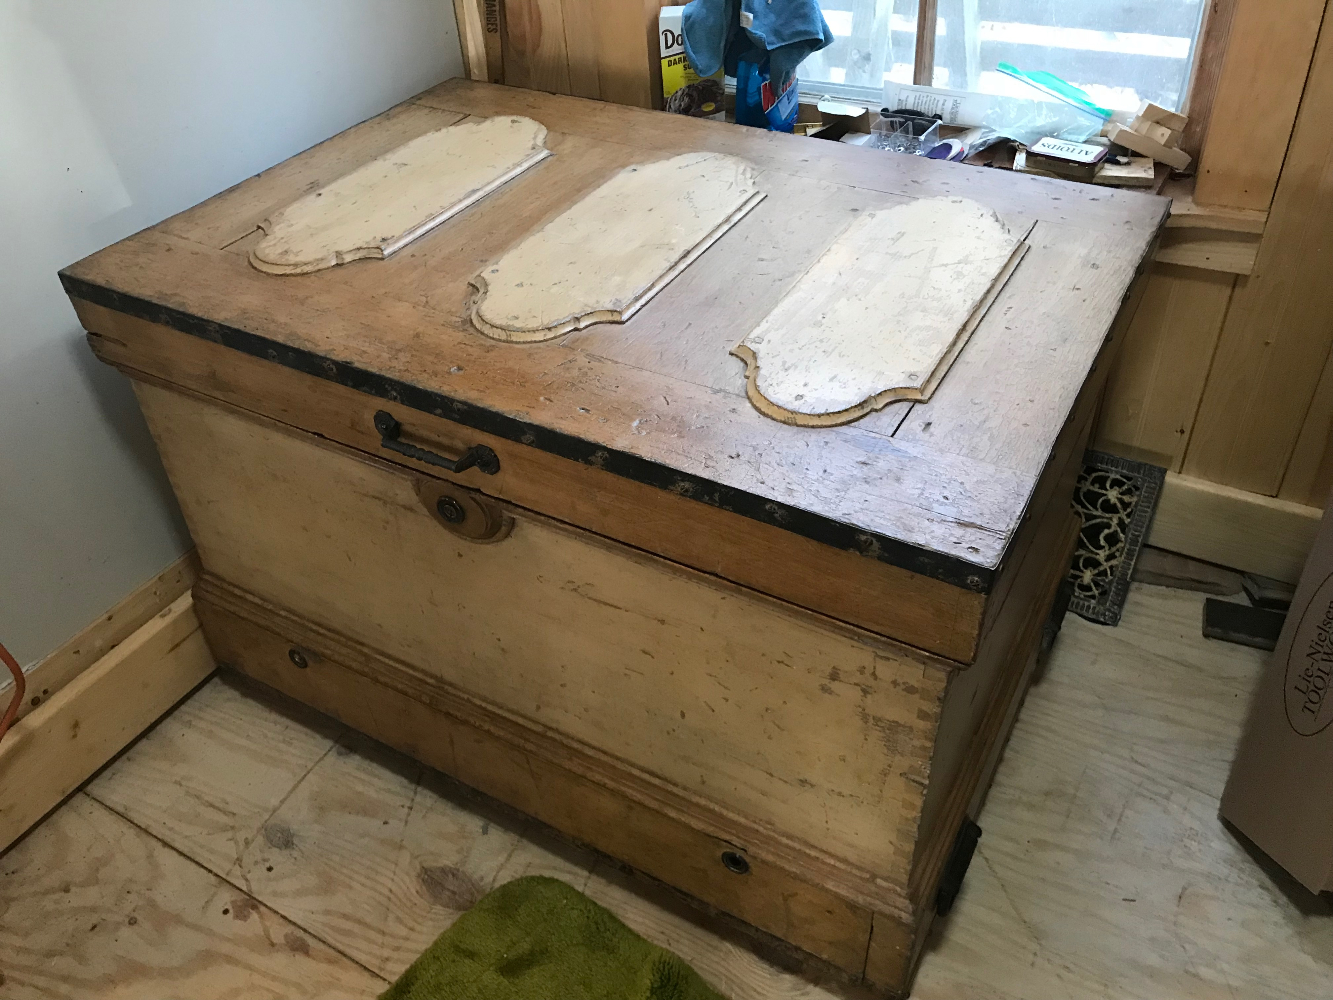
Here are some "after pics"
- IMG_7685.JPG (1.13 MiB) Viewed 825 times
- IMG_7683.JPG (1.06 MiB) Viewed 825 times

- IMG_7686.JPG (1.08 MiB) Viewed 825 times

- IMG_7687.JPG (1.23 MiB) Viewed 825 times
- IMG_7688.JPG (1.29 MiB) Viewed 825 times
- IMG_7689.JPG (1.36 MiB) Viewed 825 times
- IMG_7690.JPG (1.15 MiB) Viewed 825 times
- IMG_7691.JPG (1.17 MiB) Viewed 825 times
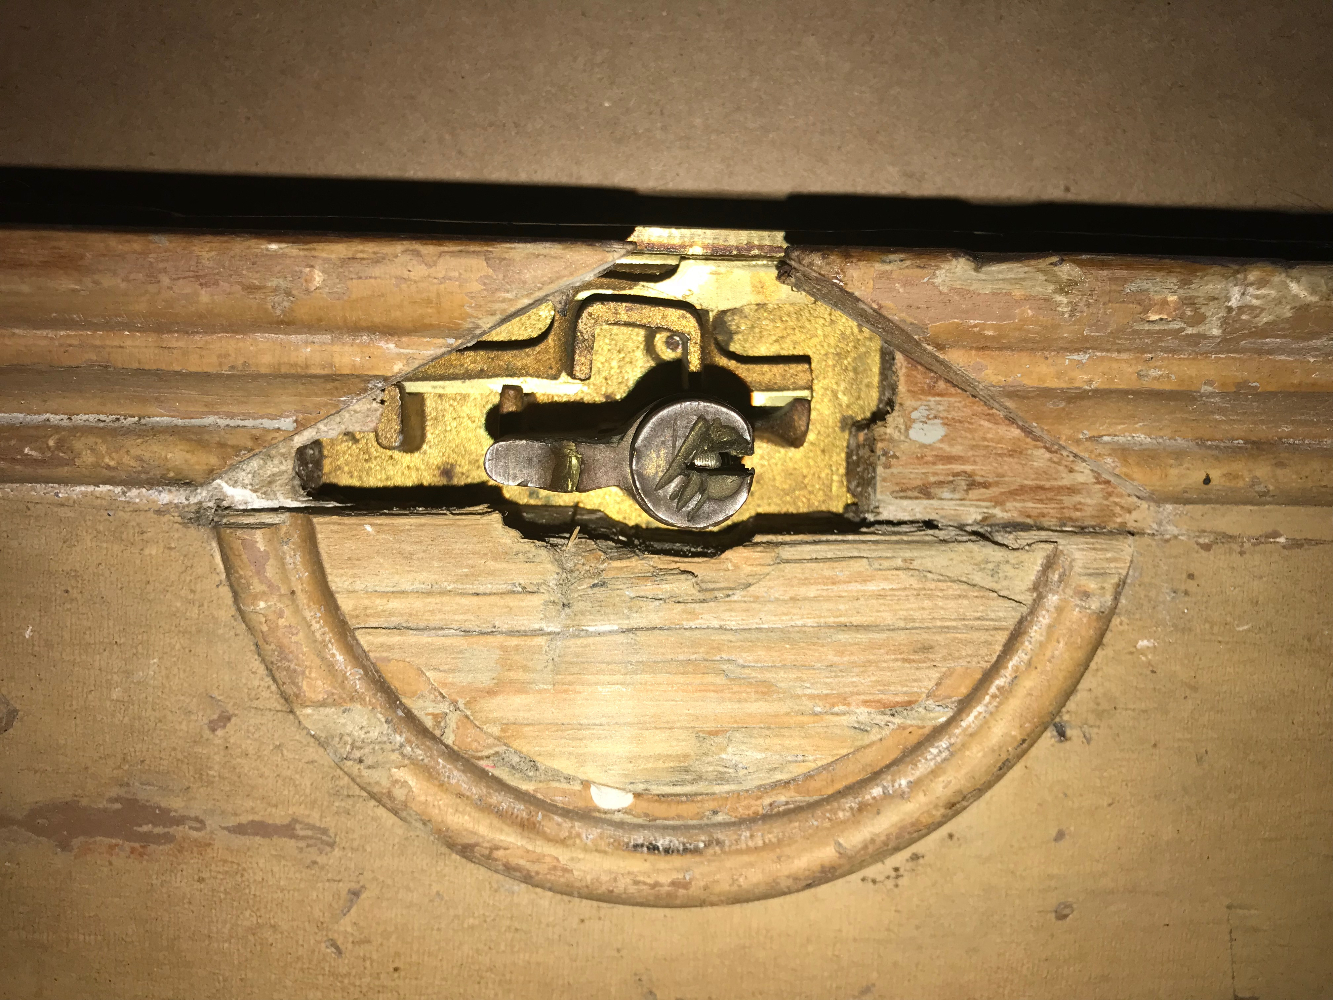
A few words on the lock area: This is how it originally looked after removal of the gray paint...
- IMG_7642.JPG (1.34 MiB) Viewed 825 times
The original, and quite rare "Linus Yale Jr." Lock with it's 1865 patent was way beyond any kind of repair. It had been attacked quite forcefully with a screwdriver and hammer during the break in attempt. The cylinder was oval and the whole unit distorted and bulged in just about every single direction. The inner parts were mostly the but broken and bent beyond use. I almost replaced this lock with a modern reproduction, or old, but much later unit. The issue however was the uniqueness in size and shape of the original unit. It was heavy and solid cast brass, no doubt expensive to manufacture. To replace it would have meant grafting a lot of wood into the chest and would have resulted in something far less attractive. But I could not just keep this non functioning original as it was so bent and distorted that the lock cylinder was exiting the front of the chest int he wrong place, but also was so distorted in shape that it could not be made to fit the escutcheon properly. The dilemma was how to retain the look of the original lock with minimal modification to the chest, as I still hope to stumble across a non-destroyed original replacement in the future.
In the end I decided that the cosmetics and originality of the rest of the chest were more important of than the lock itself. So I took the bold move of removing the remains of the innards of the lock, including removing the part of the casting that held the cylinder, so reducing it to an empty angled plate. I then sacrificed a common early twentieth century cabinet lock to provide a correctly sized key cylinder that I could attach withing the new escutcheon so creating the illusion of a functioning lock.
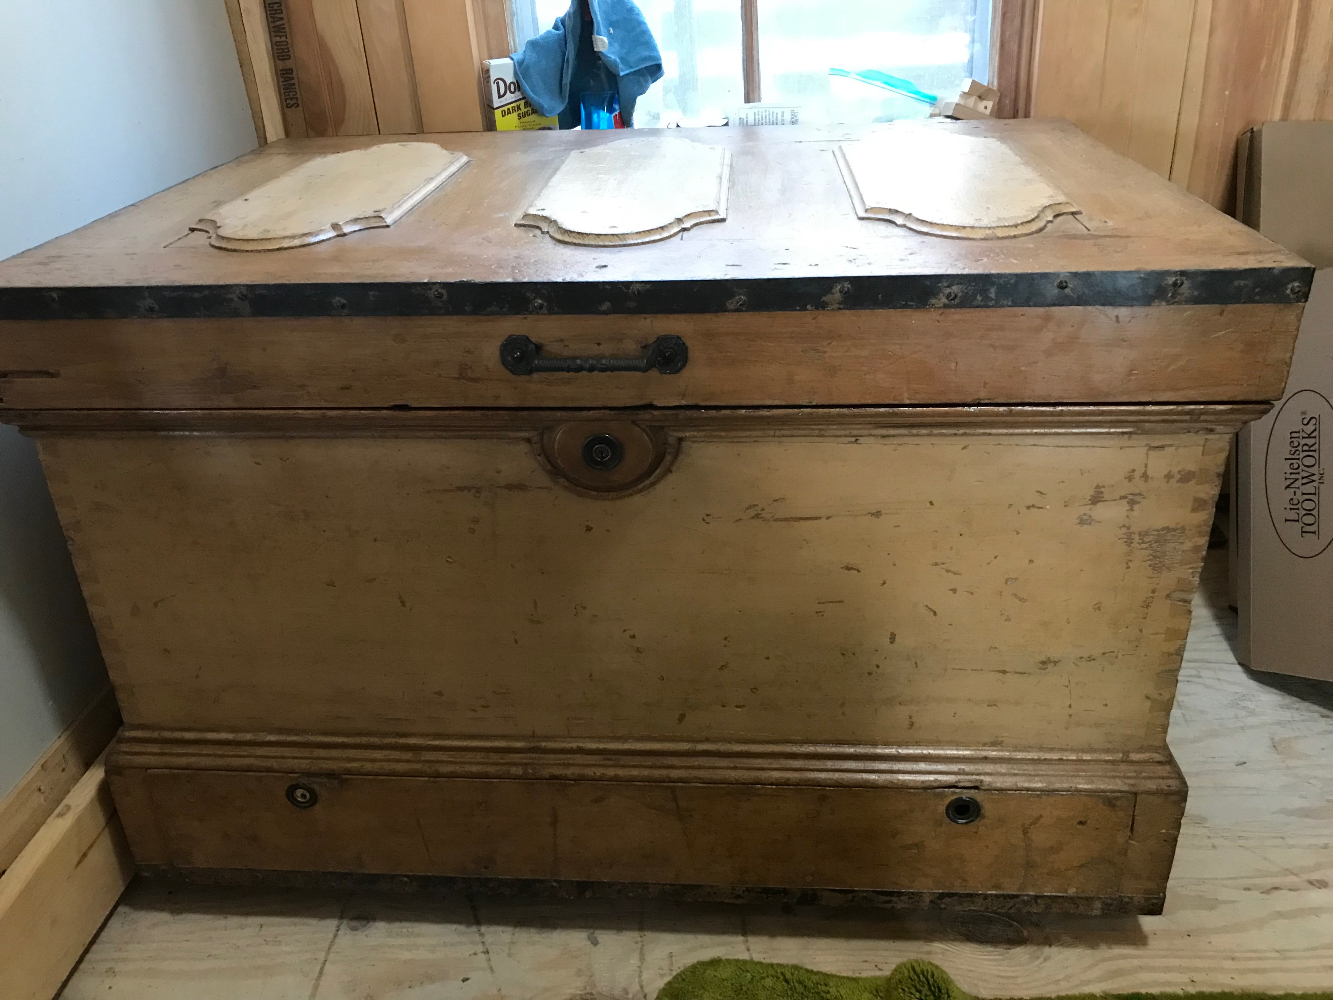
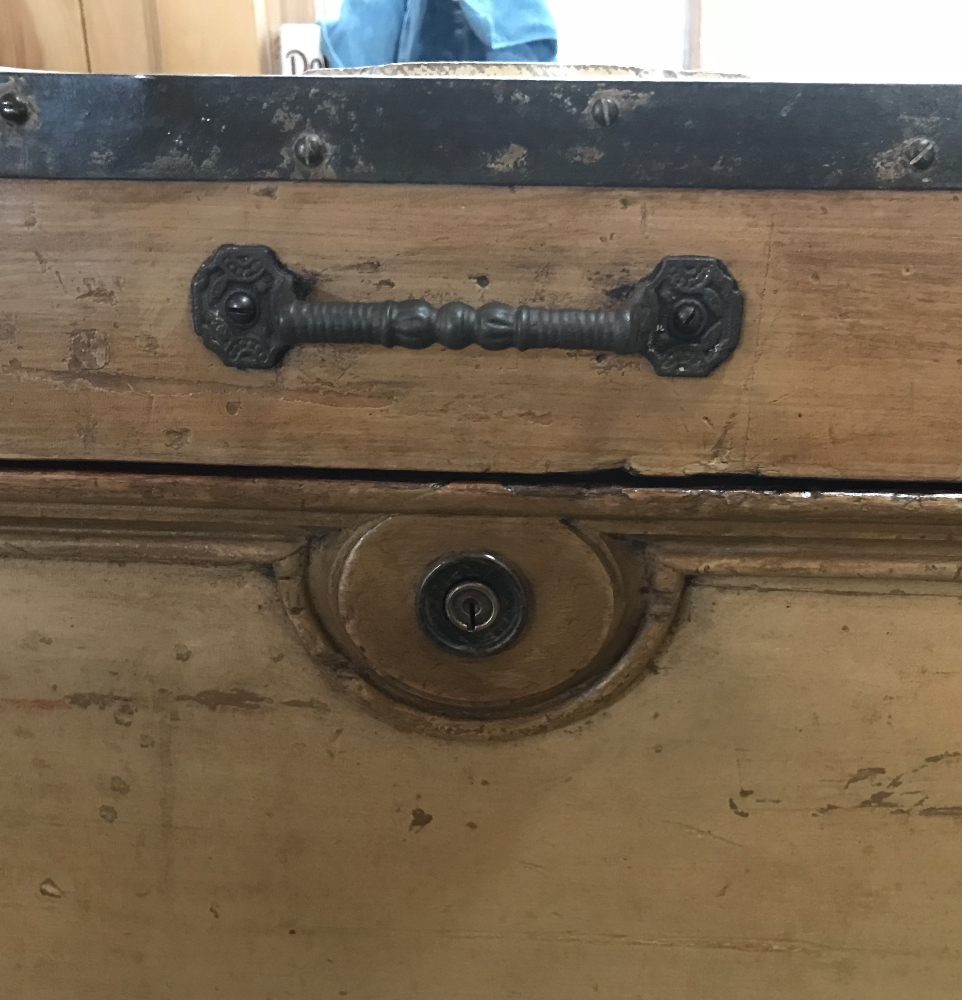
The plinth itself was more of a challenge. I used the above picture to experiment in Photoshop to come up with something as close as I could to the original design (from the remaining clues in the broken molding). It took a while before I realized that an ellipse was the only shape that would work with what was originally there. I removed only as much wood as was necessary to square the break, then glued in pieces of 1860s hemlock and re-carved the molding. I finished just the repair with milk paint mixed to a matching color, and distressed and waxed to match the rest of the chest. And this is how it looks now (also note the new handle):
- IMG_7684.jpg (683.92 KiB) Viewed 825 times
I hope one day I can find a matching Linus Yale Jr #520 lock to truly finish this off properly...